
My Entry! Lilith from Diablo 4


Just a heads up, this is a bit long! Sorry!
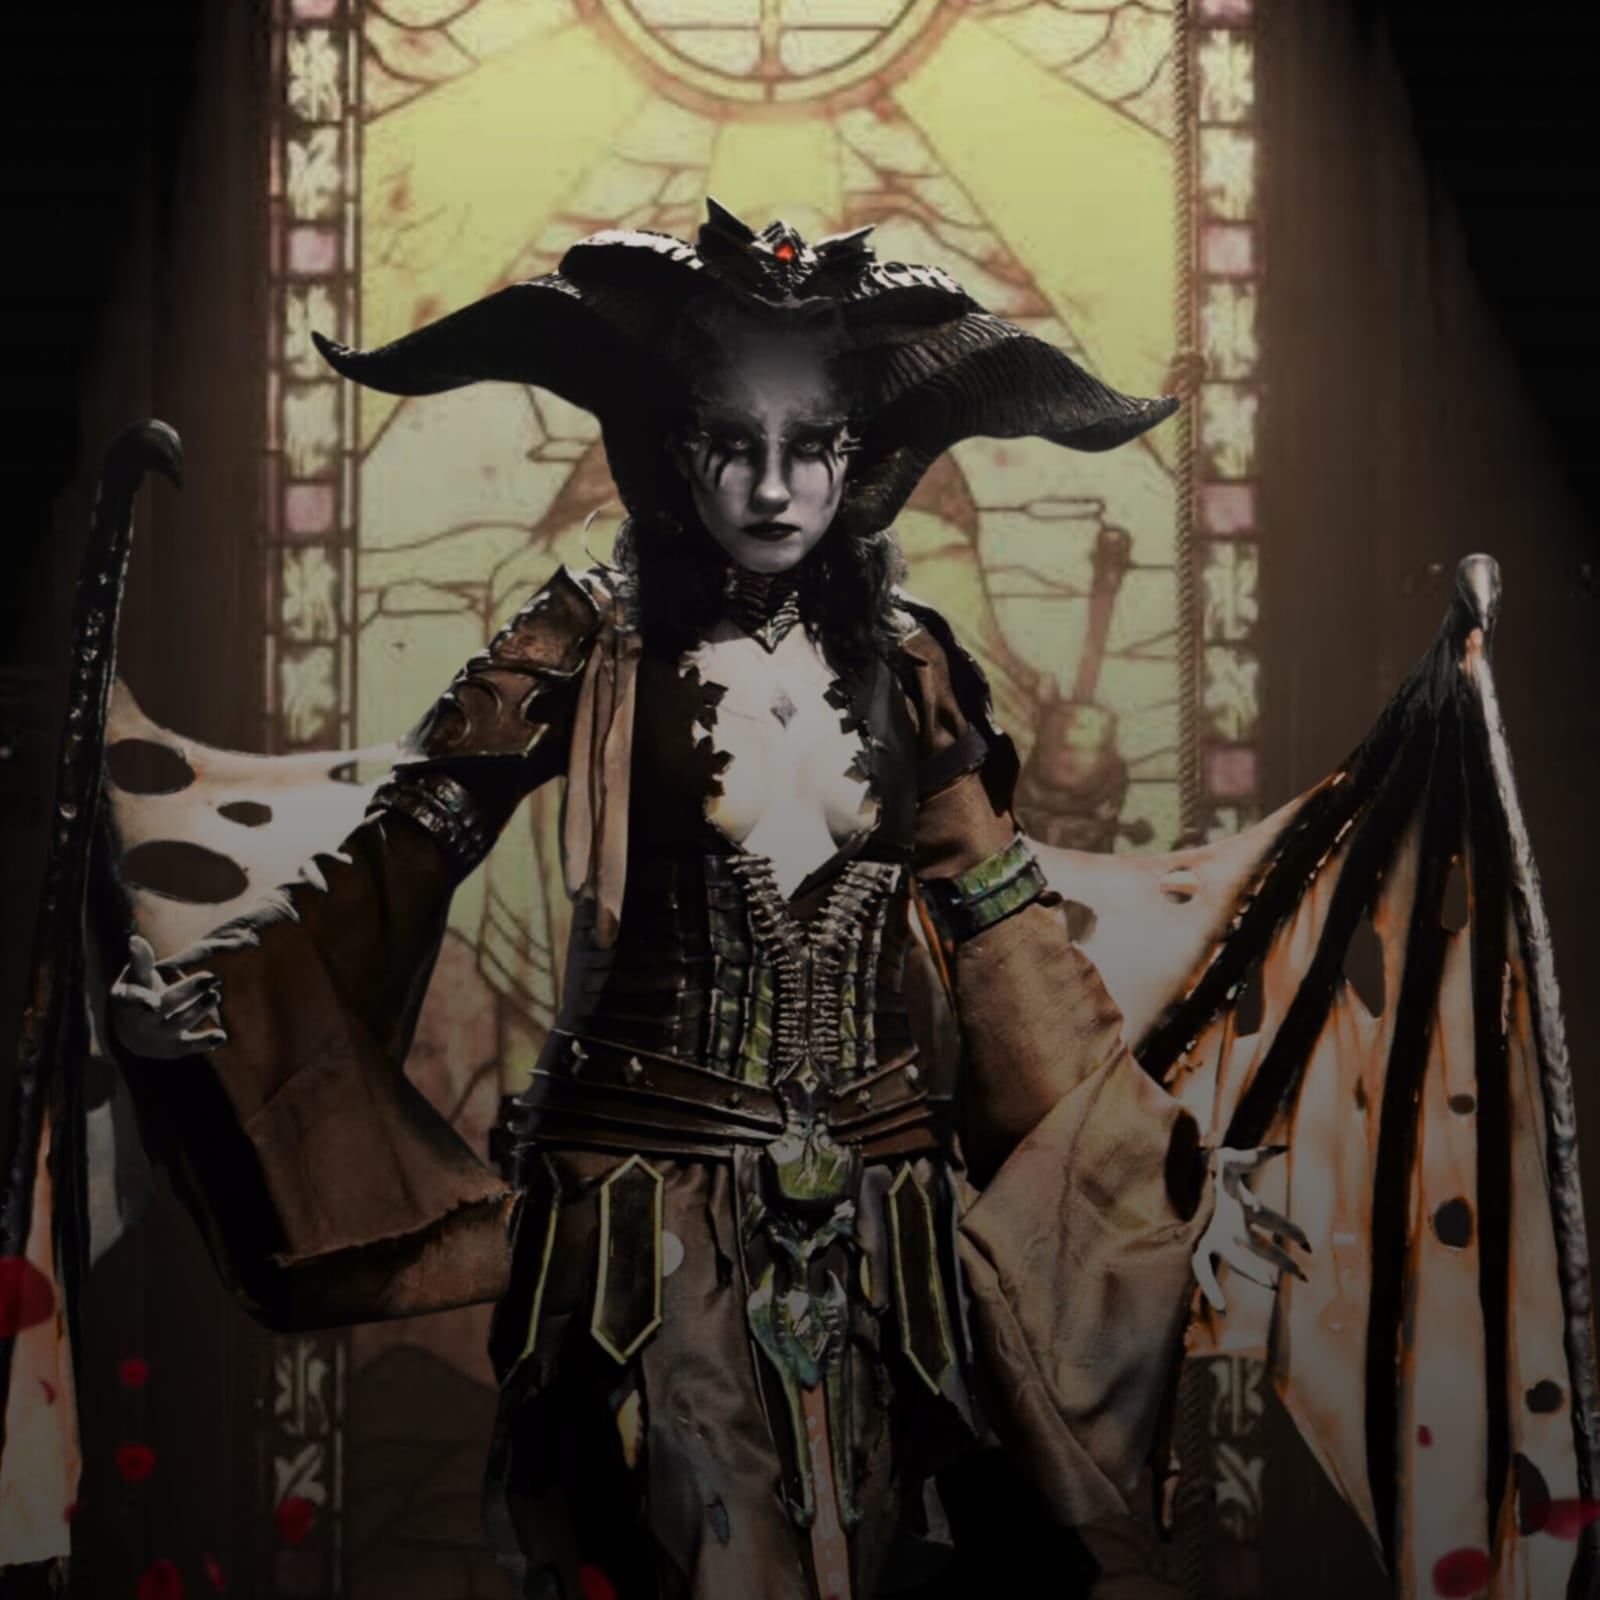
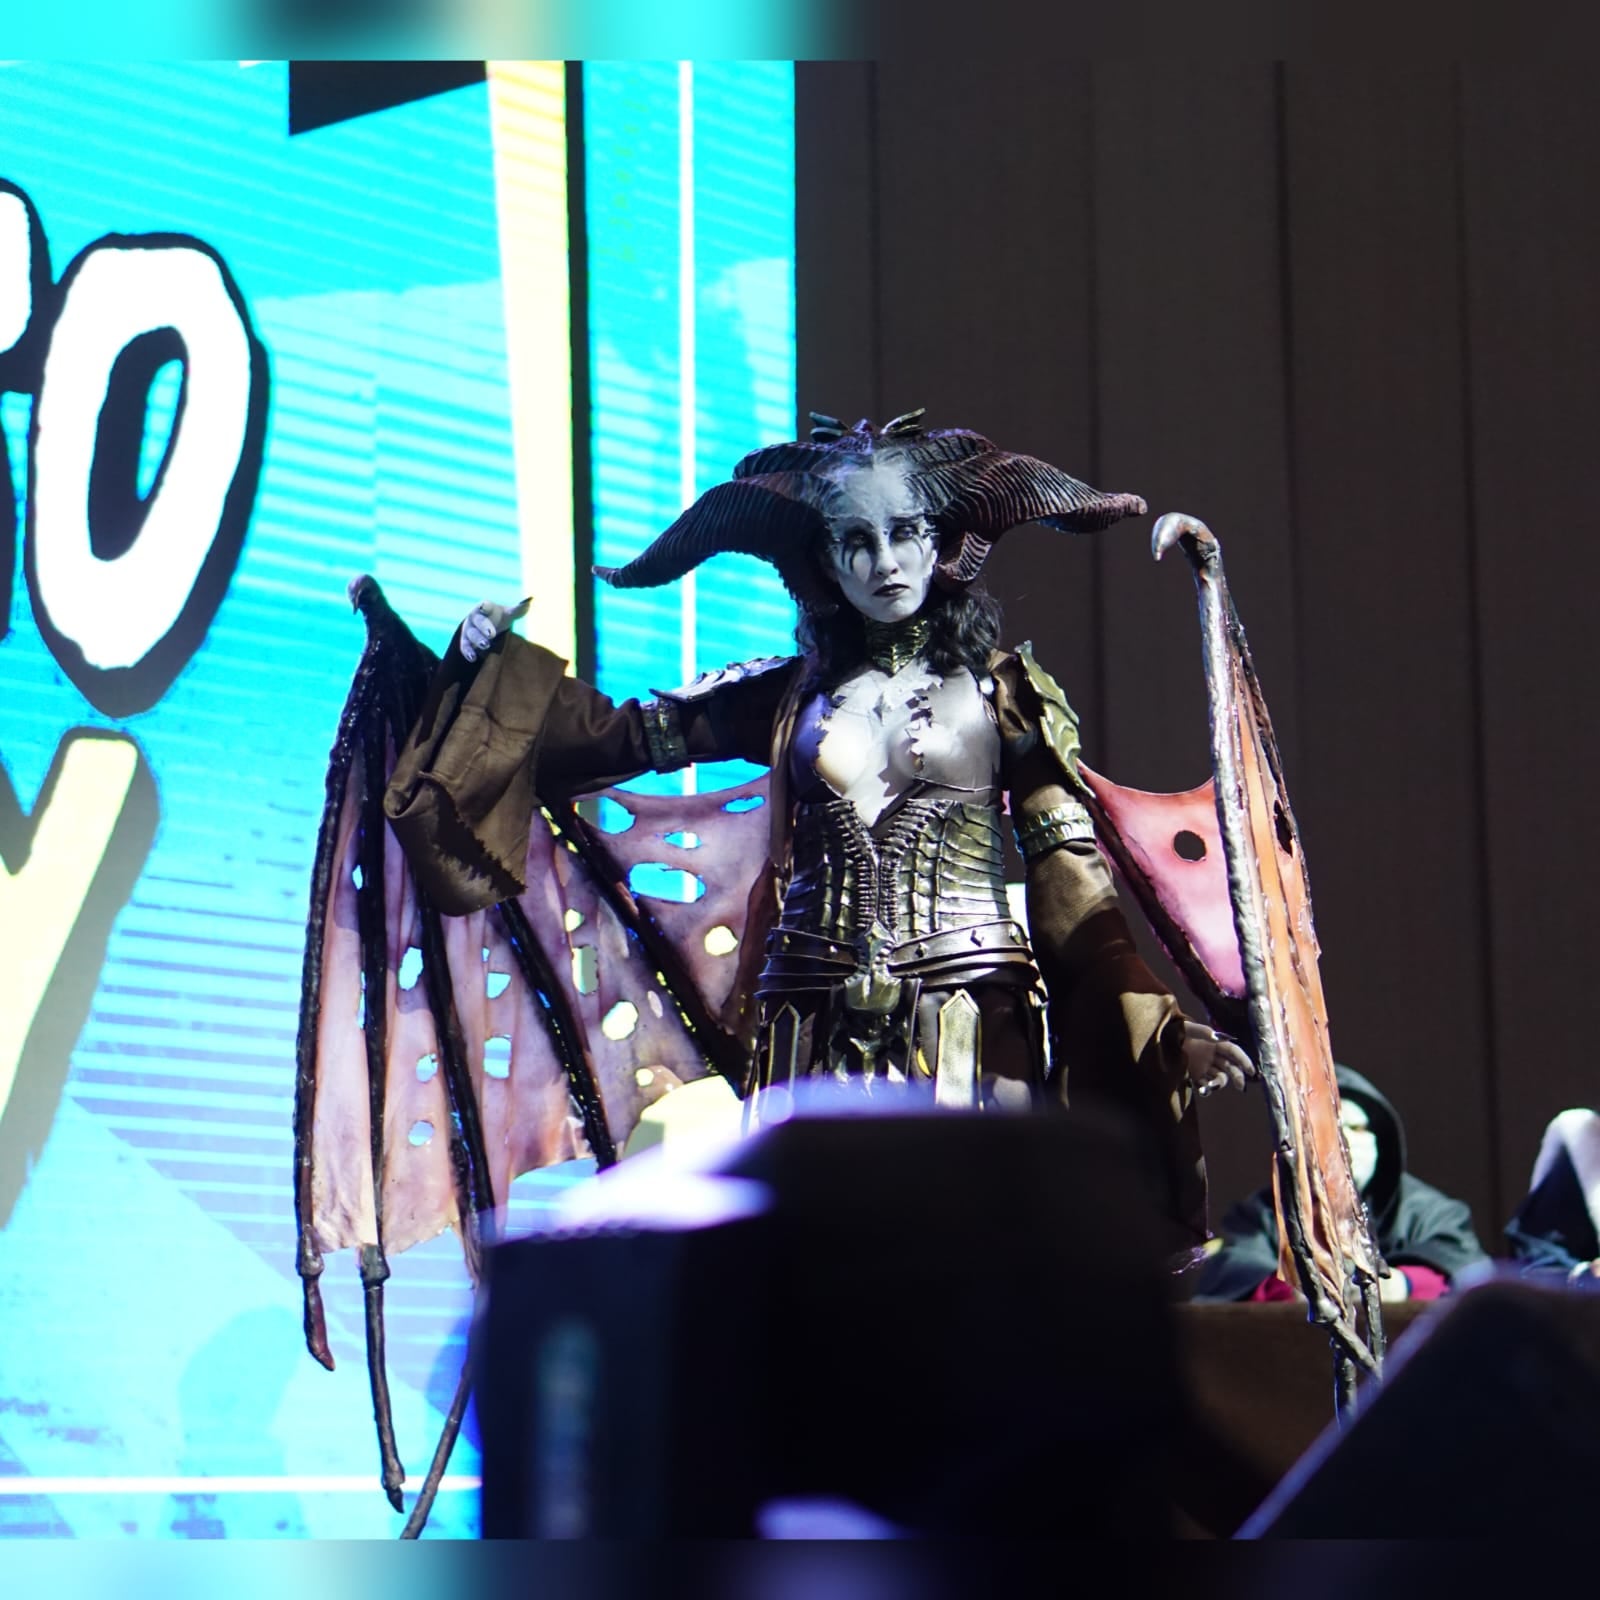
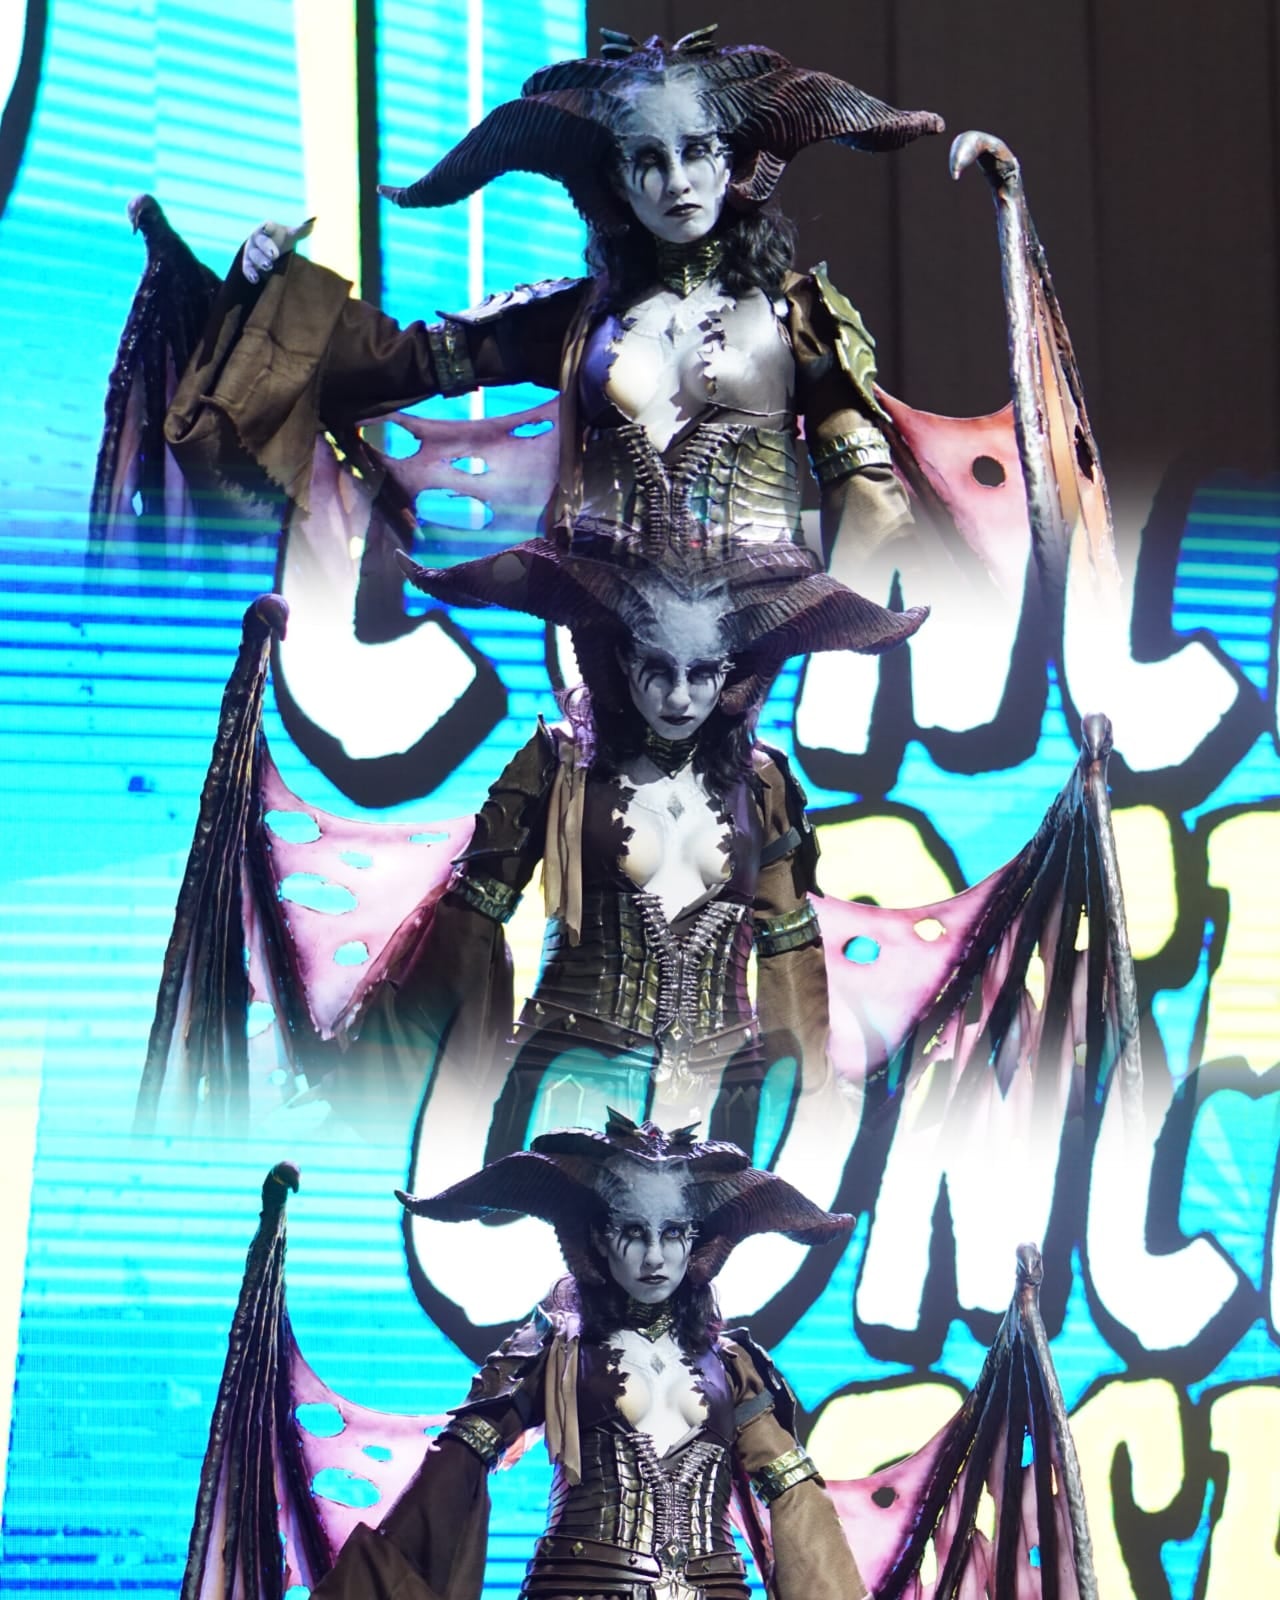
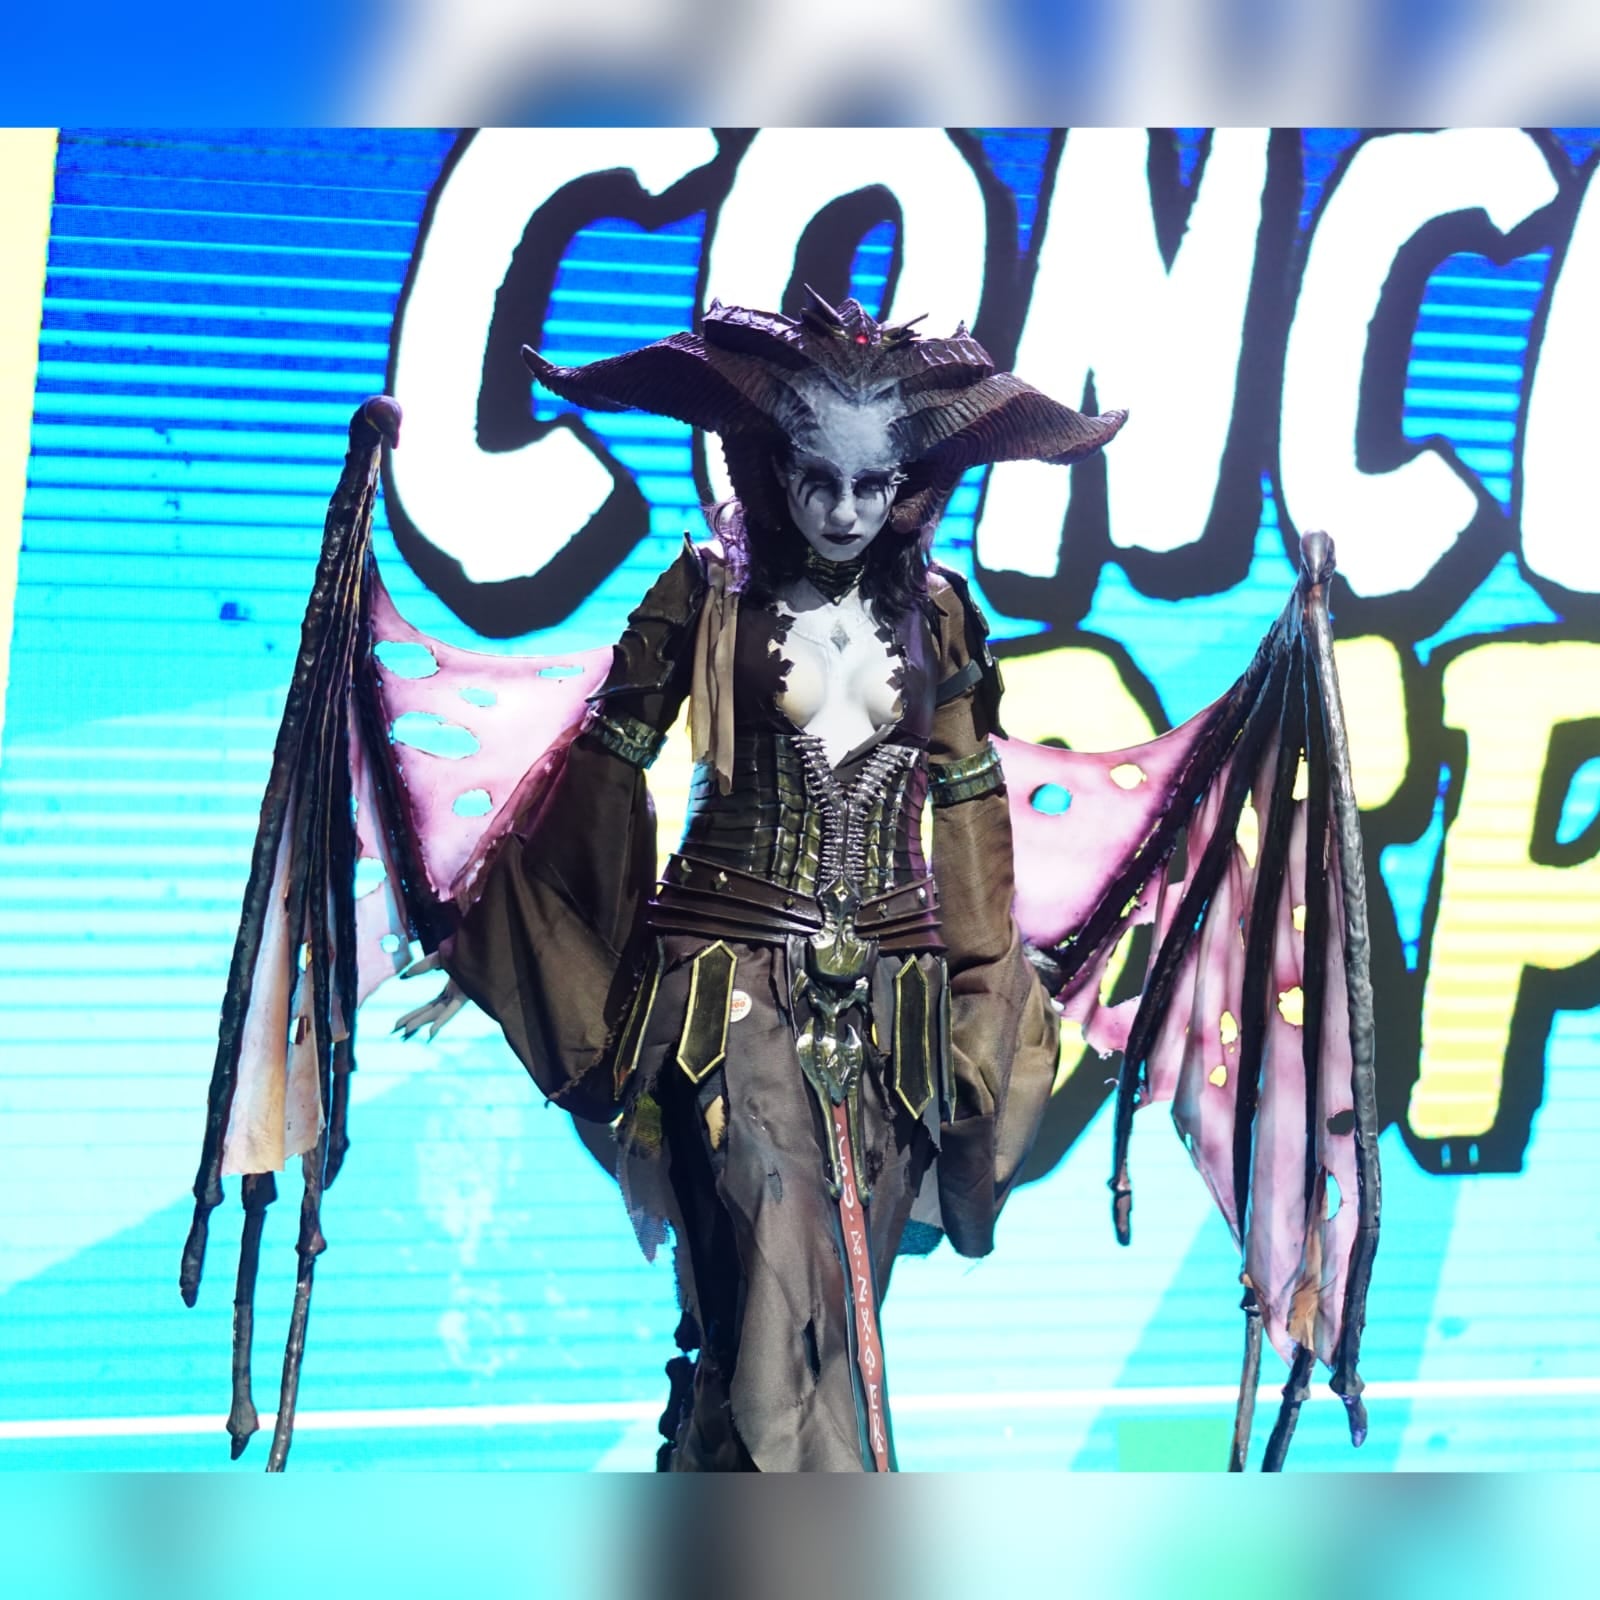
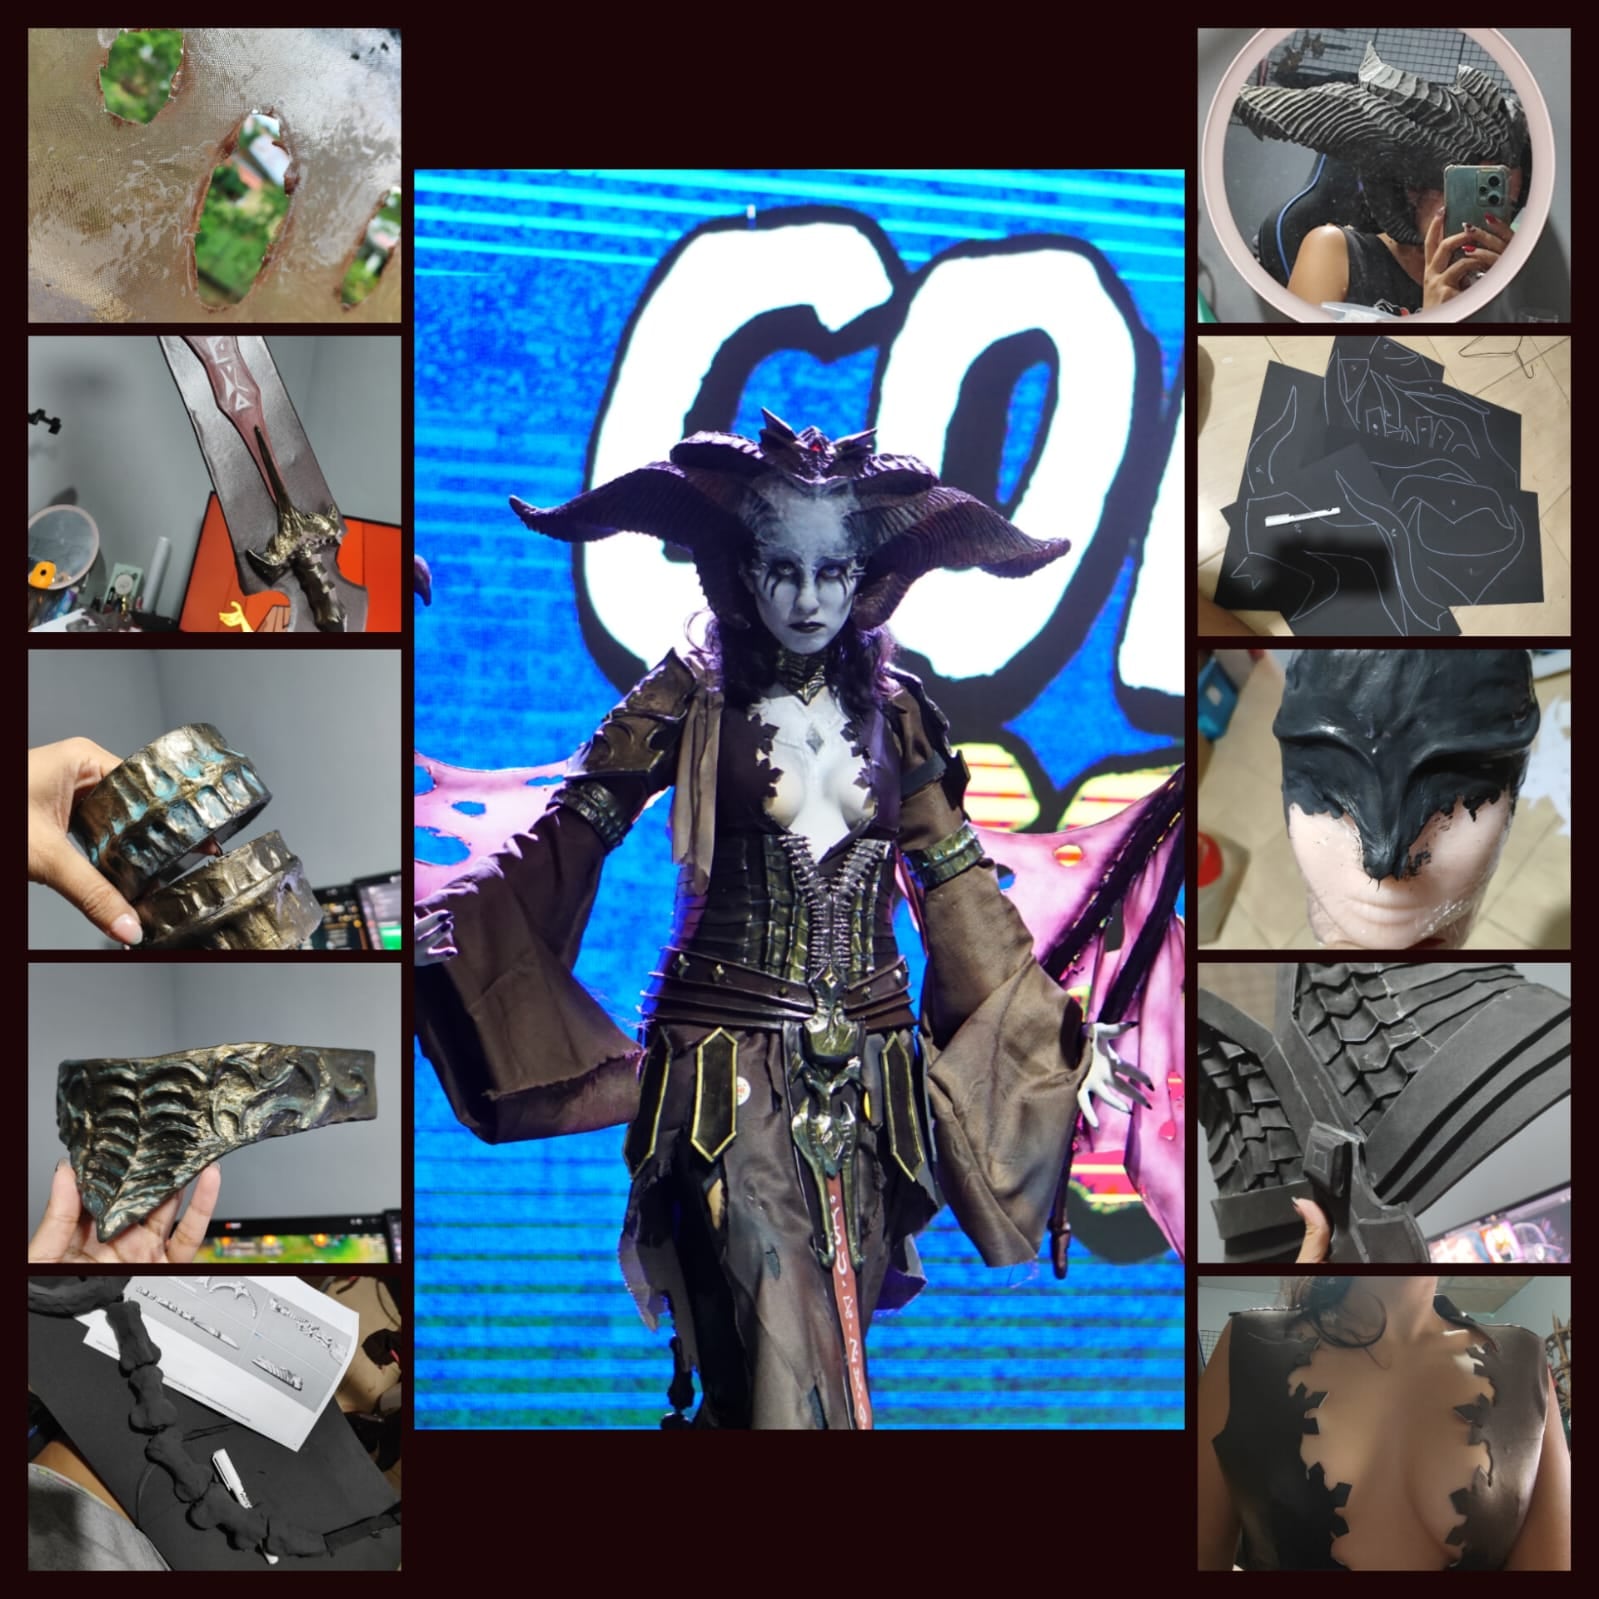
Hello! I’m Kailani, and I want to show you how I made my Lilith cosplay from Diablo 4.
She was made in about a month and a half, from start to finish. She has a lot of different techniques going on, from sculpting and needlework to prop and armor making.
I’ll go from head to toe, just to try to get everything written down!
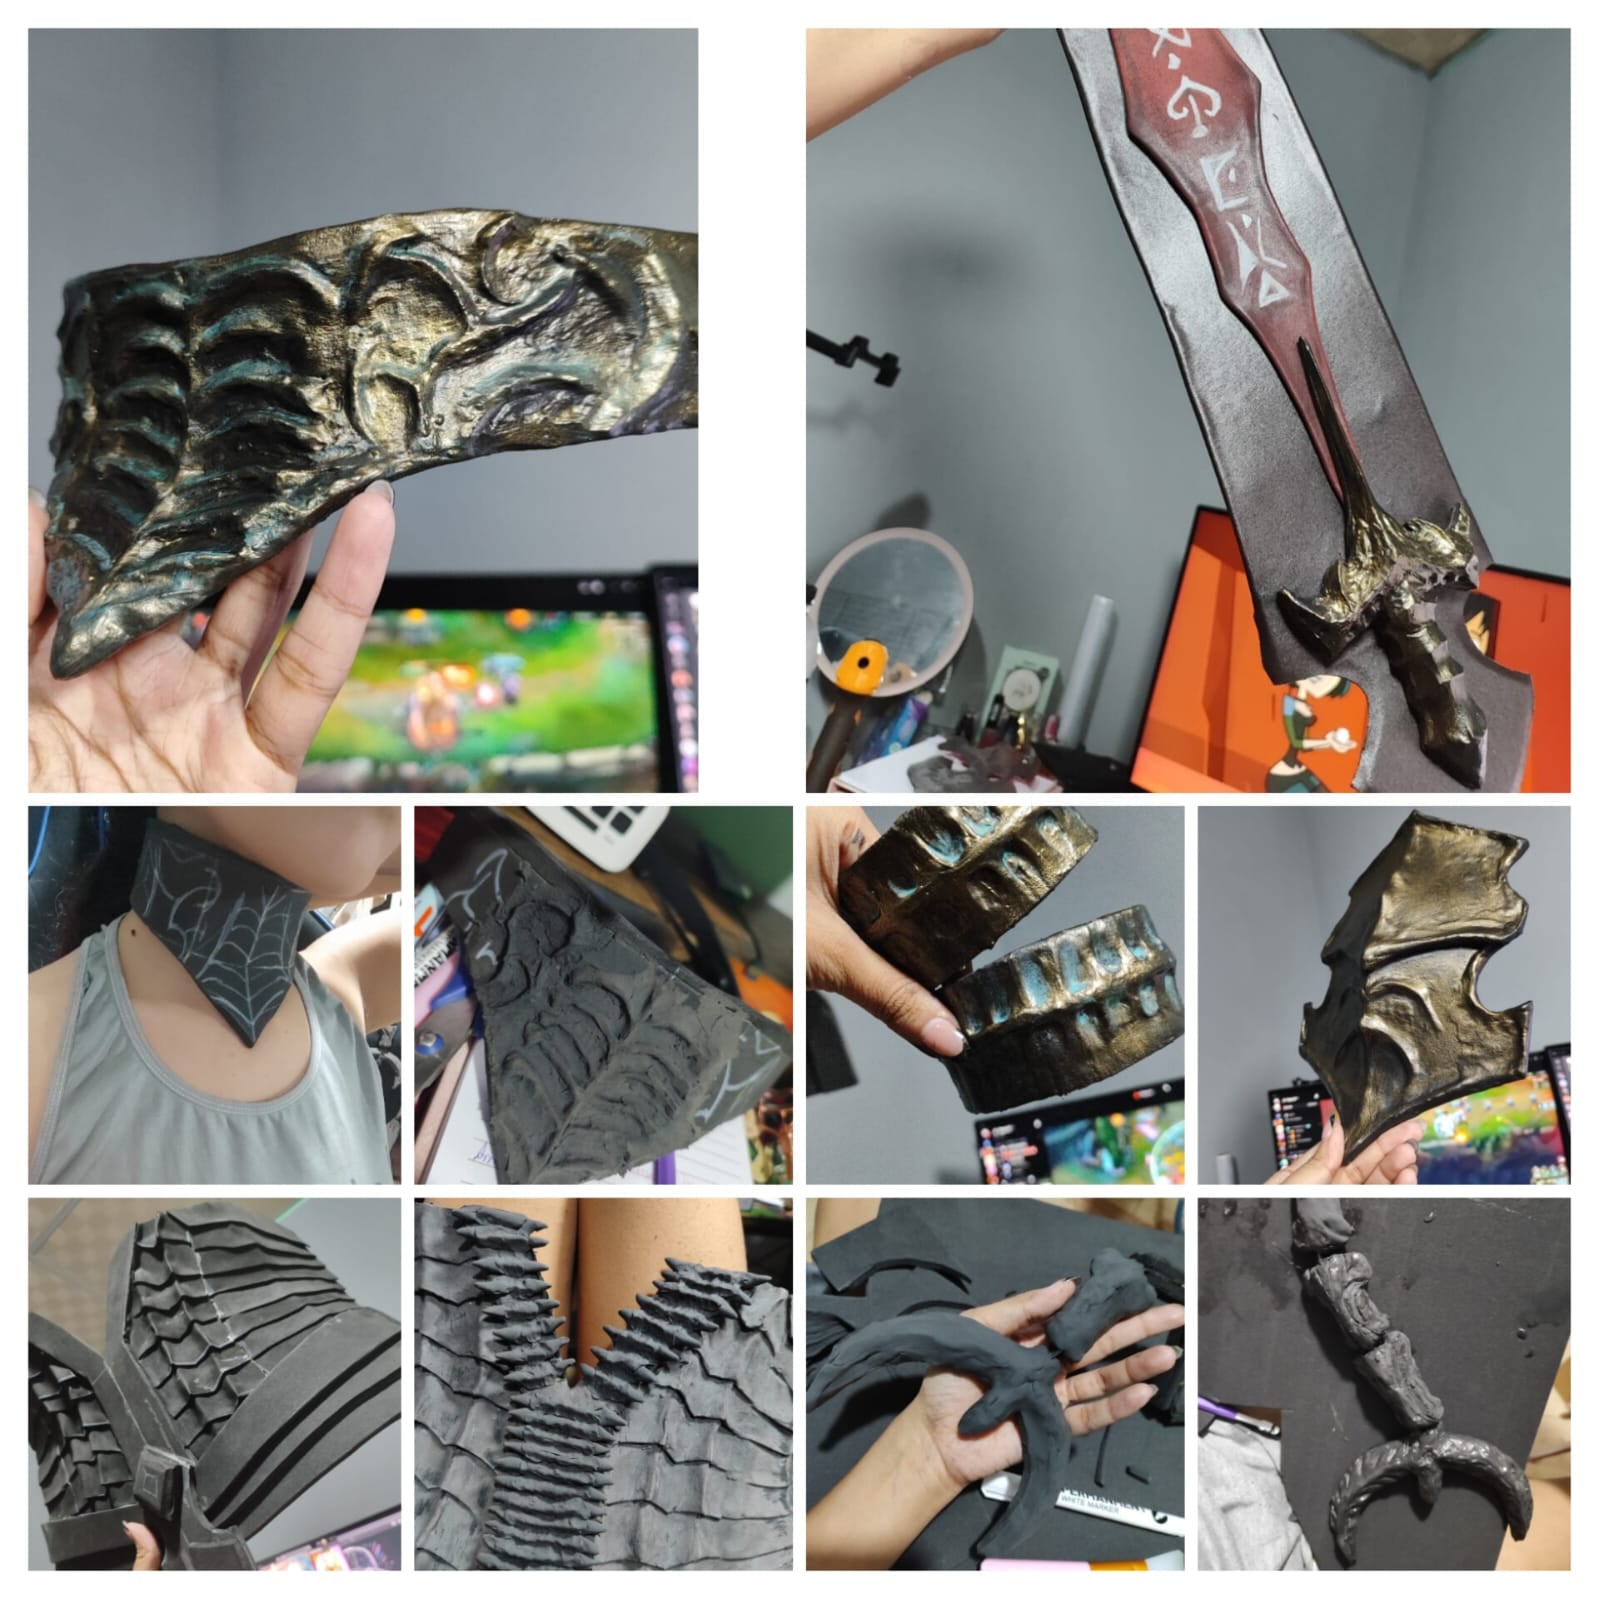
Actual process pictures are below! (I made them into a collage.)
Horns
The horns are made from a 4mm foam base to keep them as lightweight as possible. I then fully sculpted all the ridges and shaping to give them an organic, lifelike feel.
This process took me about a week and a half, since I needed to let some parts fully dry before continuing.
The horns are one of the focal pieces of the whole cosplay, so I had to be very detailed with them!
Prosthetics
The horns are entirely fused with the forehead piece. This was made with thinned-out foam clay, sculpted on a mannequin head, then shaped to my face using heat and pressure.
The forehead piece is glued onto my face using Spirit Gum at key points, and then I merged everything together using toilet paper and liquid latex, making sure the transition looked as seamless as possible.
She also has some smaller horns around the outer corners of her eyes. These were made with foam clay and glued on with Spirit Gum as well. The same goes for her chest diamond.
All of the pieces were painted with a mix of acrylic paint and body paint to make sure the transitions looked as seamless as possible.
Makeup
The makeup was done entirely by me, using a mix of Mehron body paint. I had to mix the colors myself to get her skin tone as accurate as possible.
I used a combination of different greyscale and black eyeshadows to further make her look more credible, adding depth and contouring my face in a way that made it look more elegant and demonic.
Armor
The armor is all made from 4mm and 2mm foam, with a lot of sculpted details using foam clay.
All of the pieces were patterned using cling wrap. Then, I used masking tape to tape out the overall shape and markers to create the pattern. This was then cut out and transferred onto the foam before being cut and glued together with contact cement.
All the pieces were made in a similar way.
I made each piece, sanded it down, and filled any holes with foam clay. I then sanded it again with sandpaper and some water to make it as smooth as possible.
I then sealed the pieces with 3–4 coats of wood glue, sanding them down again to make sure everything was as smooth as possible before painting. I painted everything with acrylics.
I wanted the colors to pop, and looking at references, her armor is oxidized. I added this detail to the metal armor, making sure to accurately show where the oxidation process would start.
I used a combination of teal and emerald to give it that distinct and iconic look.
Robes
The robes are all made from thrifted curtains!
I love using thrifted materials, especially cloth.
The robes were made by draping the fabric on my mannequin, then cutting and sewing everything together.
The only thing that was different was the actual bodice.
For this, I wrapped myself in cling wrap and masking tape, then used markers to mark out where the pattern should go.
This was cut out and transferred onto 2mm craft foam. I used some old faux leather I had and wrapped the foam using spray adhesive. I then wrapped the craft foam with the cloth and cut away the excess.
I then sewed along the edges of the bodice to make sure everything was securely together.
For the gravity-defying bodice, I used a combination of boob tape and fashion tape to adhere the bodice to myself so I wouldn’t have any accidents!
Hands and Feet
I used mesh arm sleeves and mesh thigh-highs so I didn’t have to paint my arms and legs.
I attached long black nails to the arm sleeves and mesh socks, and added some shadows to give them depth and make them look more lifelike.
Wings
The wings are made with a PVC base that was heated and curved into shape.
The pattern I used was made in Illustrator using different reference pictures to get a better idea of the look I wanted.
The PVC was covered in a combination of craft foam and foam clay to give it a more organic look. I did the same for the fingers of the wings that go in between the wing membranes.
The star of the show here is the membrane between the fingers of the wings!
It took about two weeks of experimenting to figure out how to make the membrane. I wanted it to be as skin-like, flexible, and membrane-like as possible without taking away from the transparency.
After a lot of experimenting, I found the perfect combination!
Using silicone (the kind used for bathrooms and kitchens) and flesh-colored bridal mesh fabric, I was able to create the perfect membrane-like material. The opacity, flexibility, and overall feel were exactly what I was looking for.
I think I talked about everything?
If you have any further questions, I can surely answer them!
Thank you!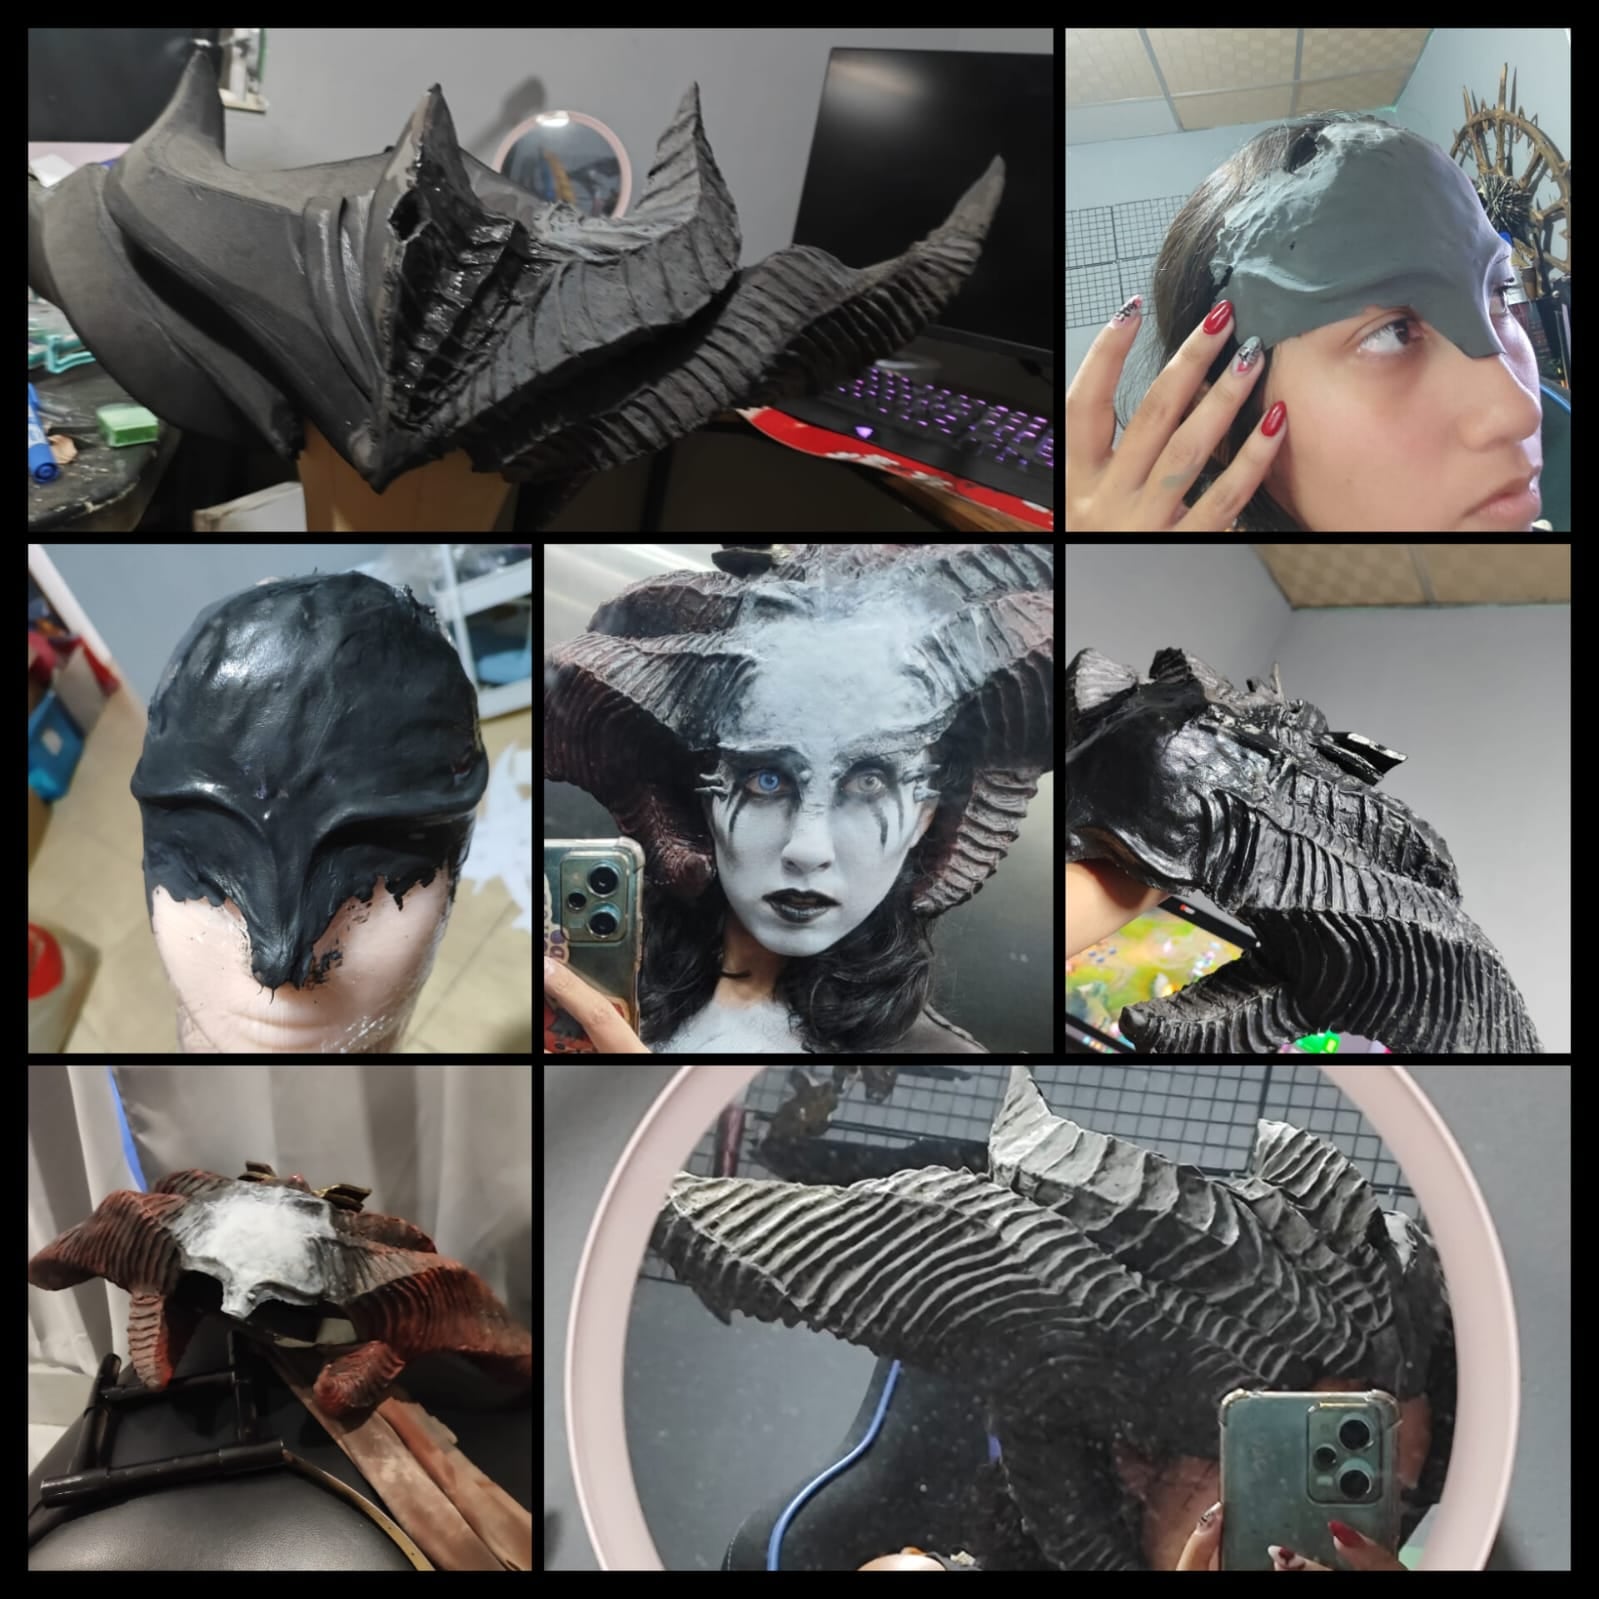
Comments