Best Of
Gushers FruitHead (Rotten Strawberry)


I know since we won last years contest with our Dark Knight the chances of us winning again is slim to none but we enjoy sharing our art none the less... but we could use the clay too lol
2 weeks ago Gushers candy released a short horror film based off the 90's commercials called FruitHead inspiring us to make our own mask based on the make up by Empress FX Studios

Nothing too fancy about the build! we sculpted in Monster clay, molded in fiberglass, originally cast in silicone and back filled with flexible polyurethane it was too heavy to enjoy for a party so we instead re cast in a Neoprene rubber for a much lighter and enjoyable mask.


Re: What's On Your Workbench? (Spring 2026)
 DoManhFX
Re: What's On Your Workbench? (Spring 2026)
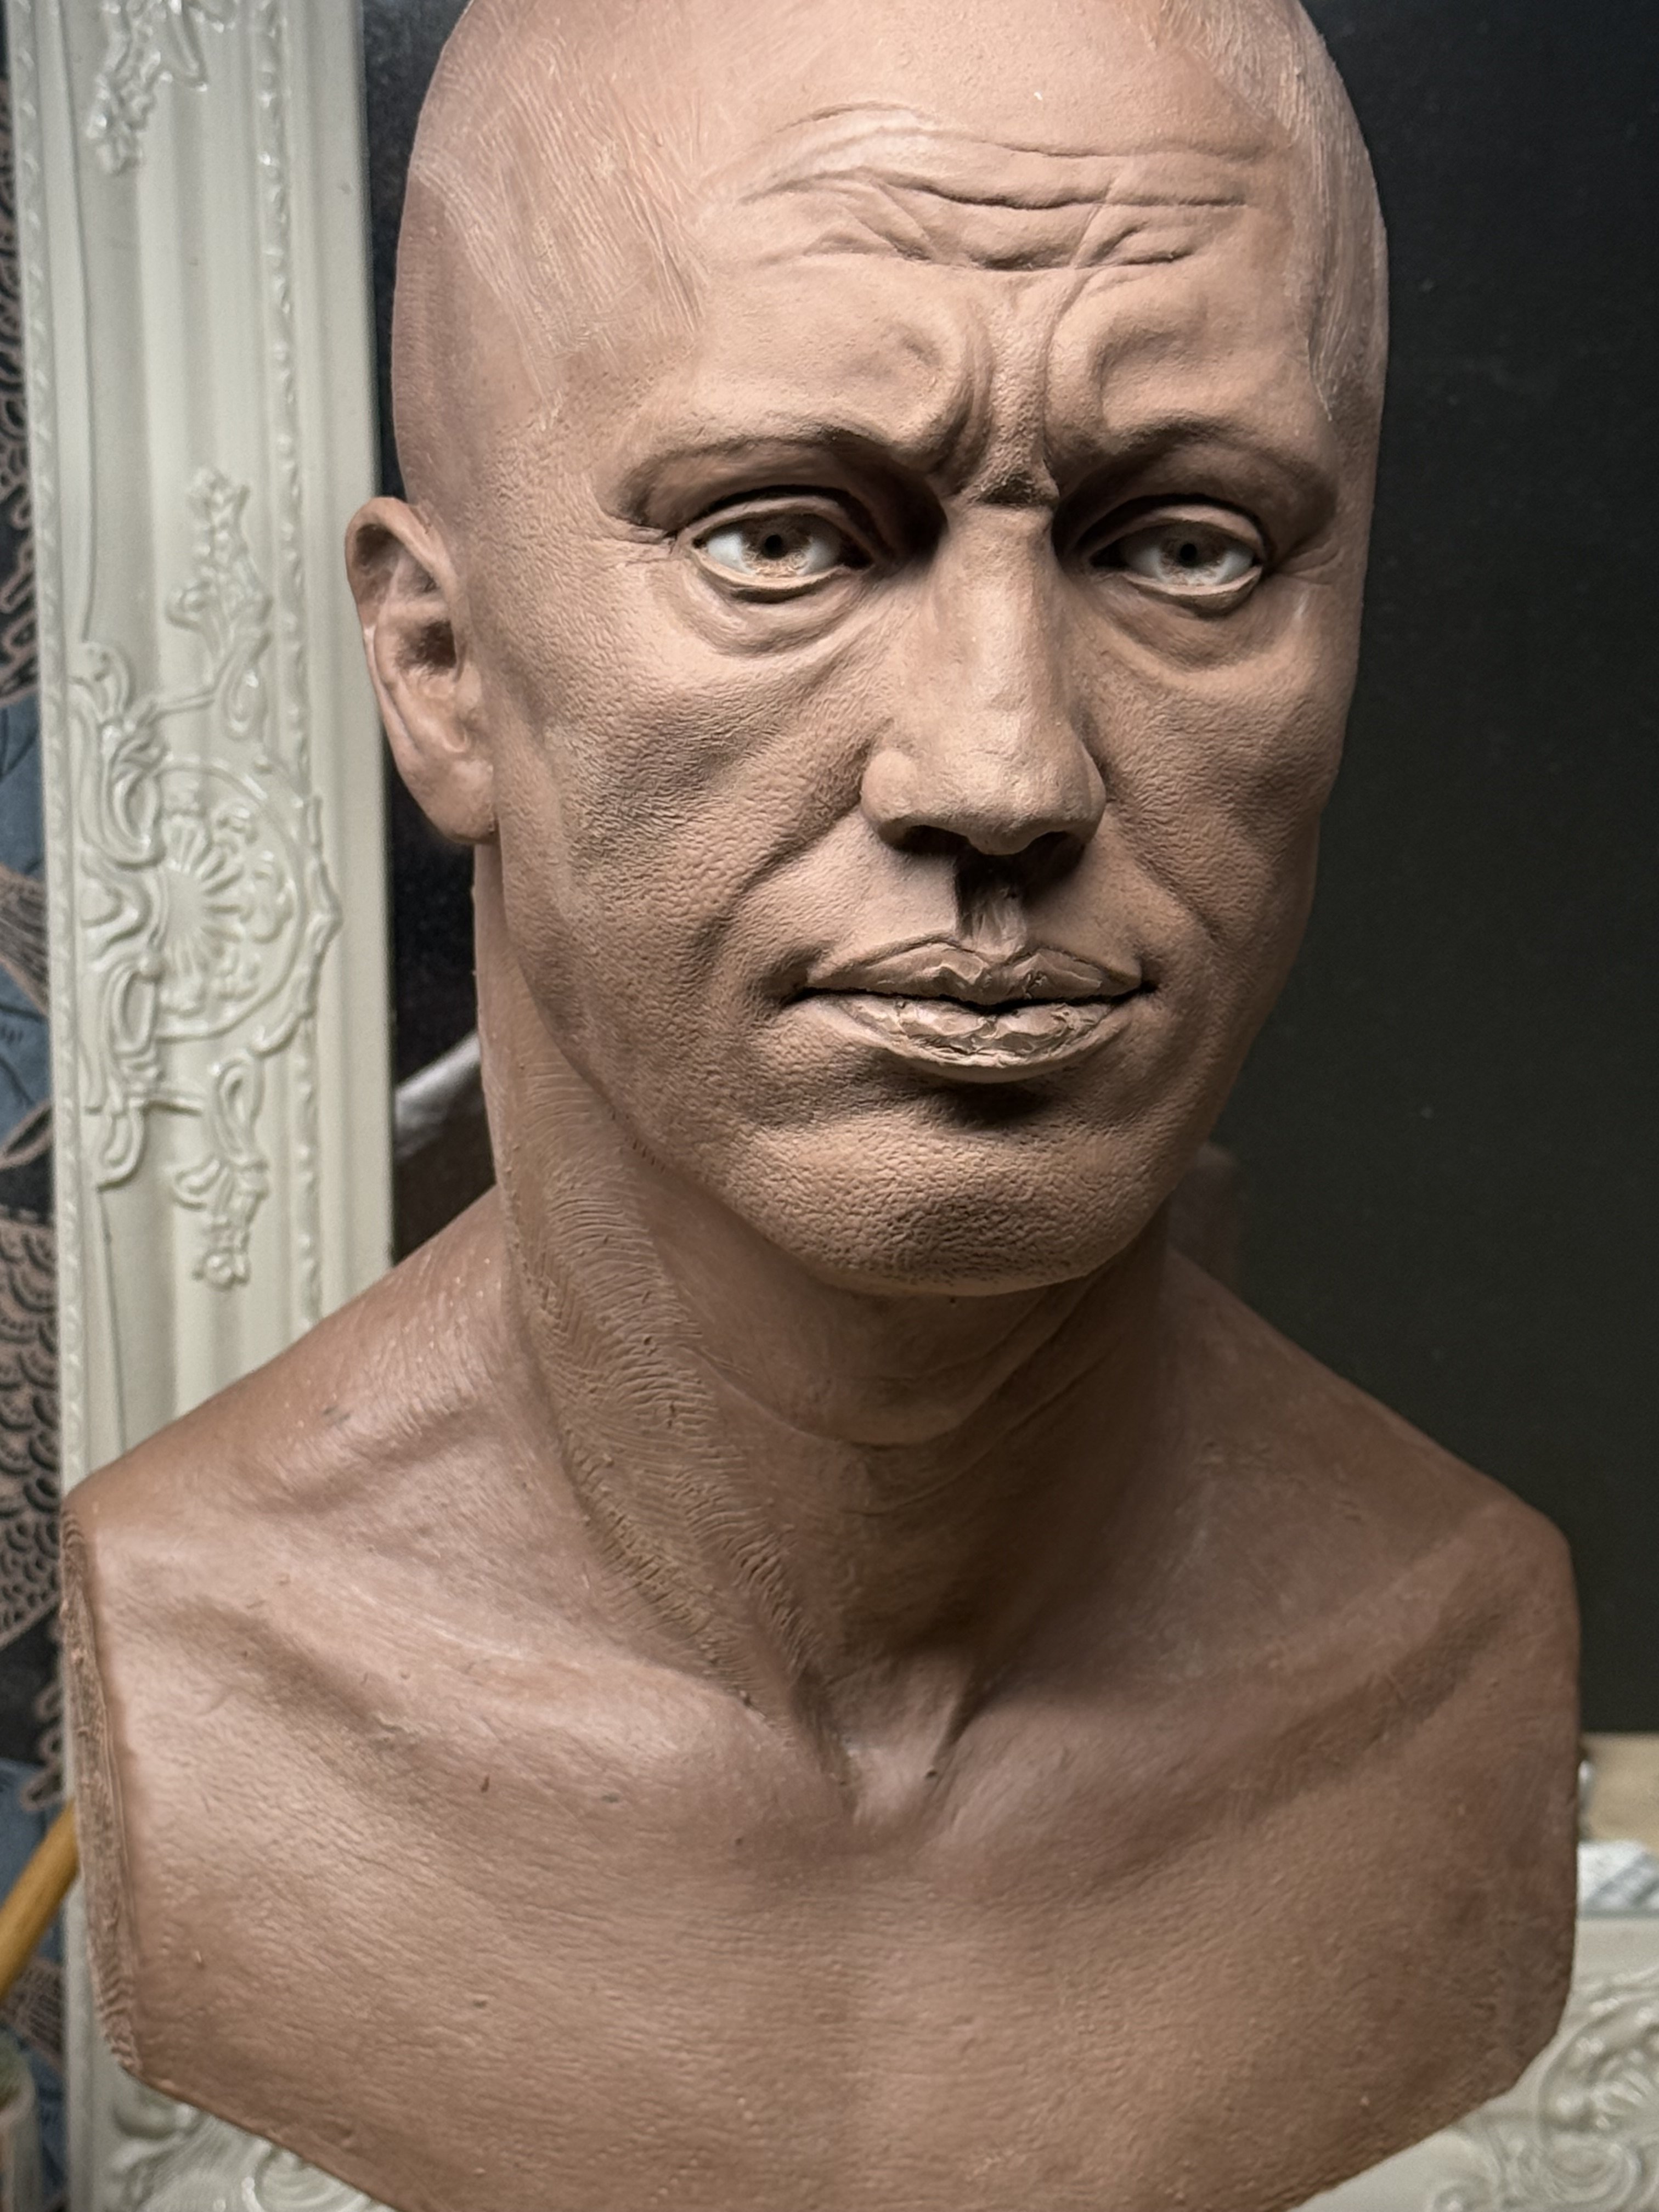
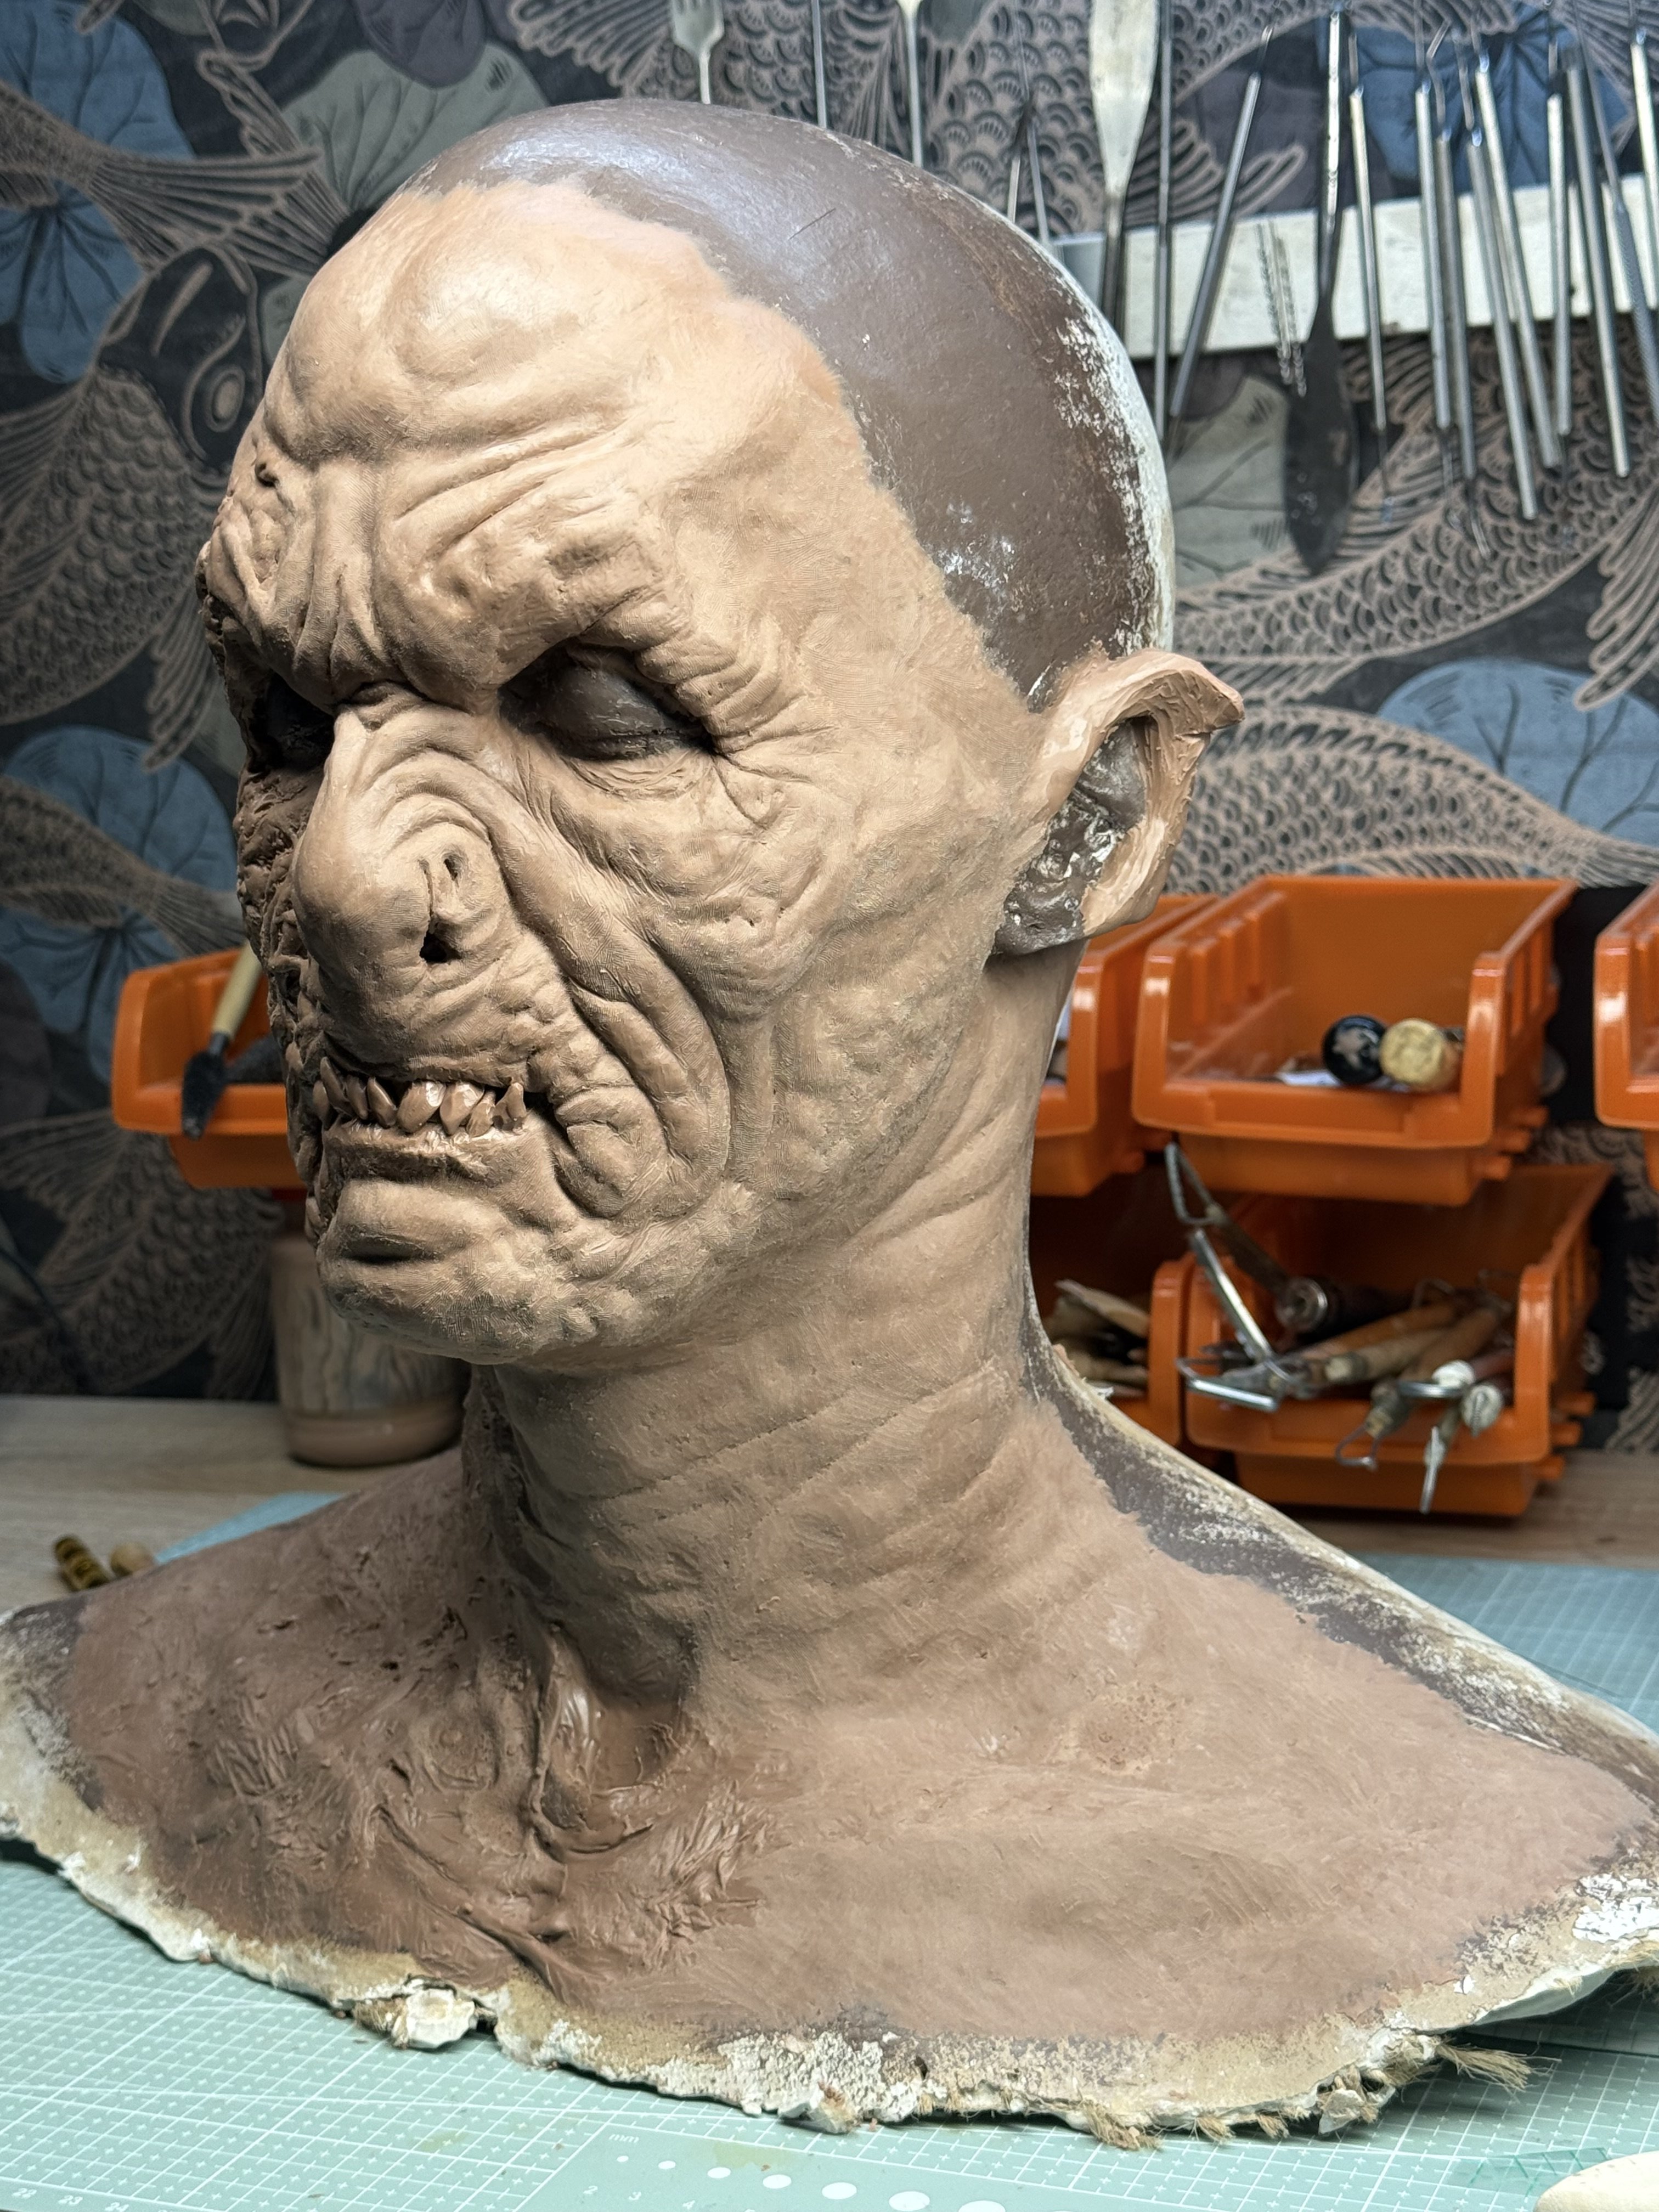
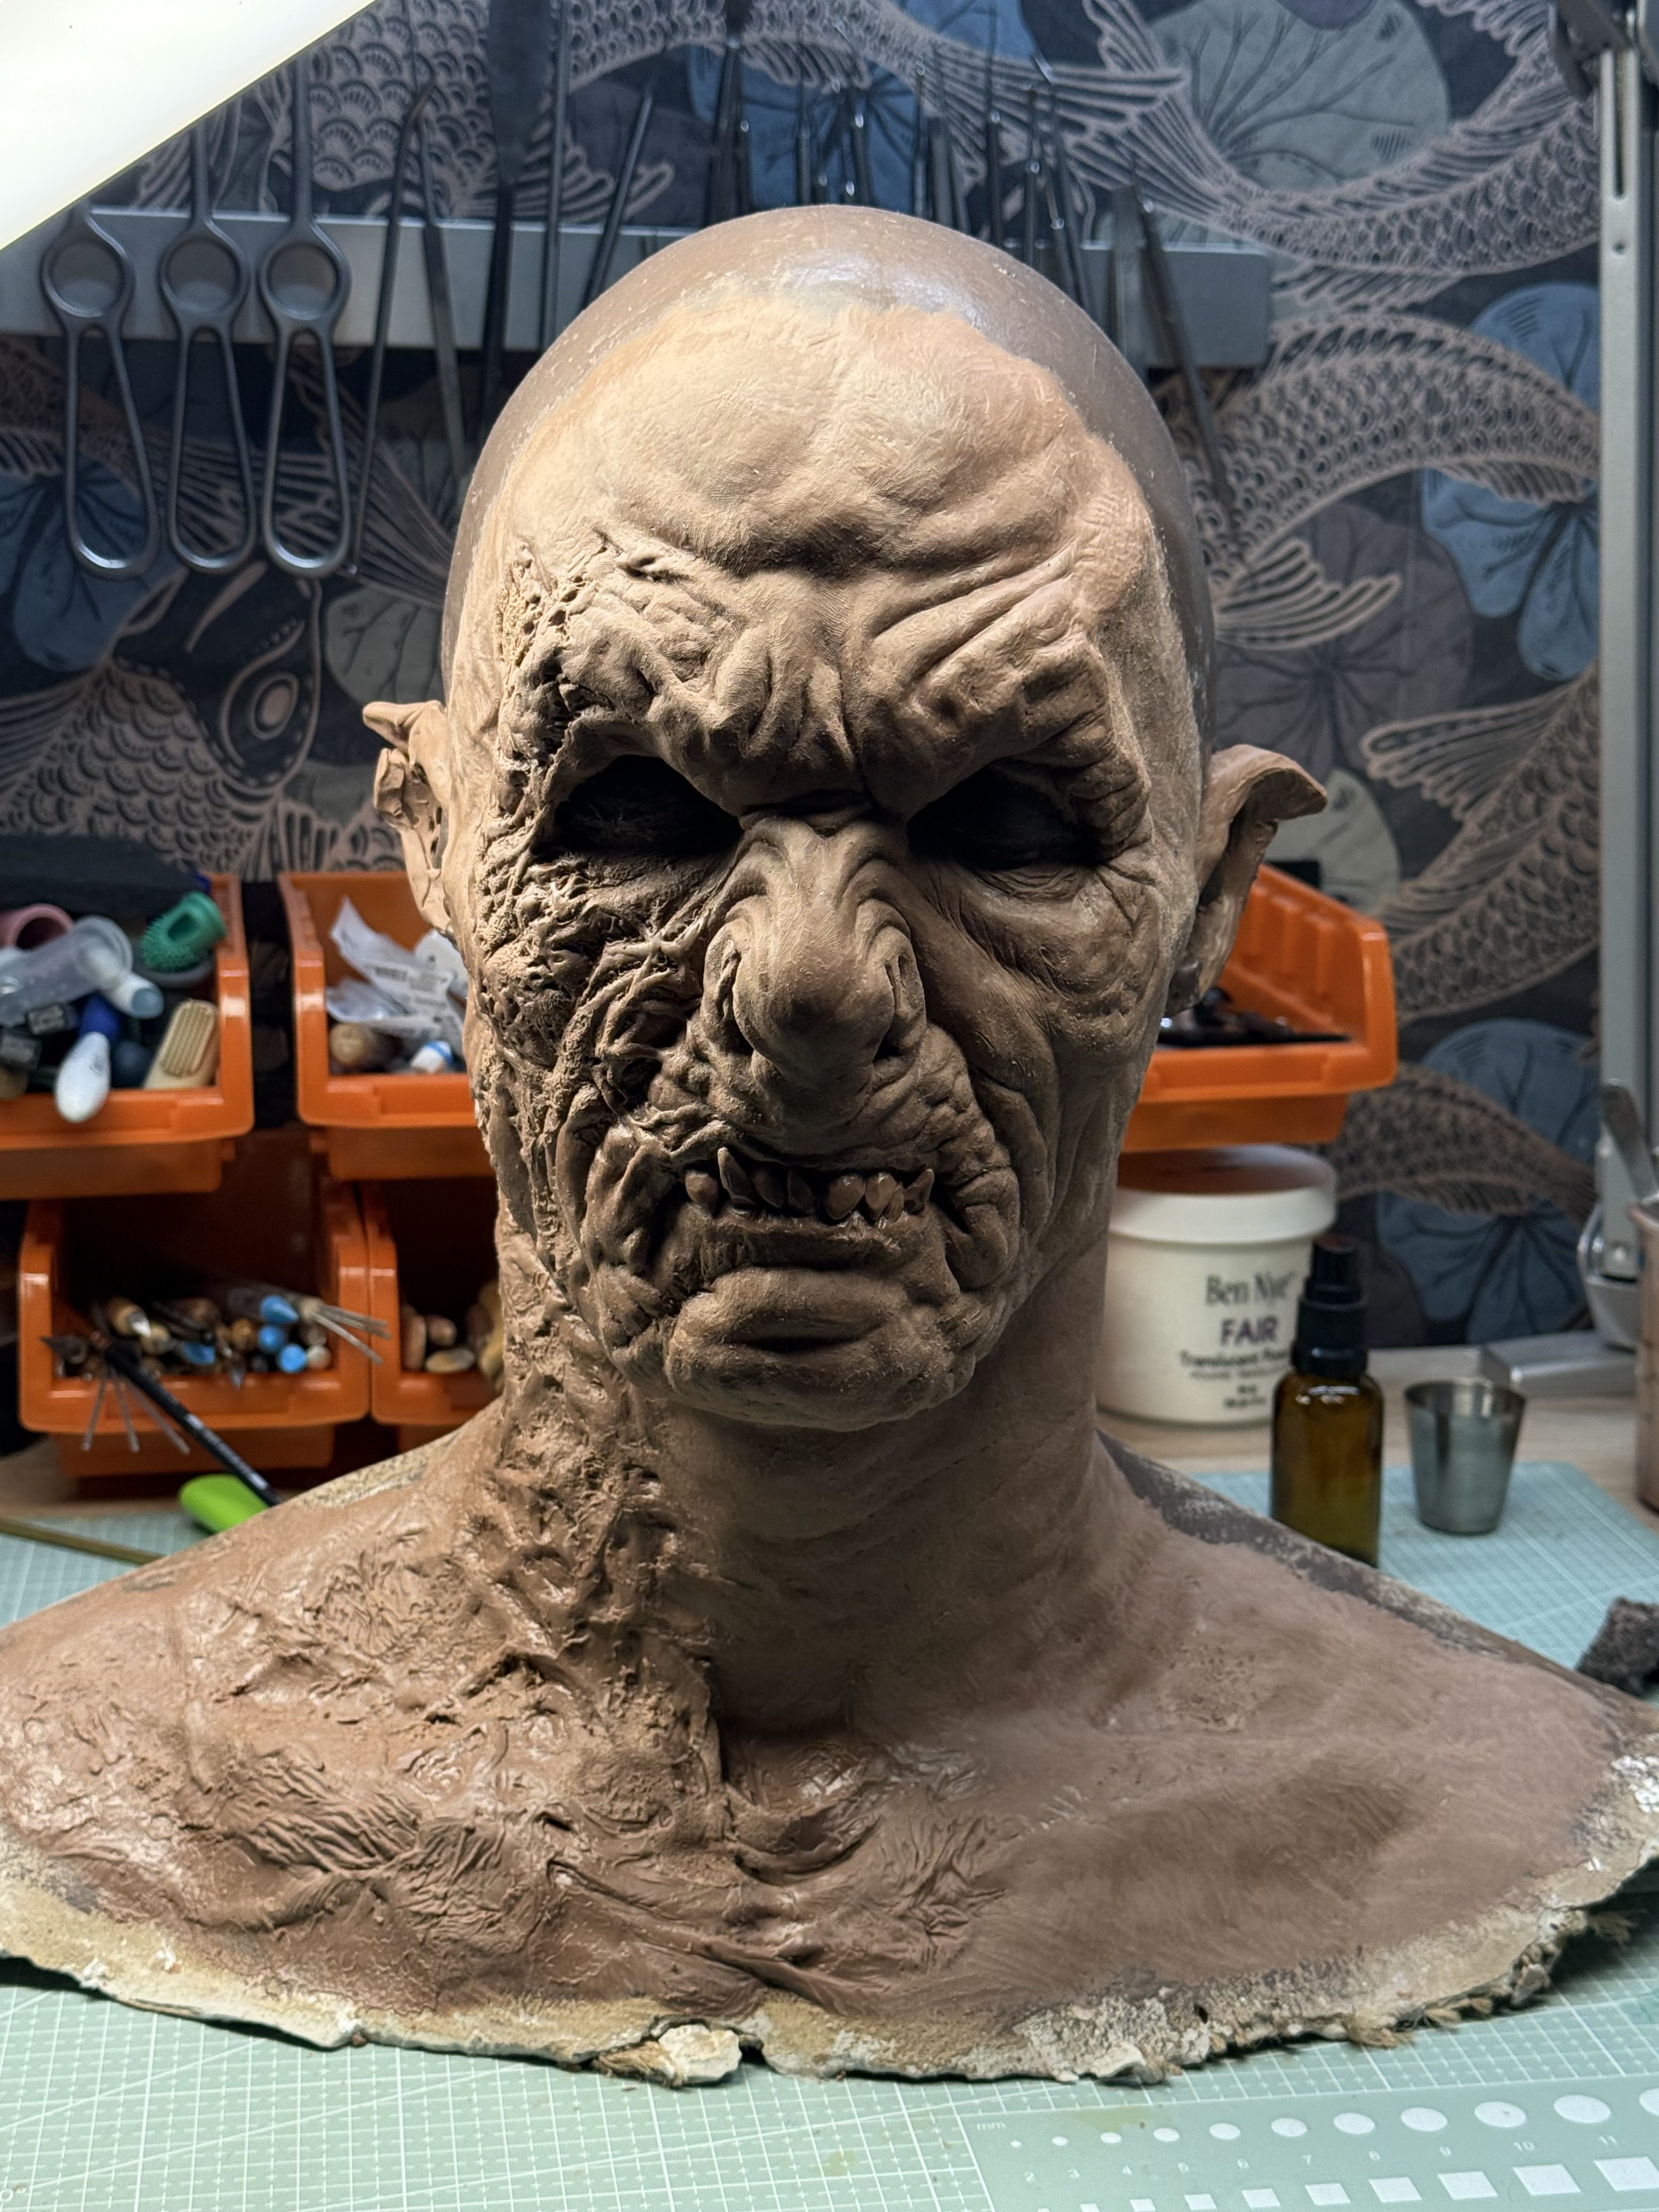
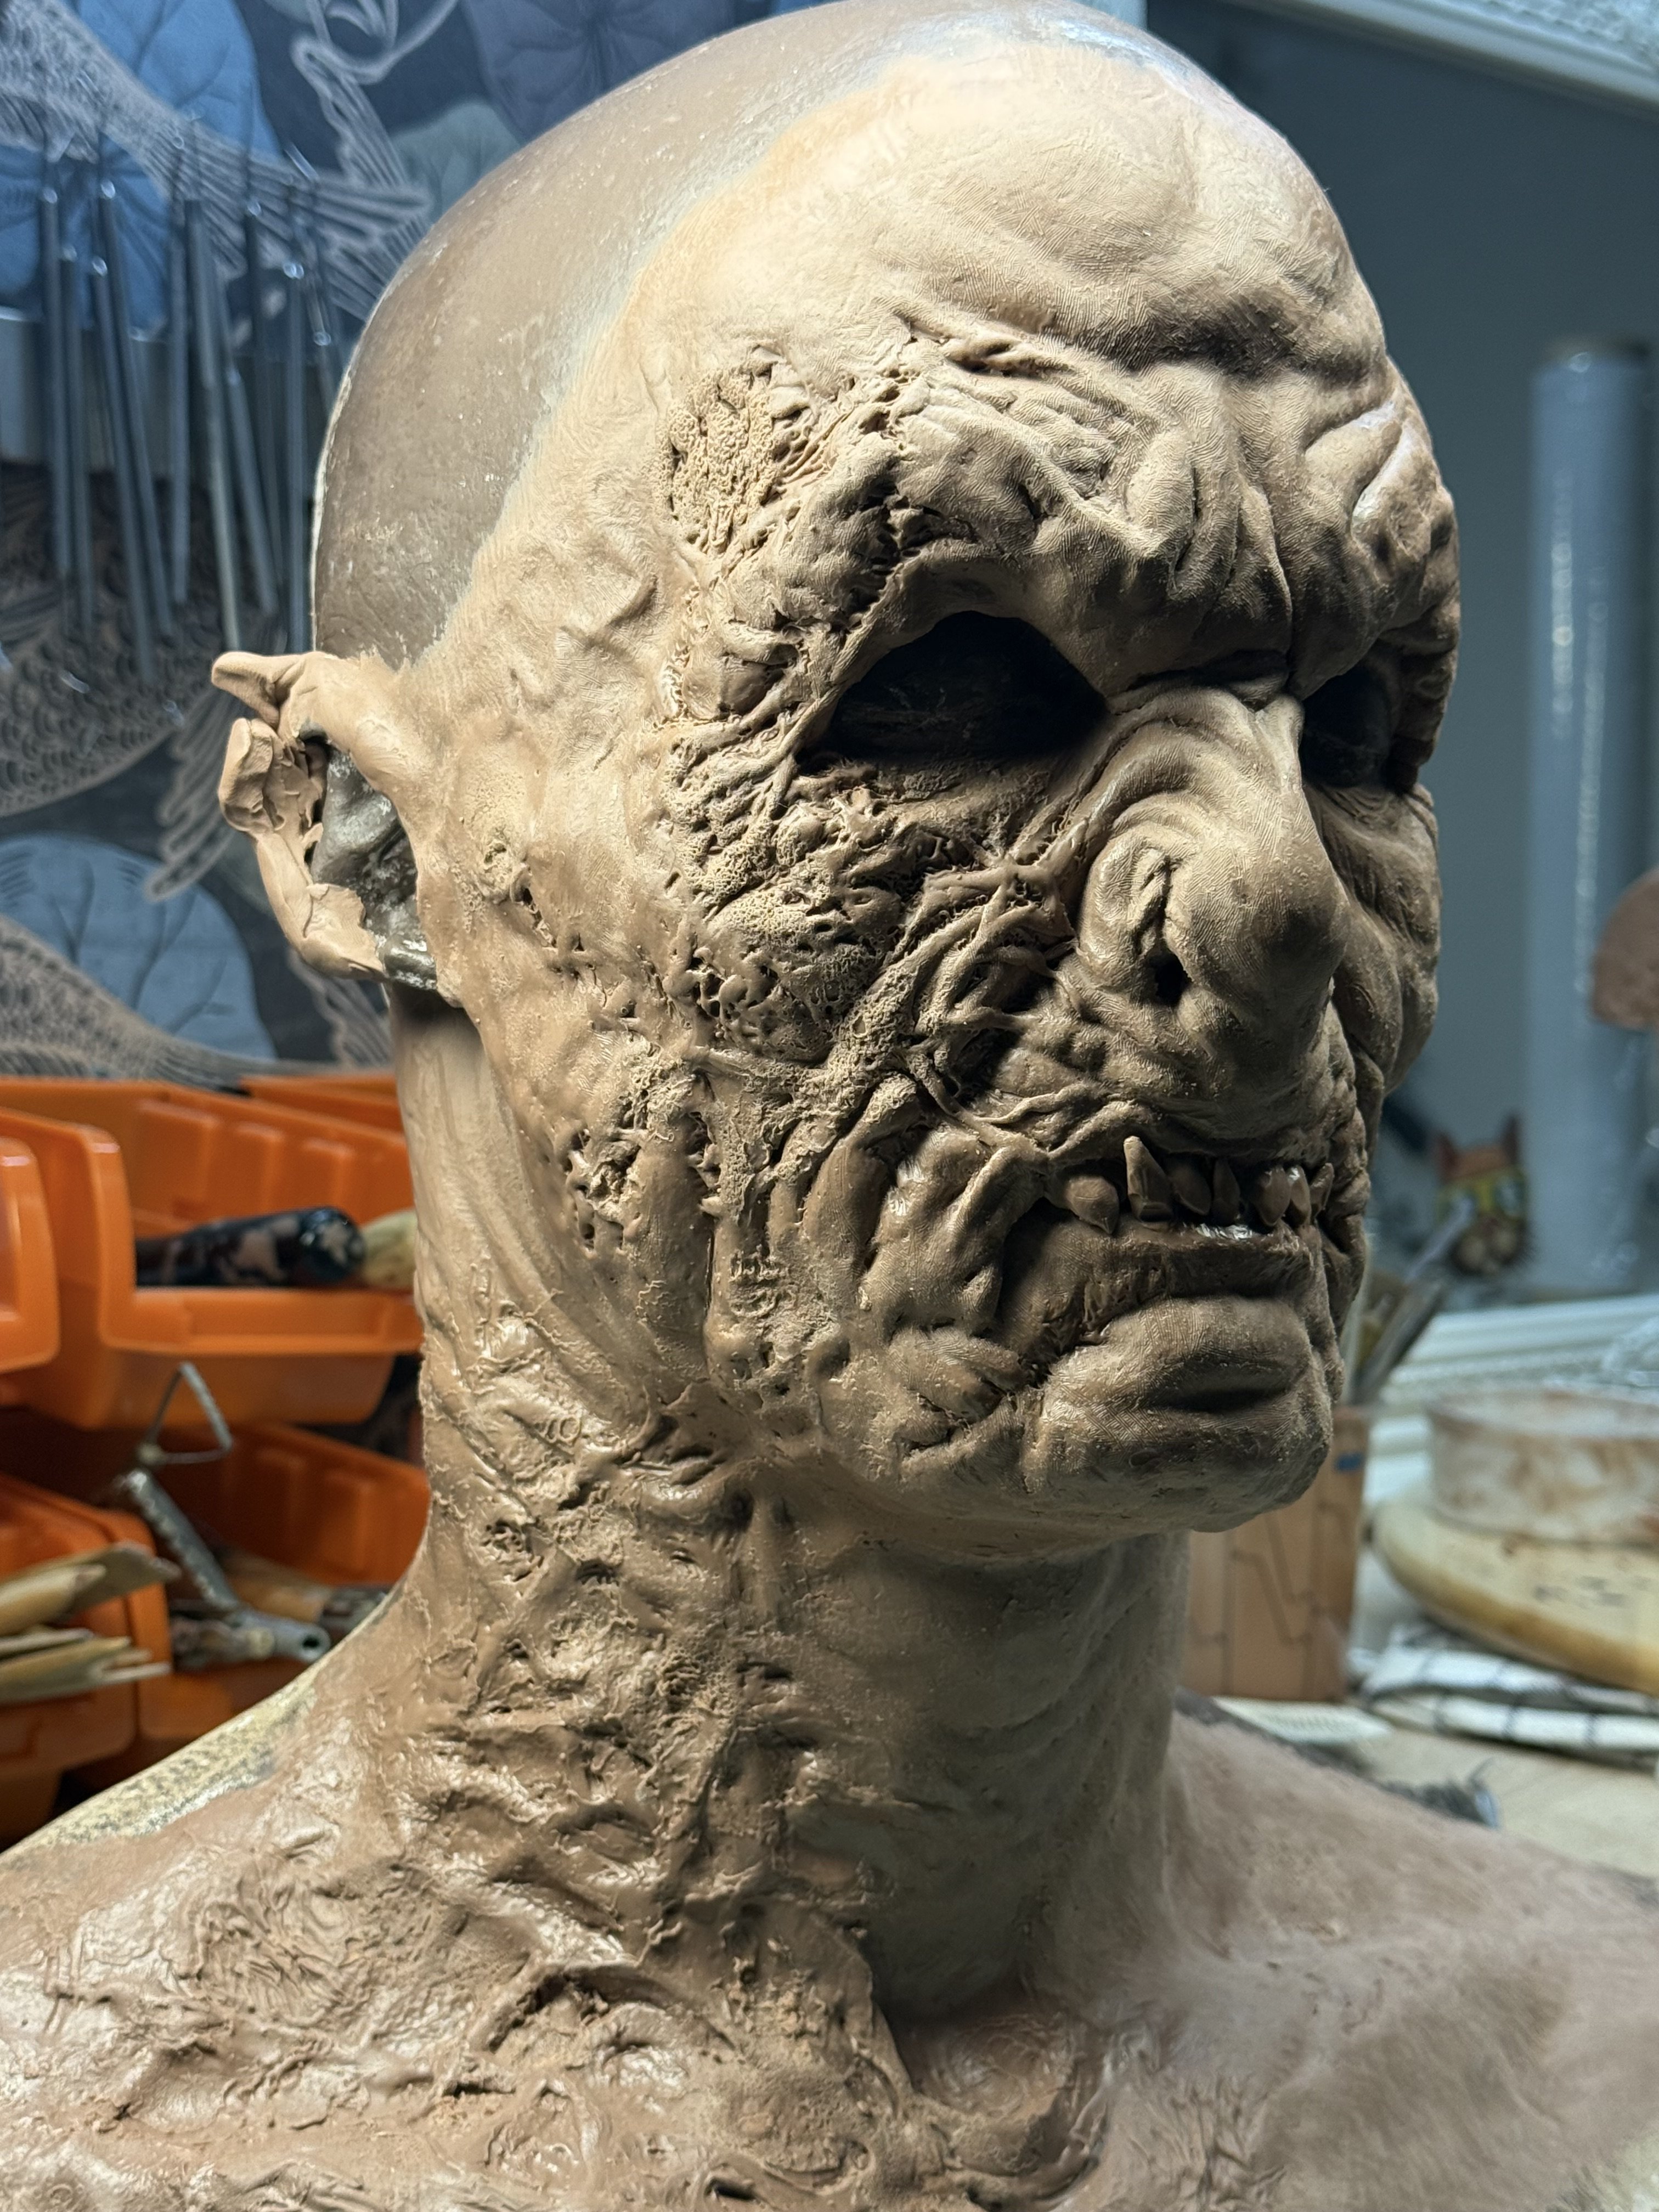
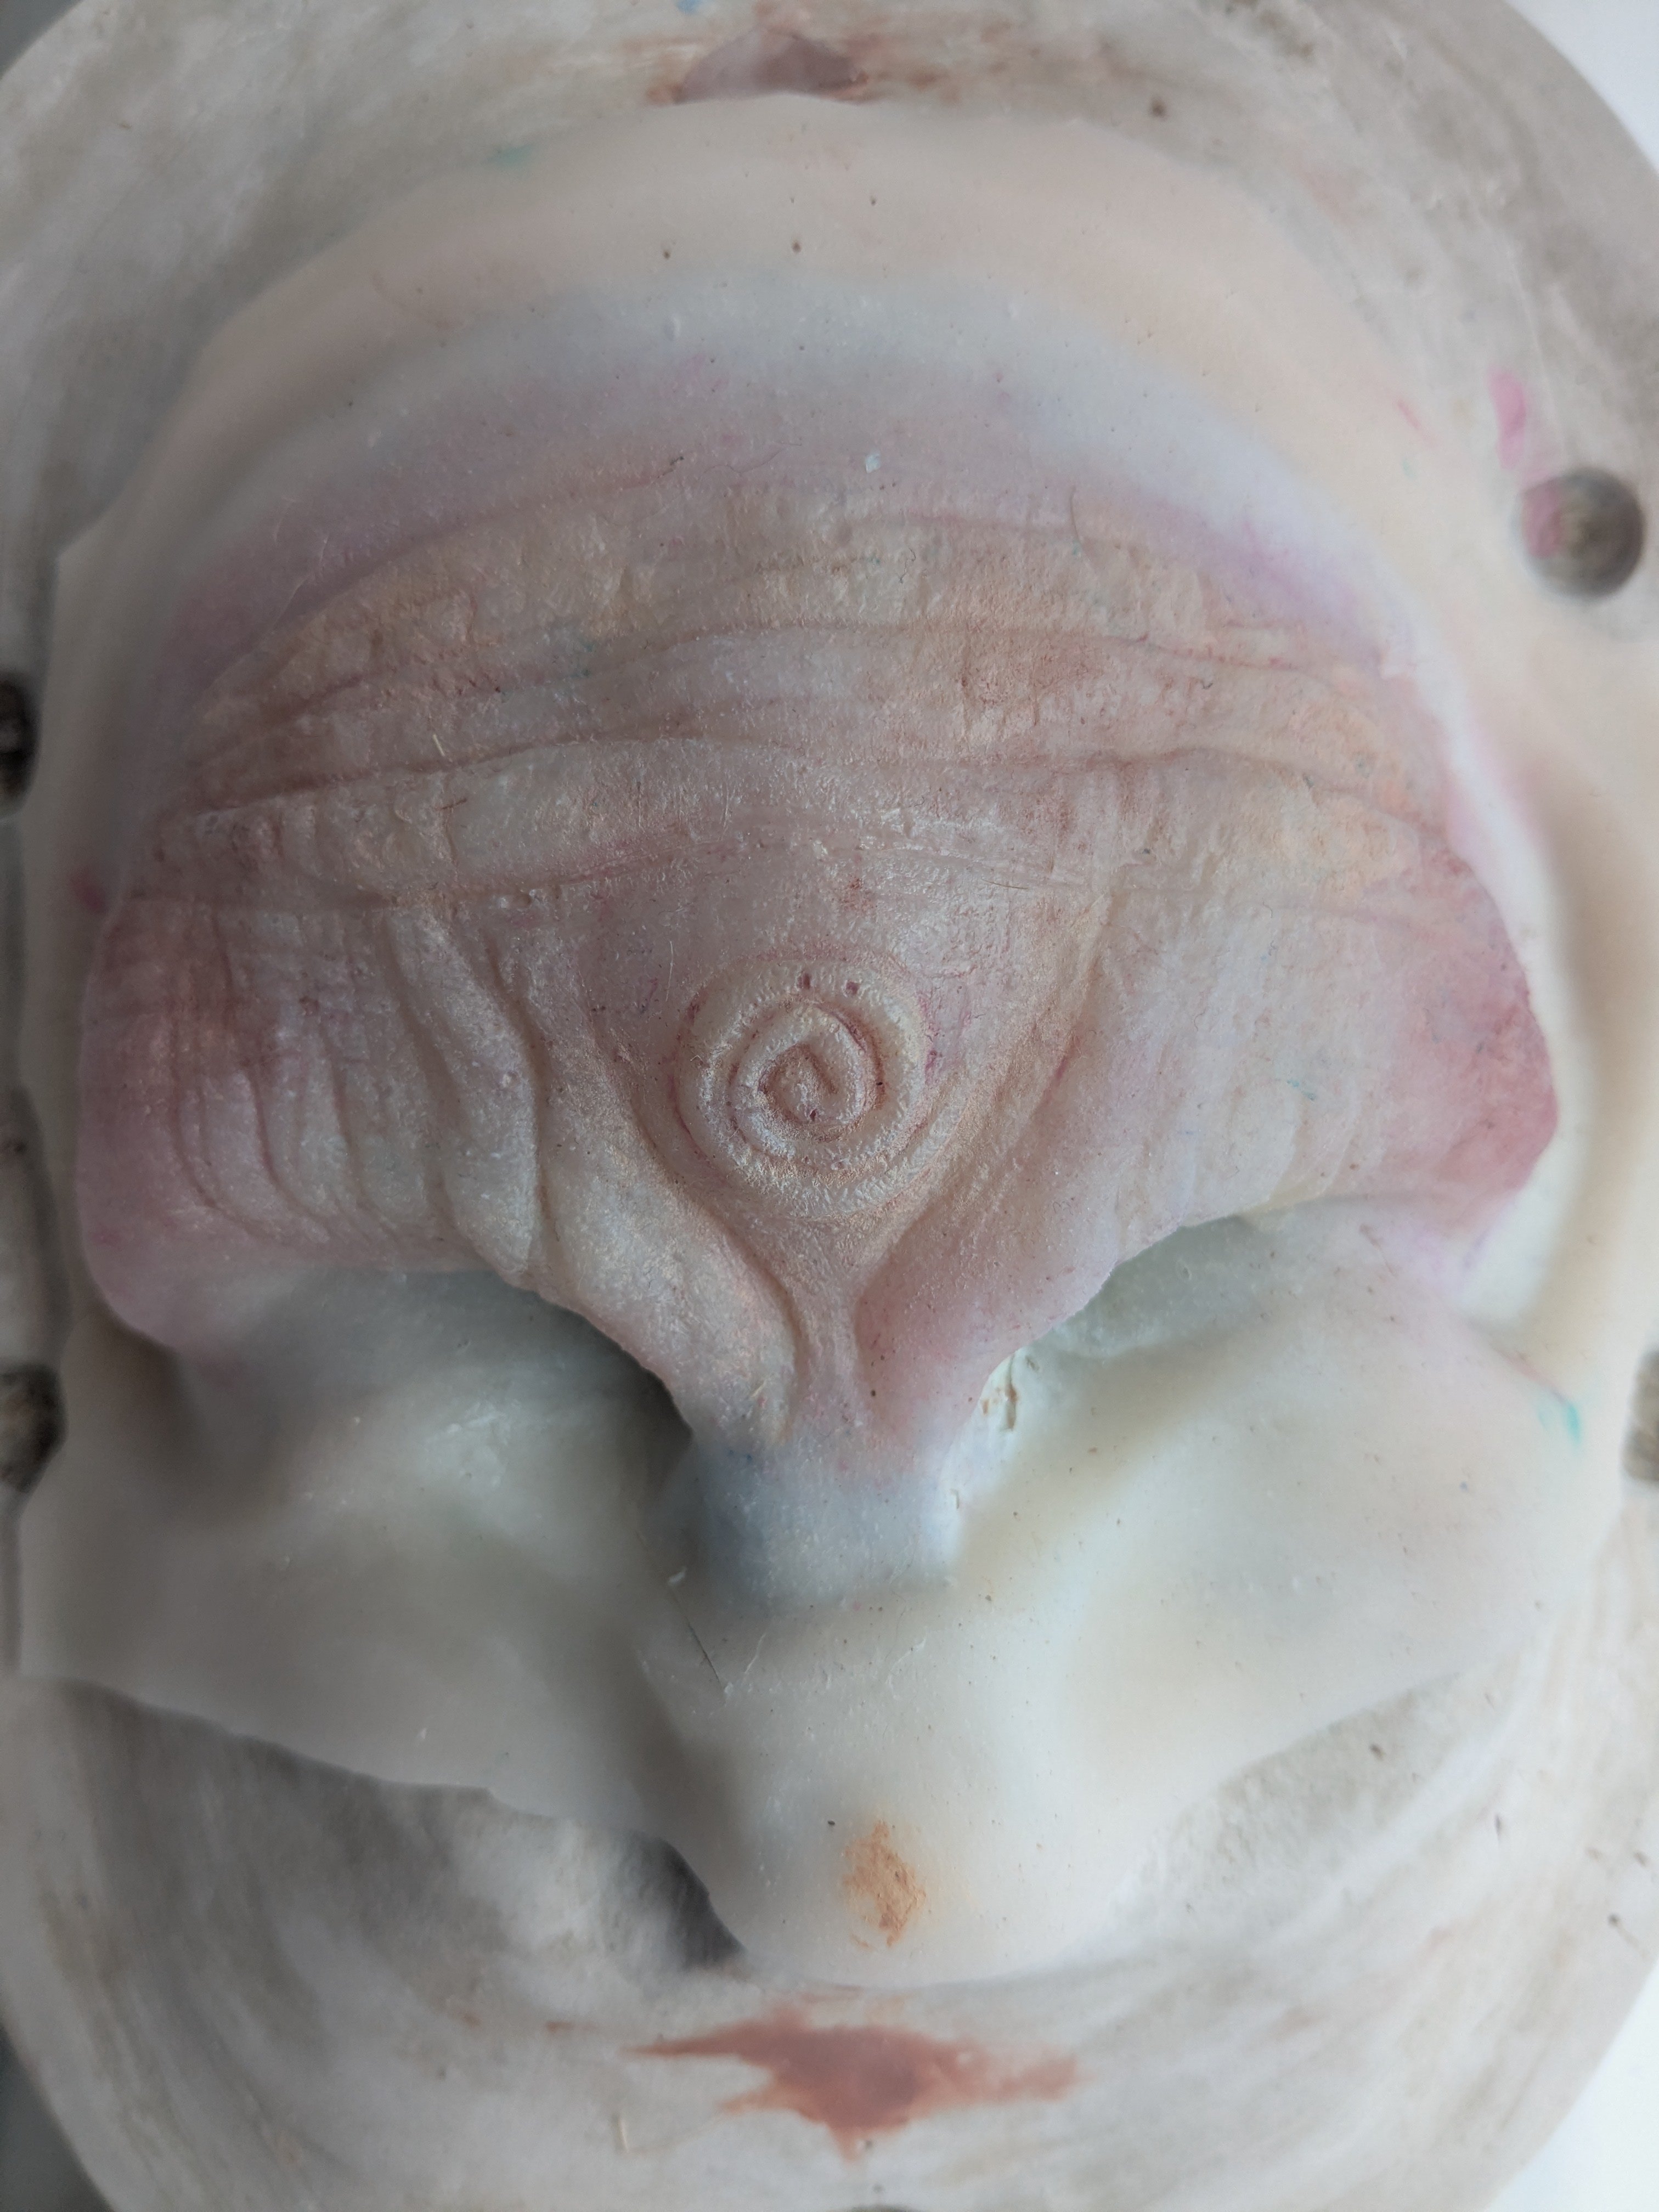
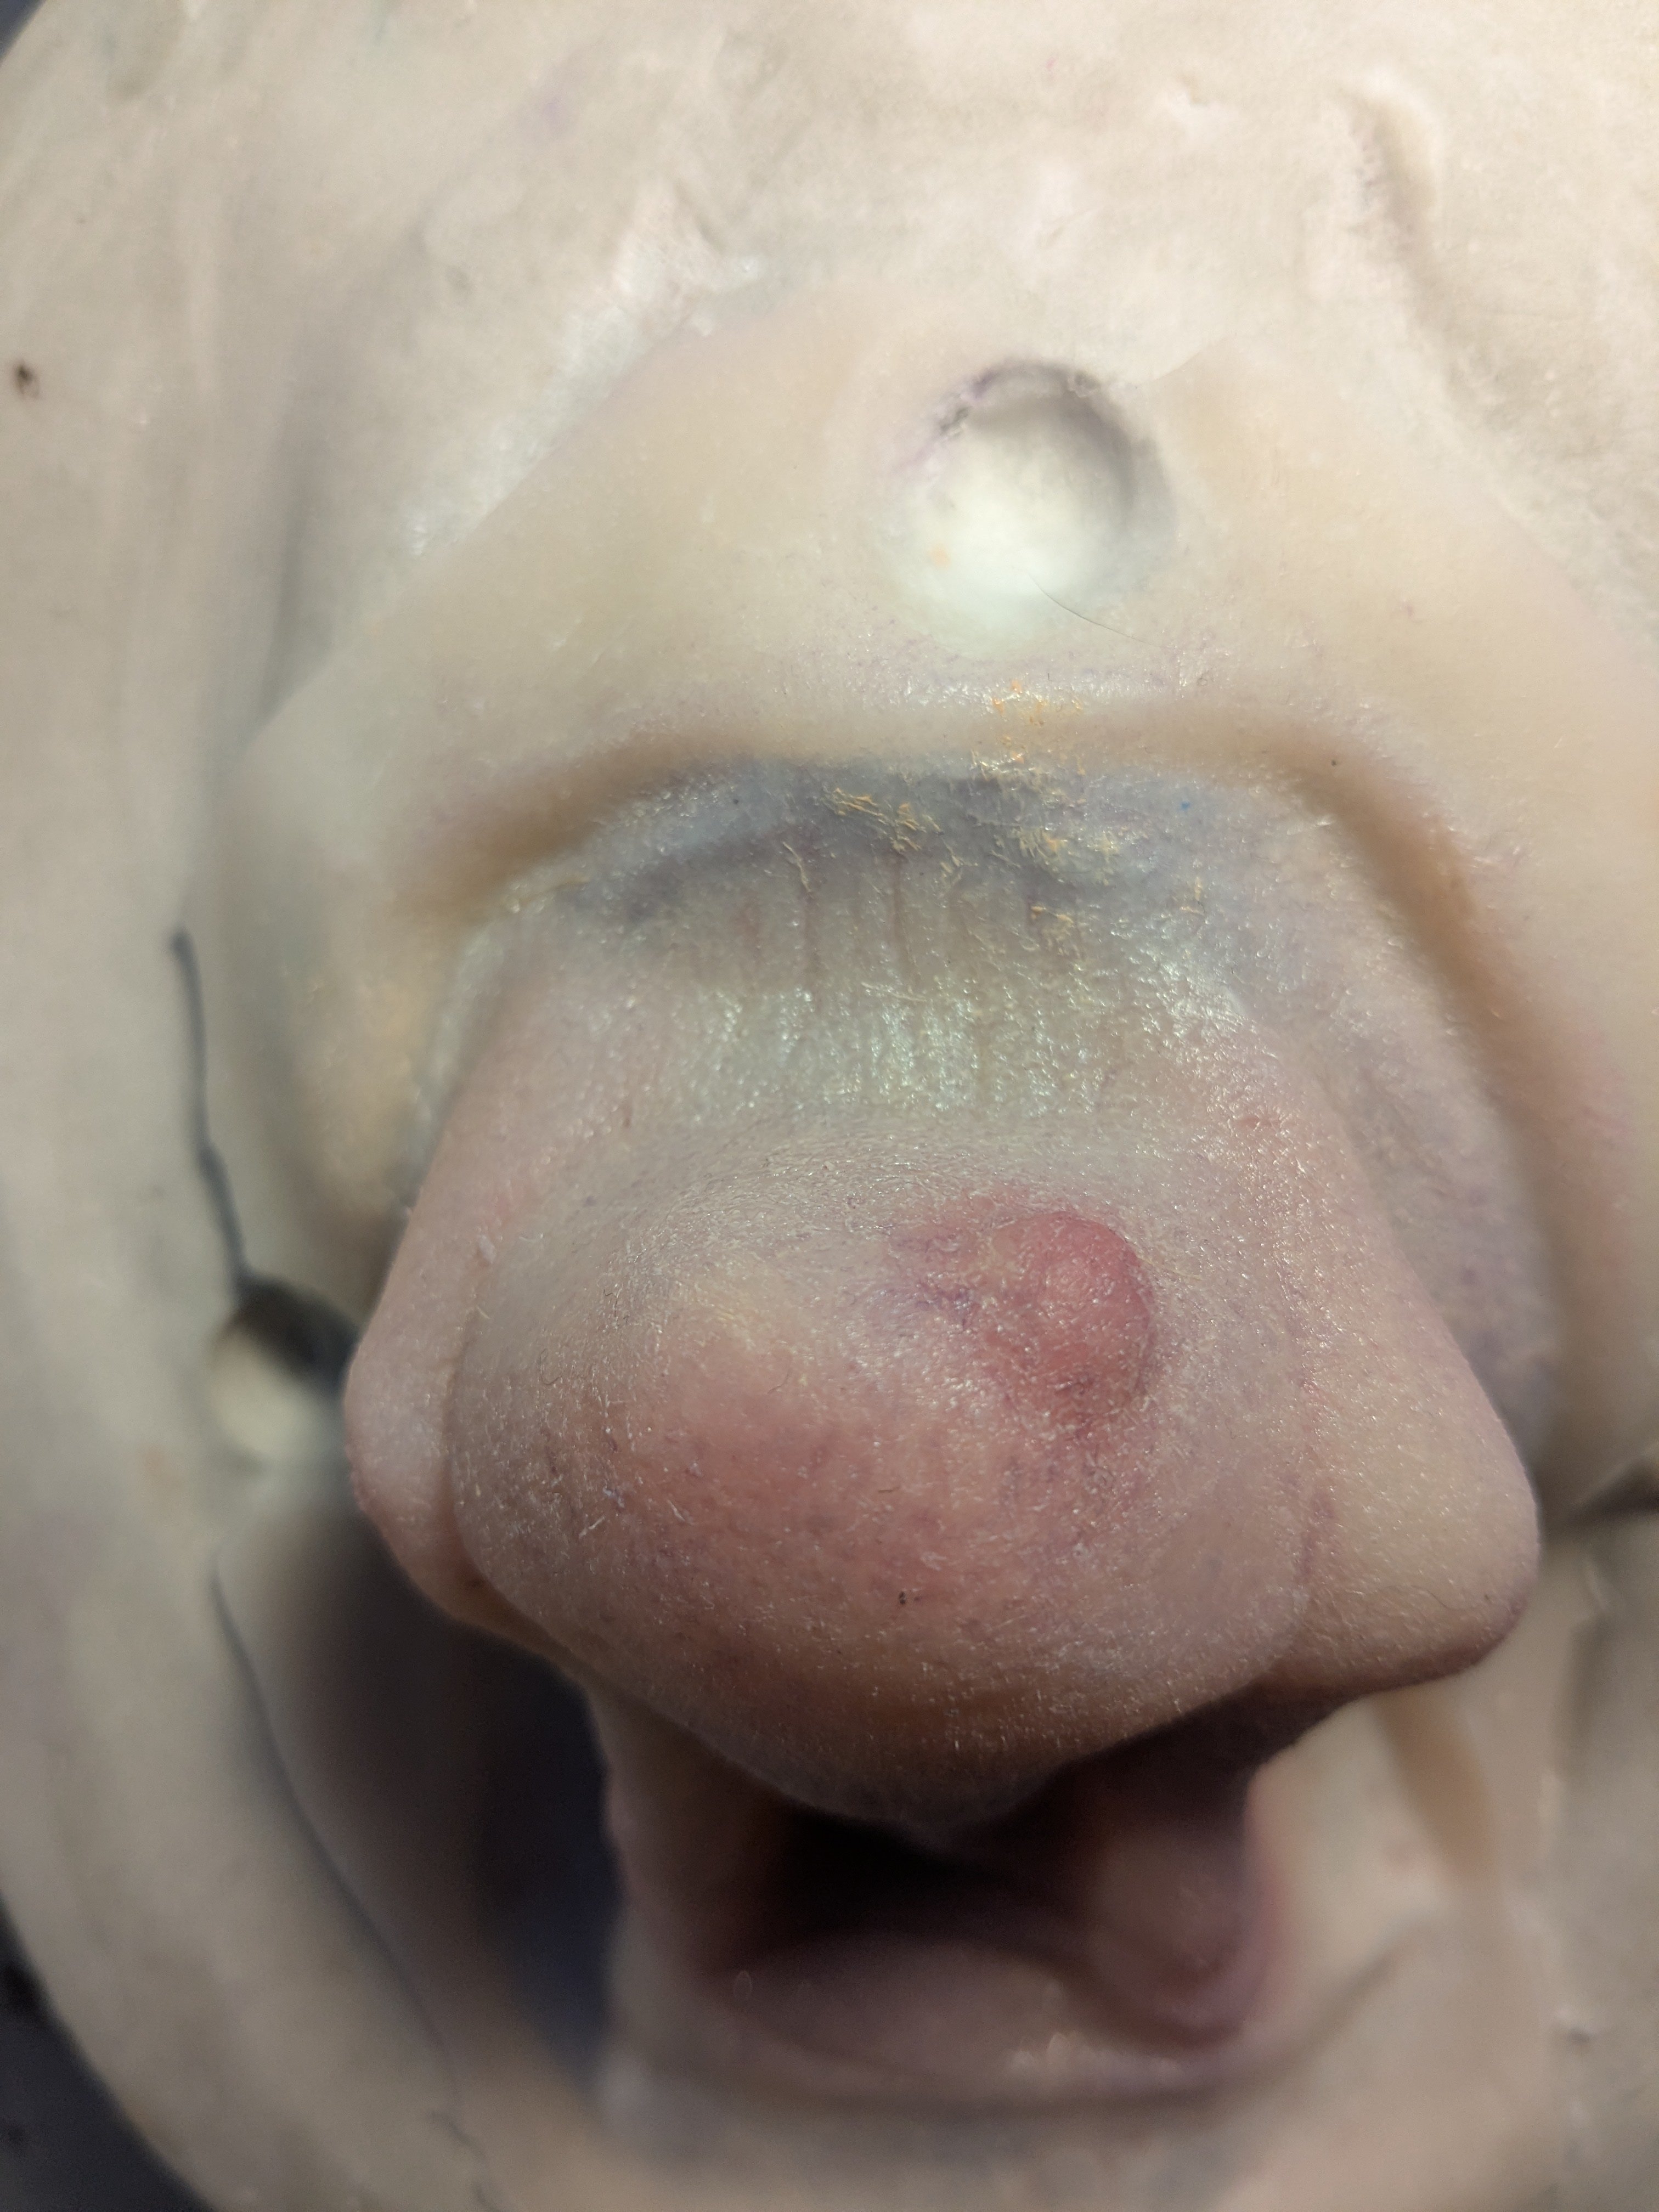
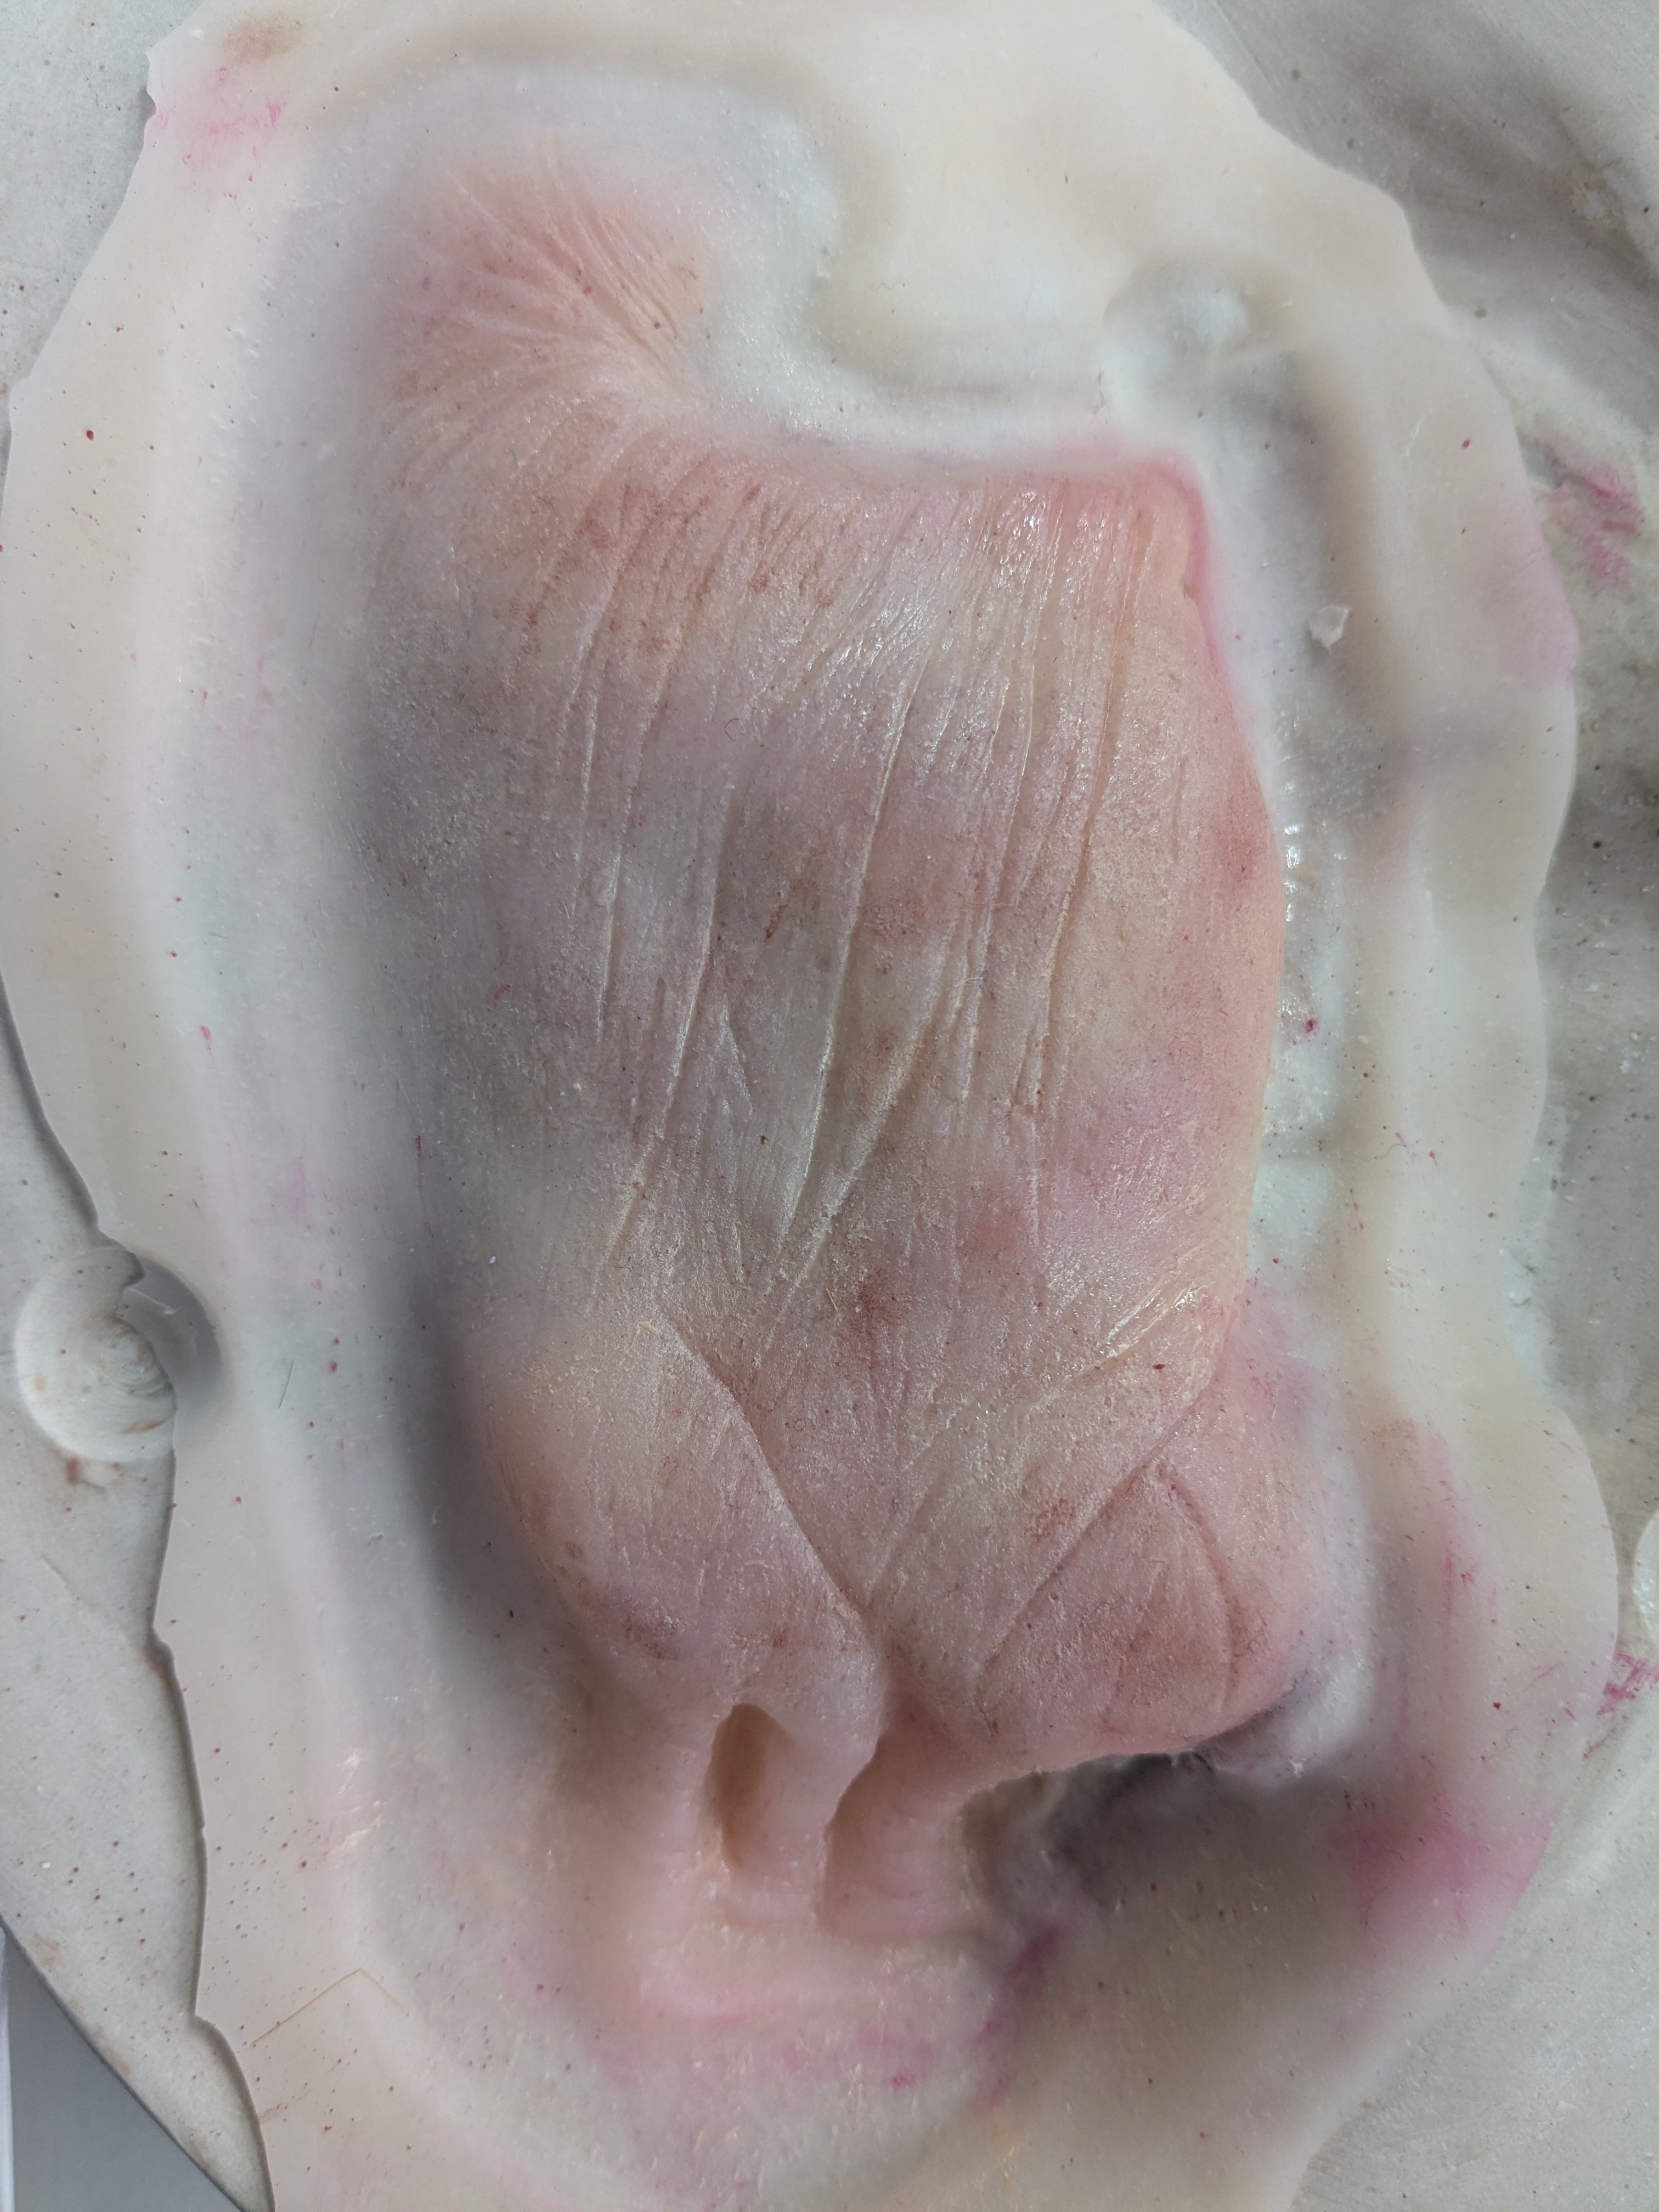
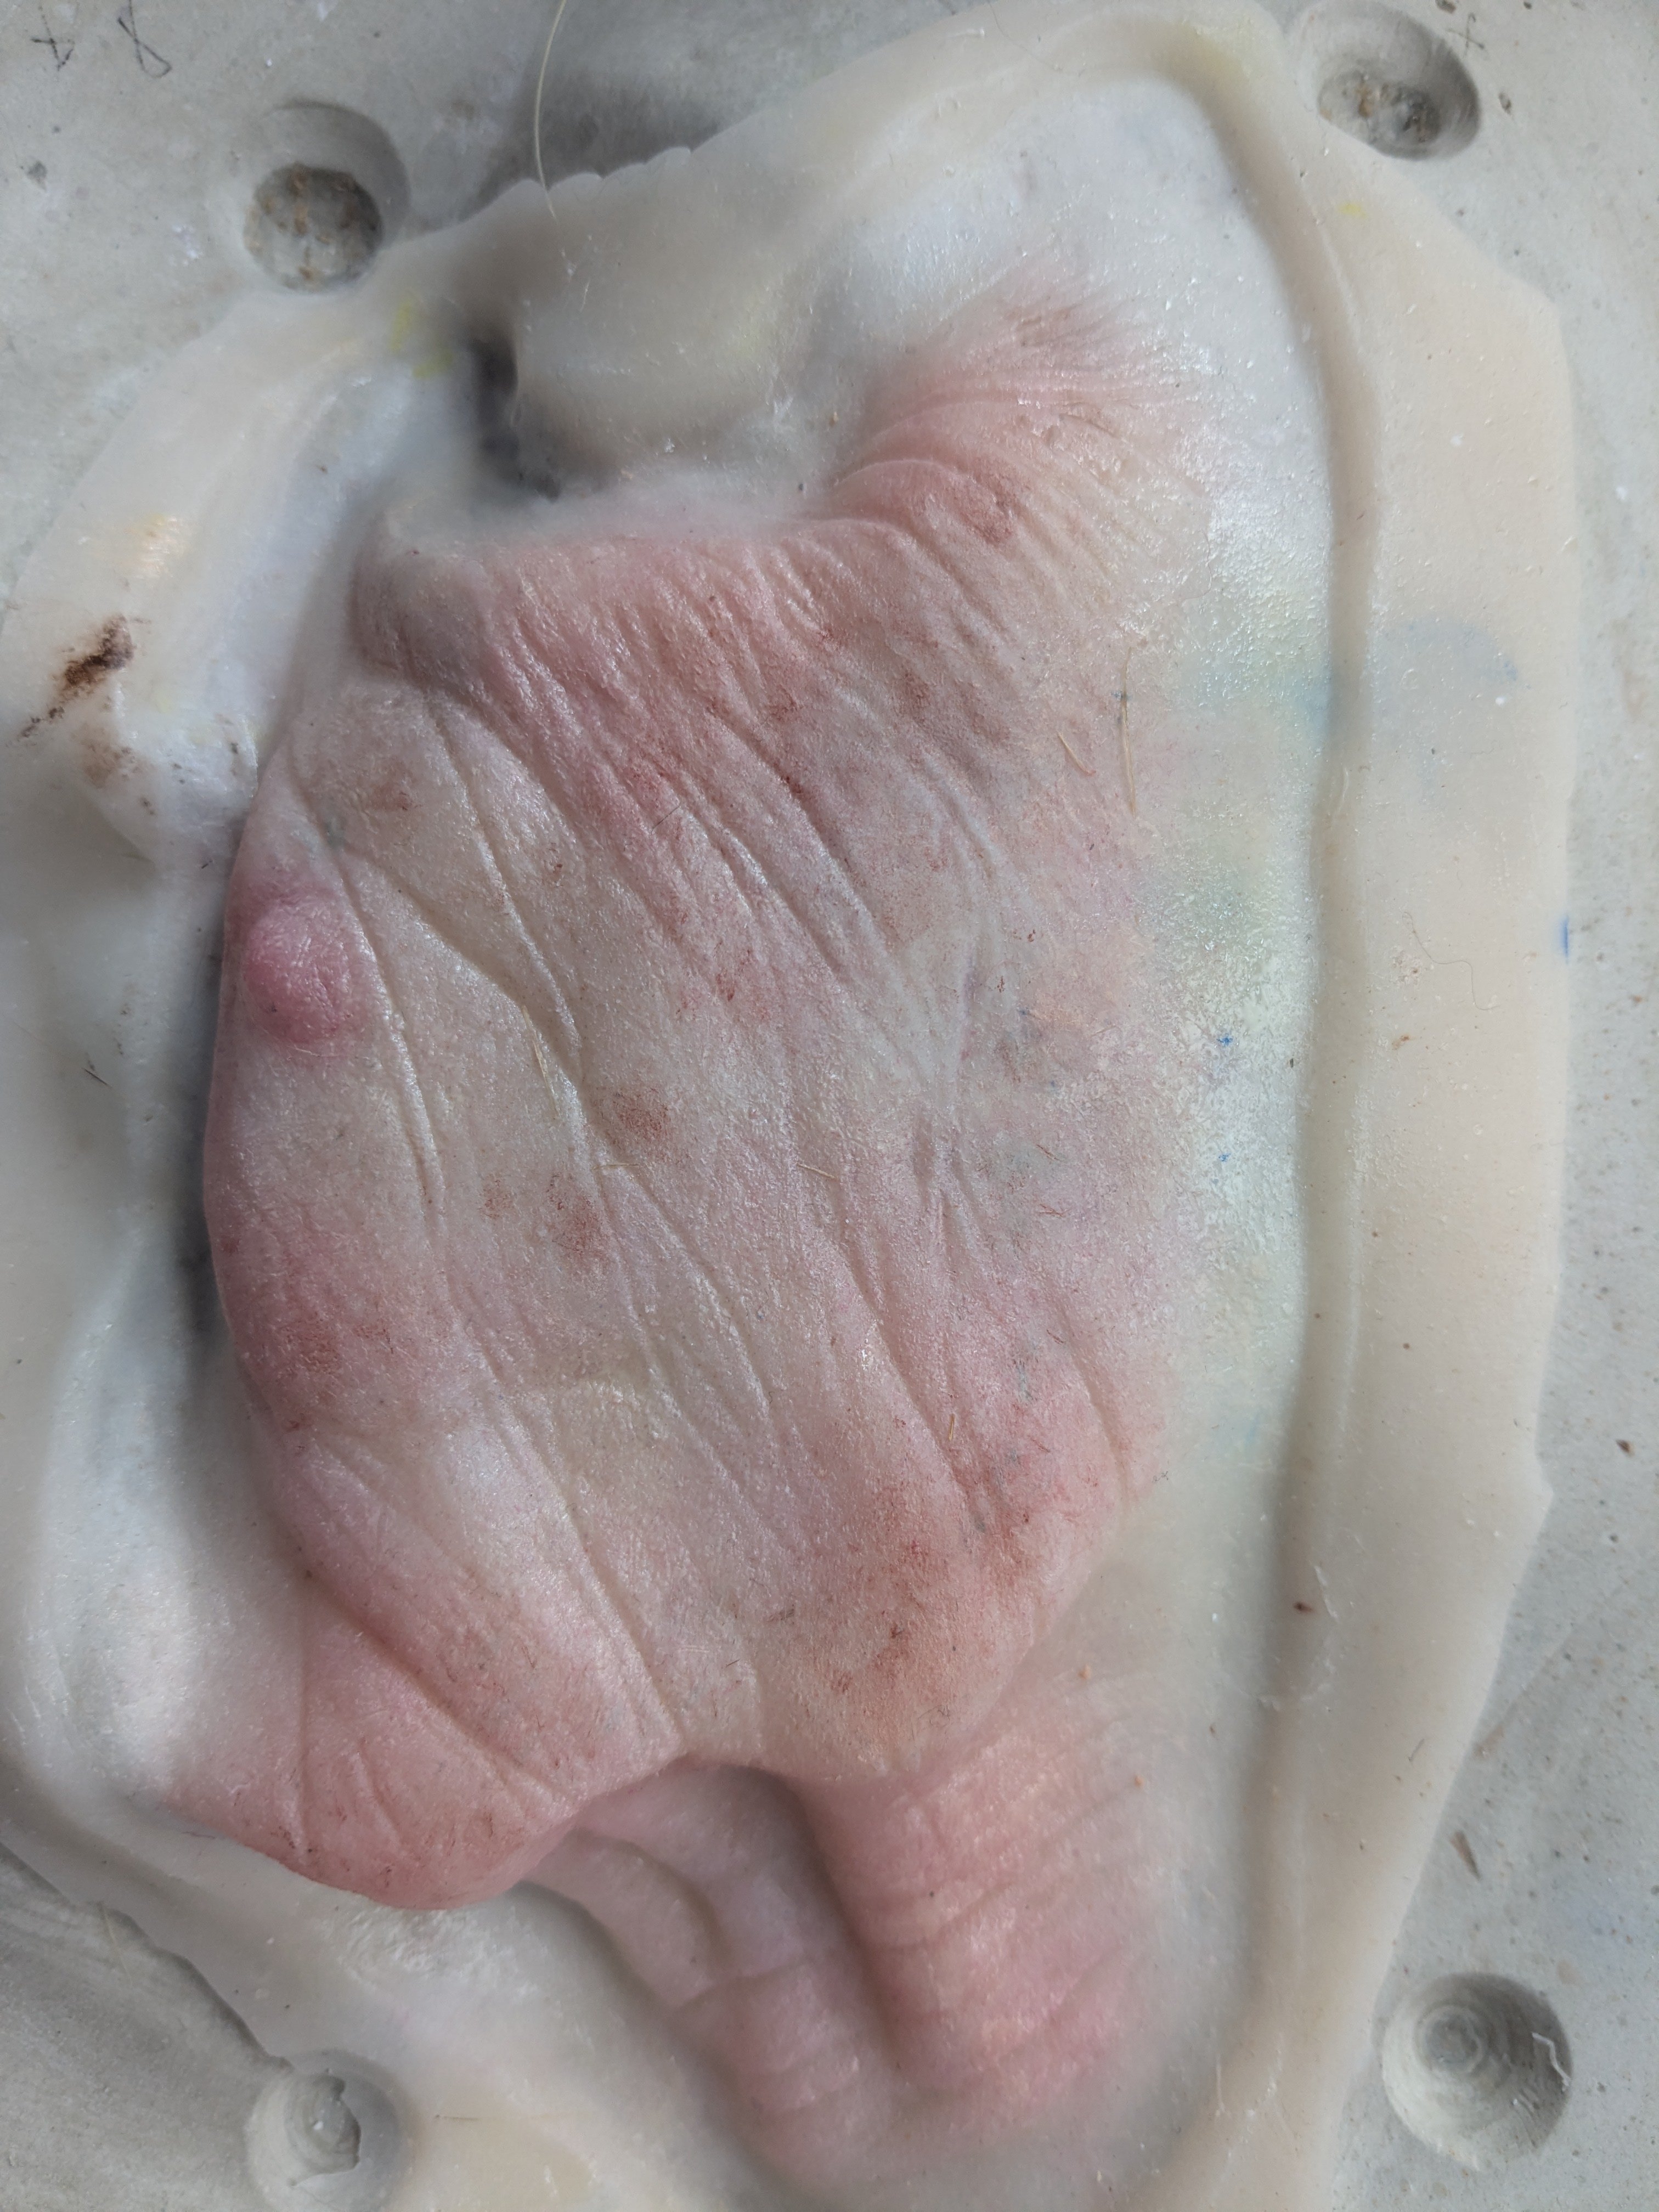
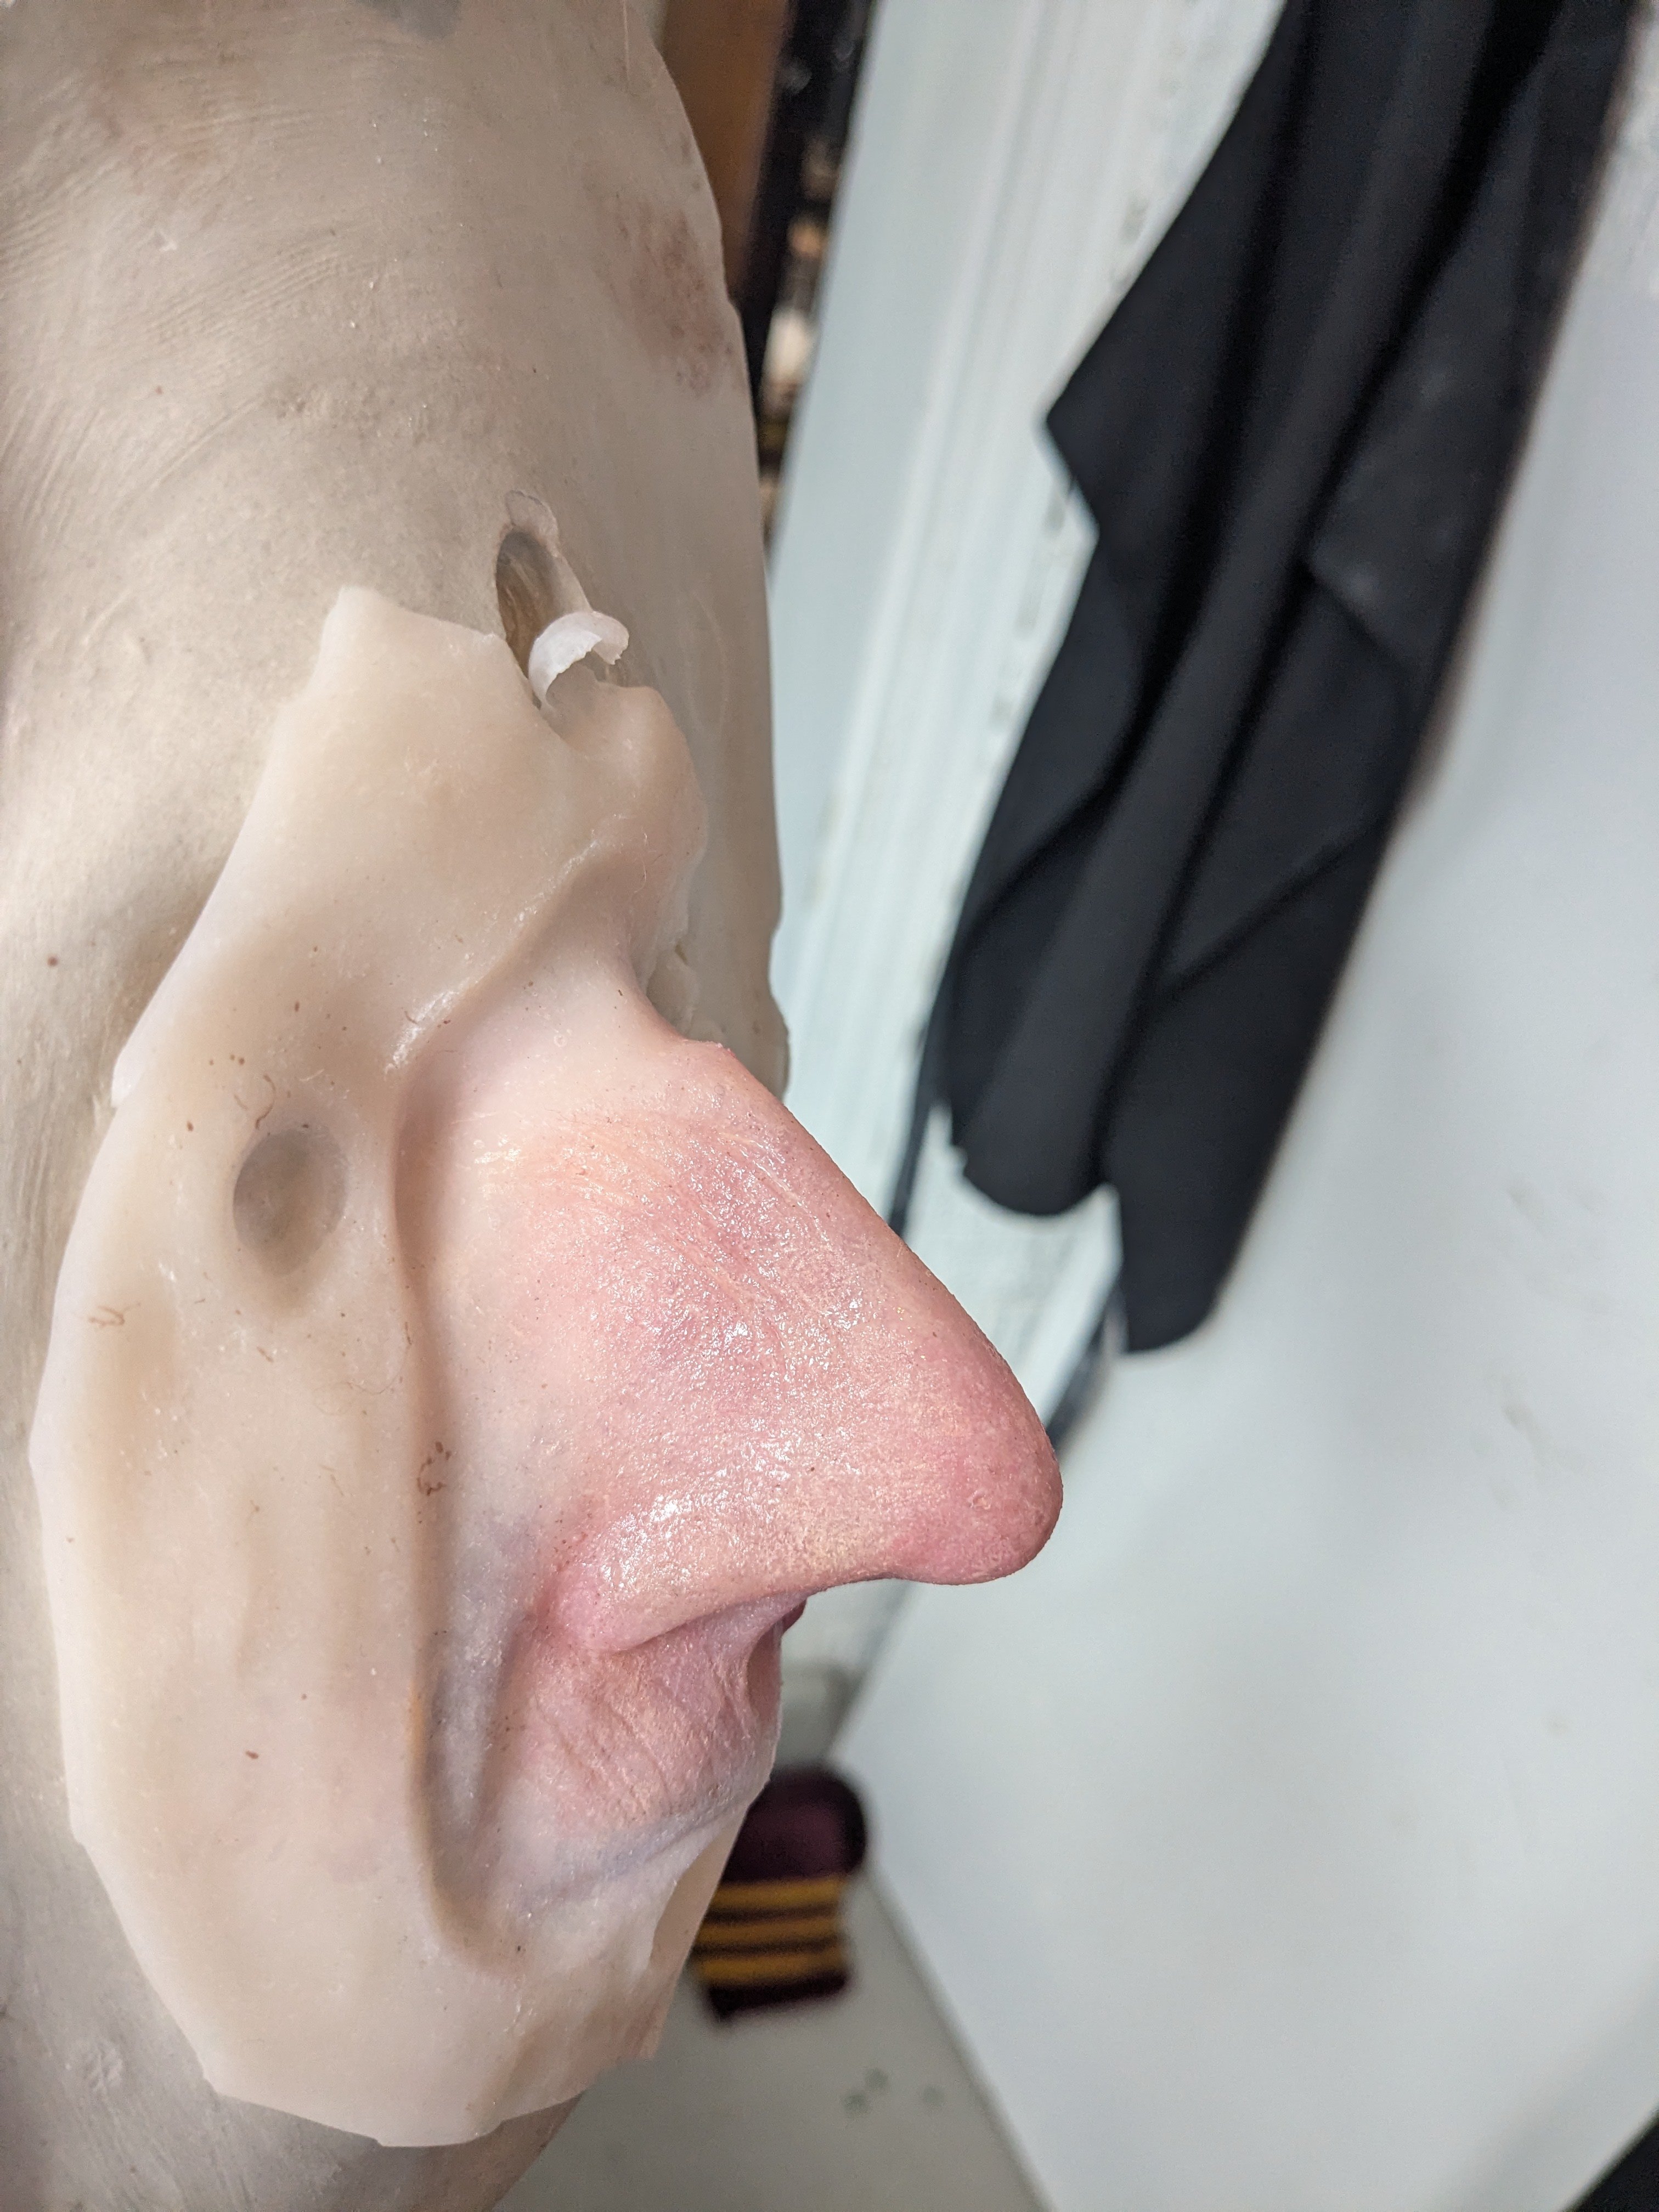
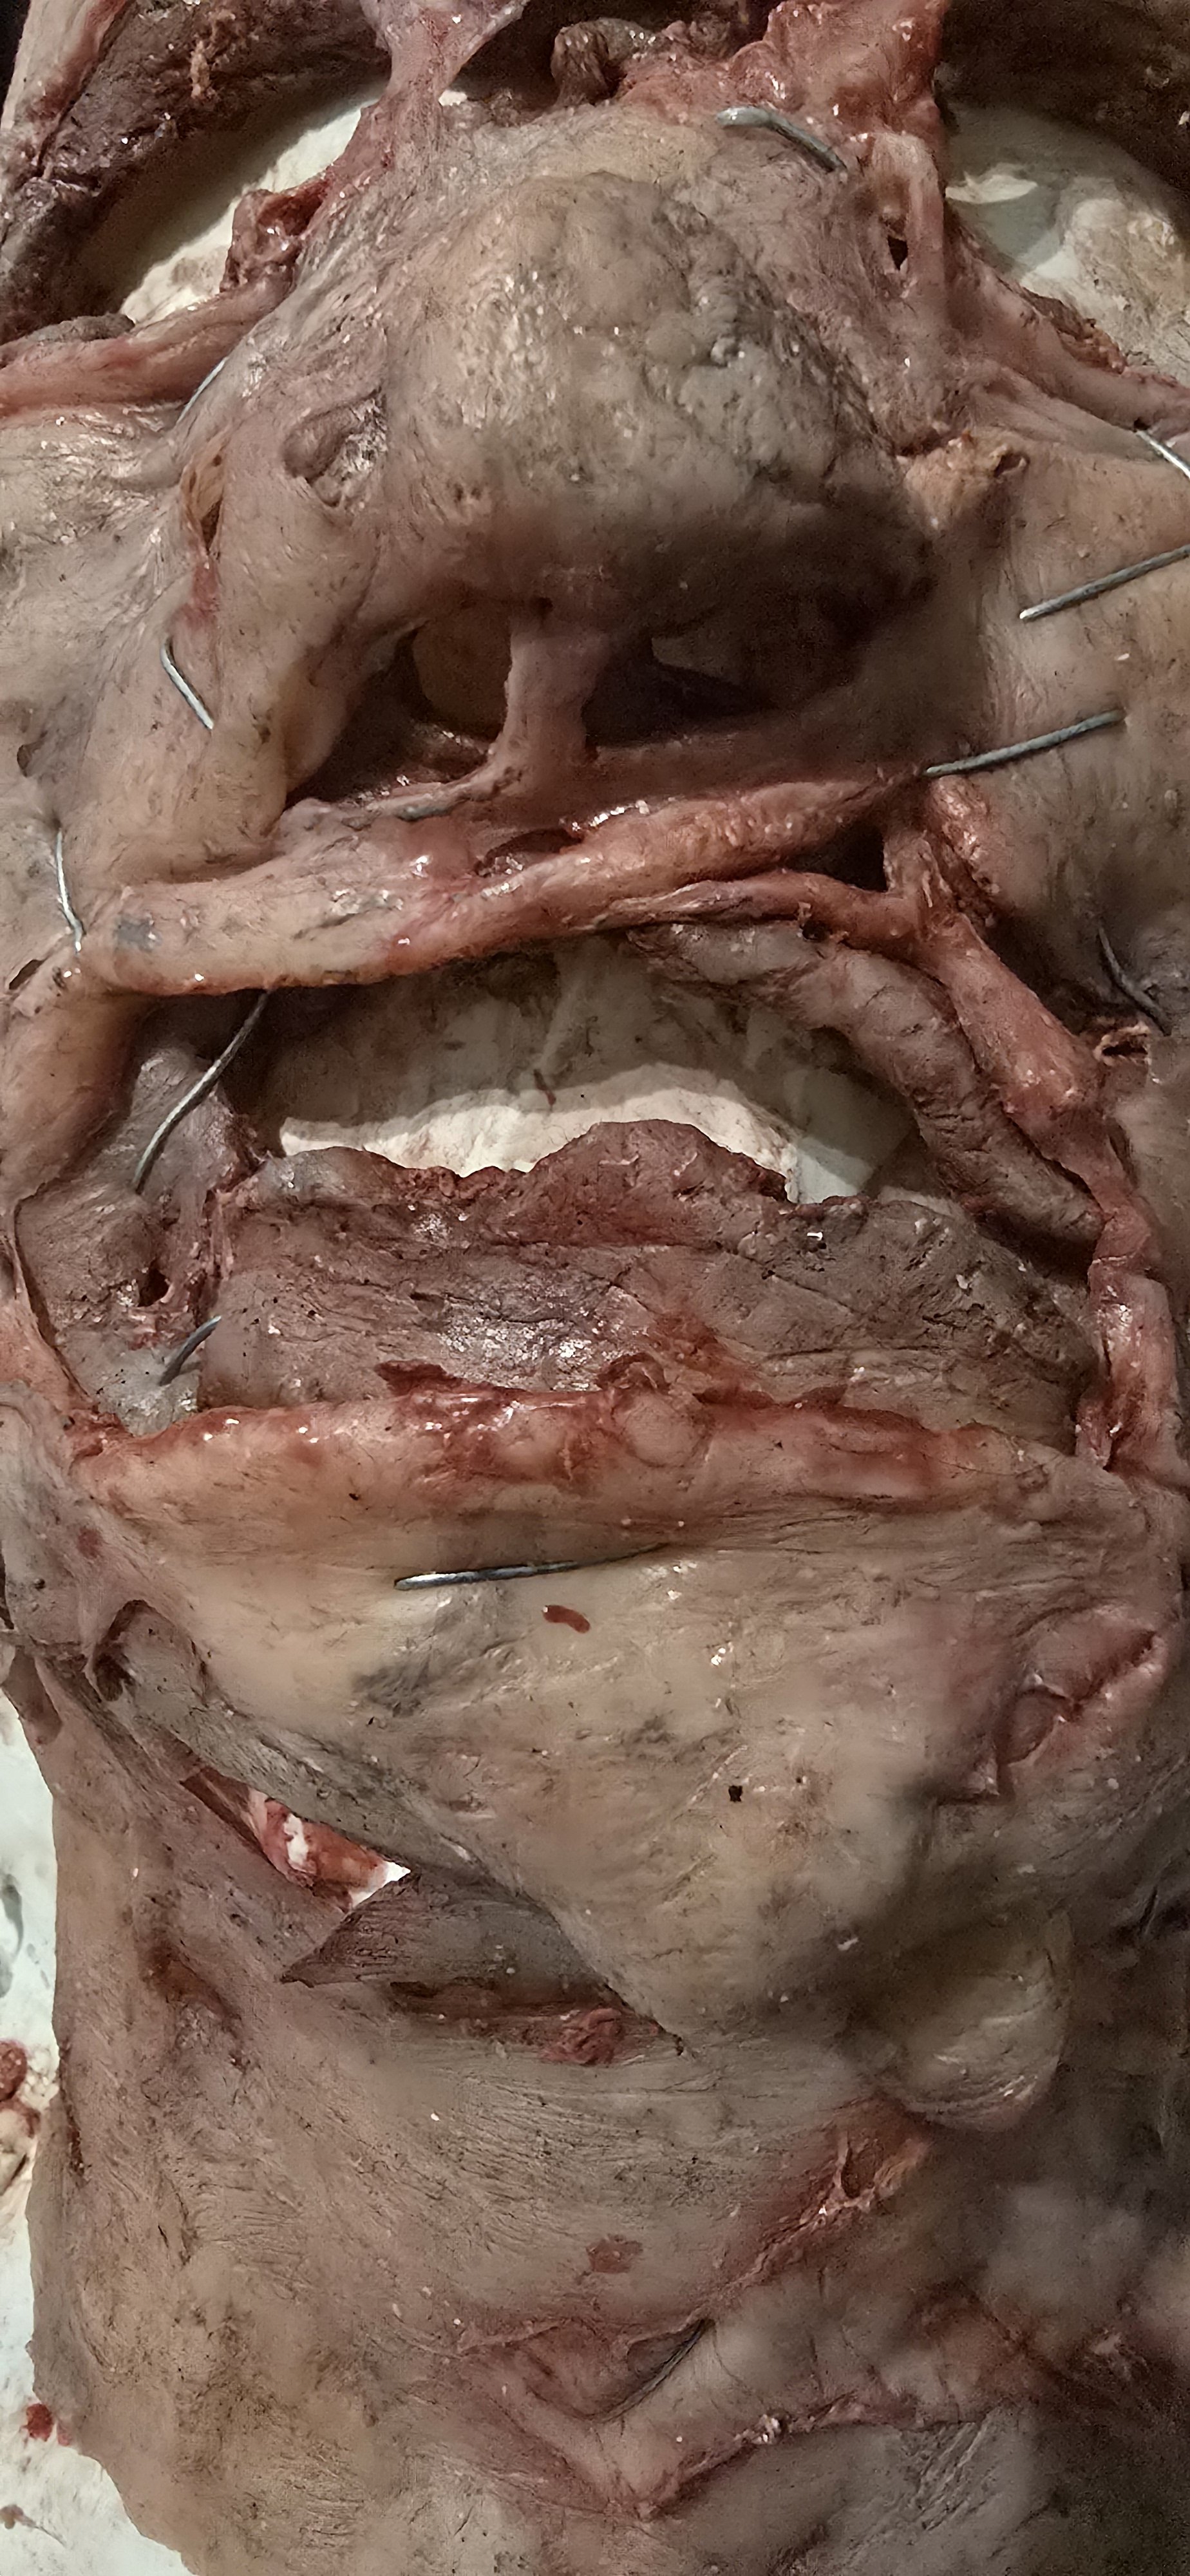
So I've been working on my take on an old witch, so I've gone with the concept of Baba Yaga, a witch from old Slavic folklore in you're not familiar.
Recently I ran my silicone prosthetics and pre painted them. This is my first time making anything of this scale, and it's been SO fun

Re: What's On Your Workbench? (Spring 2026)


Plush Gone Psycho – Gloomy Bear

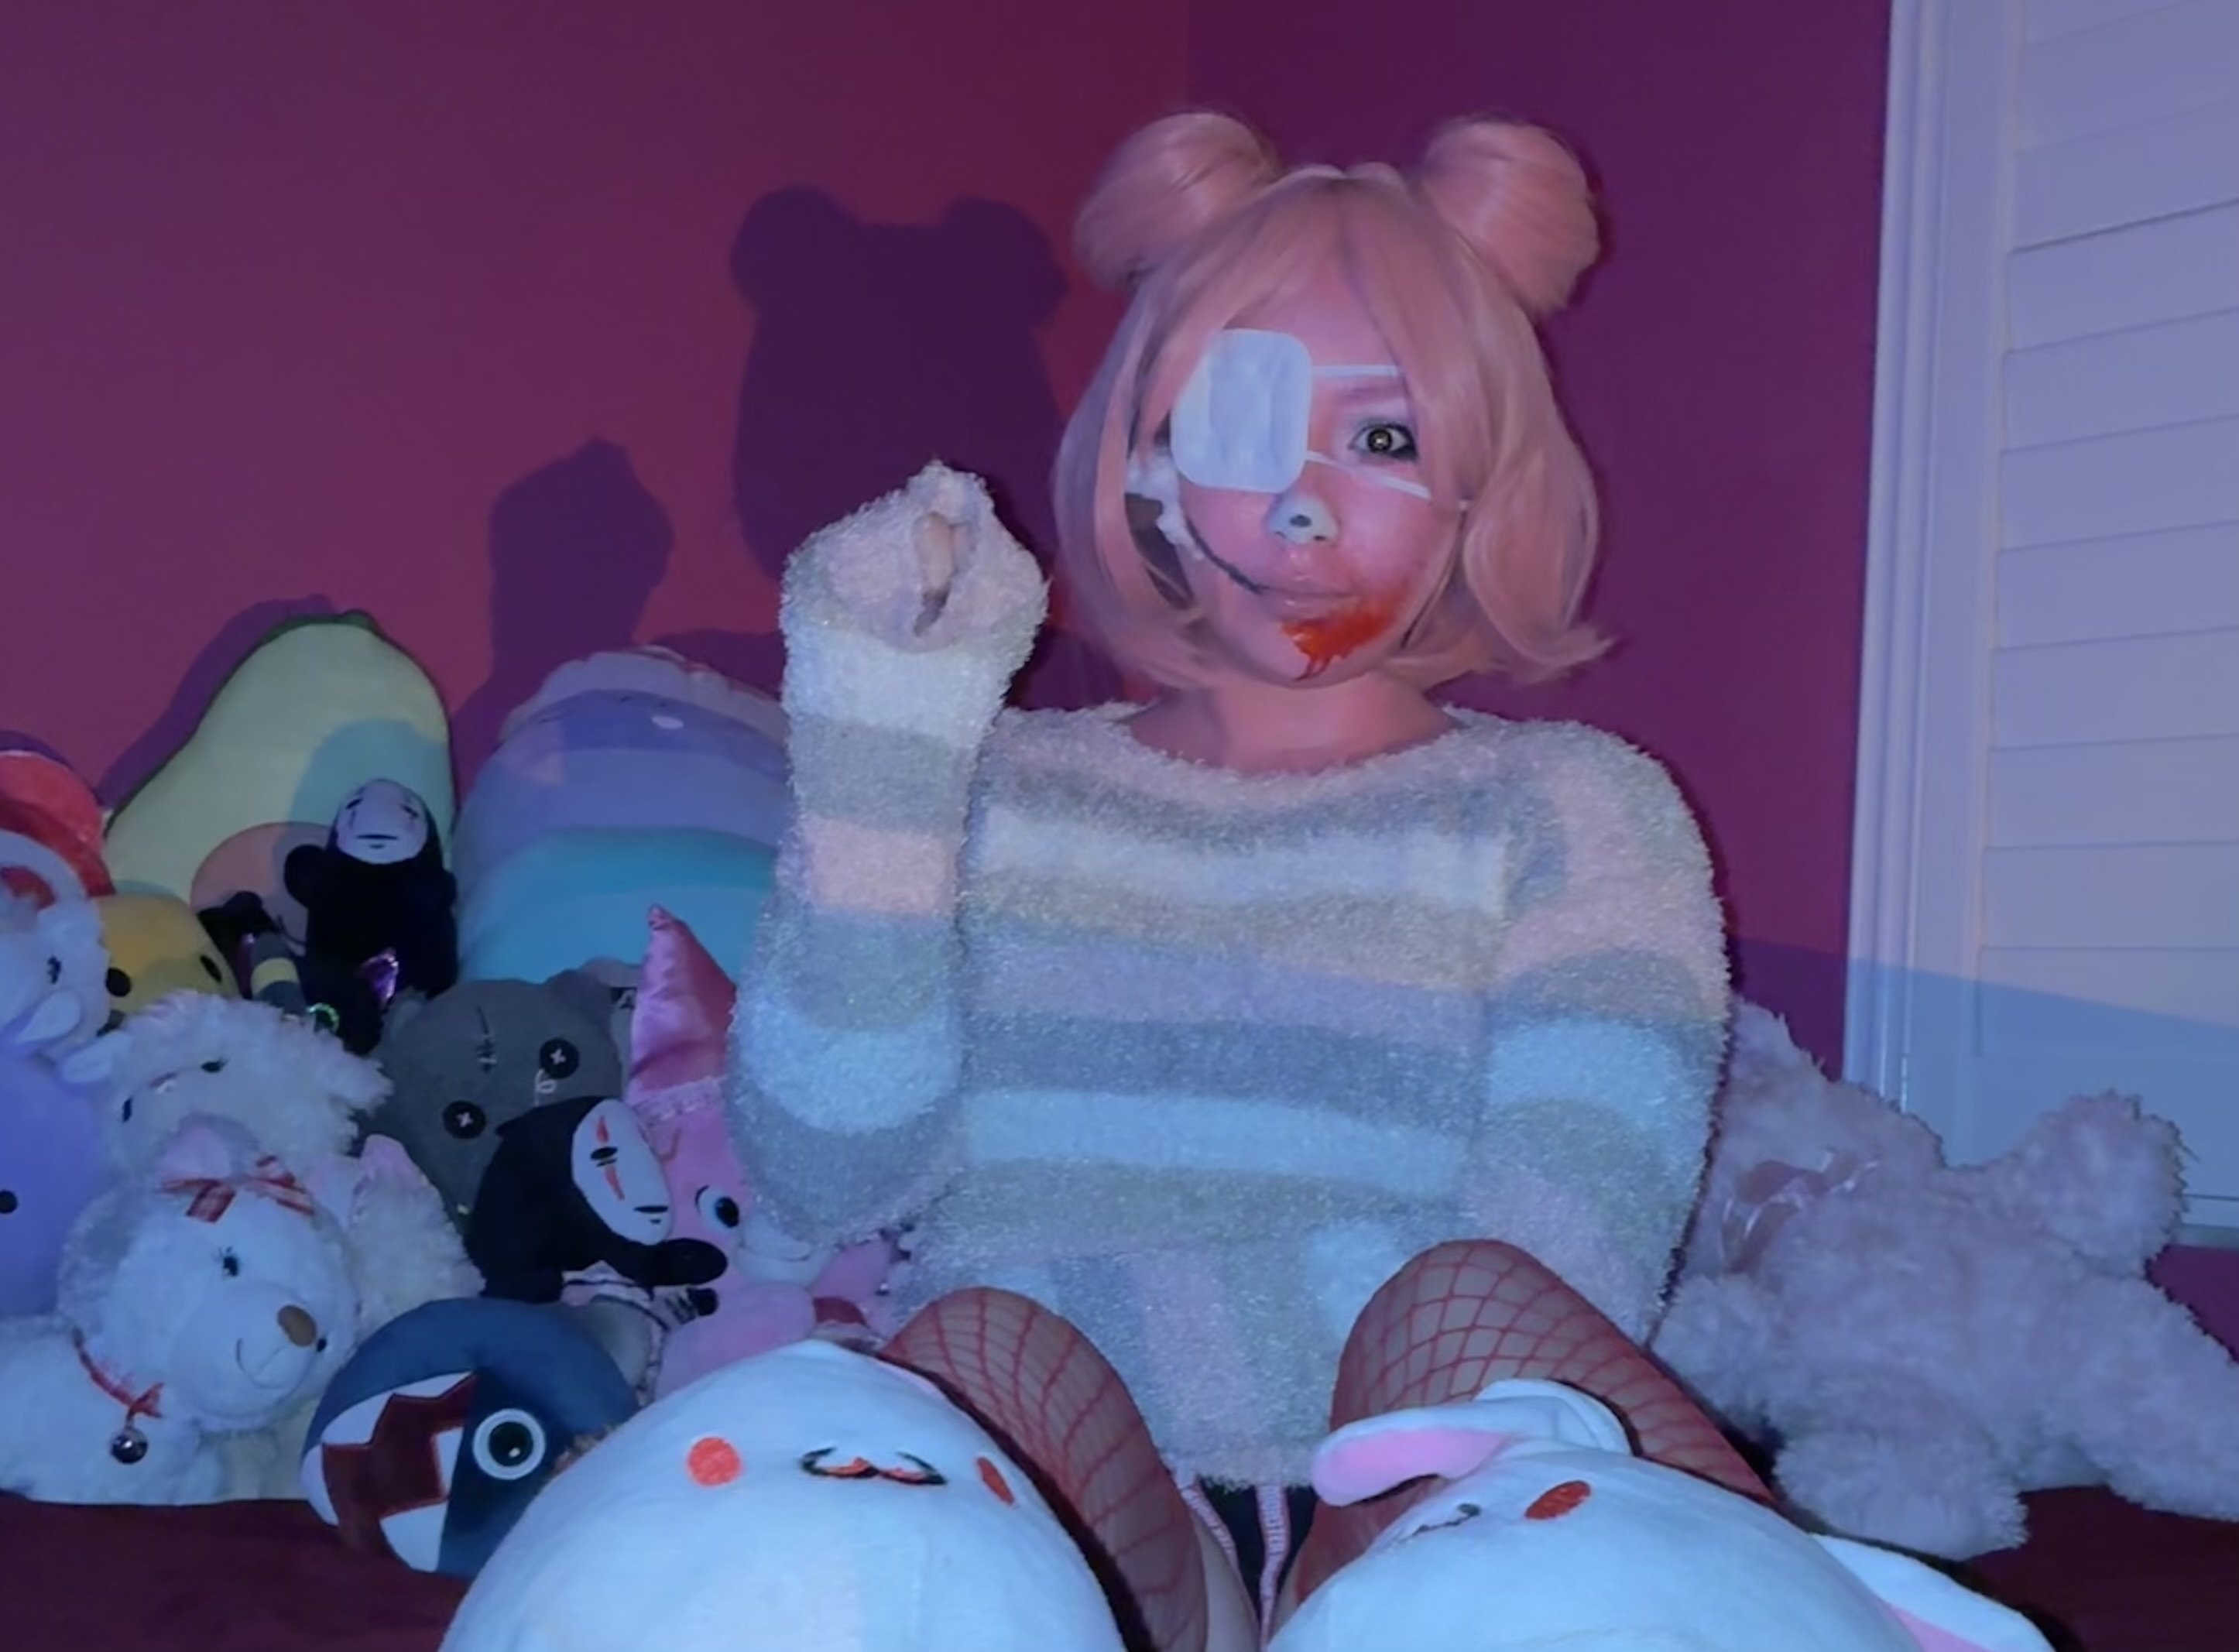
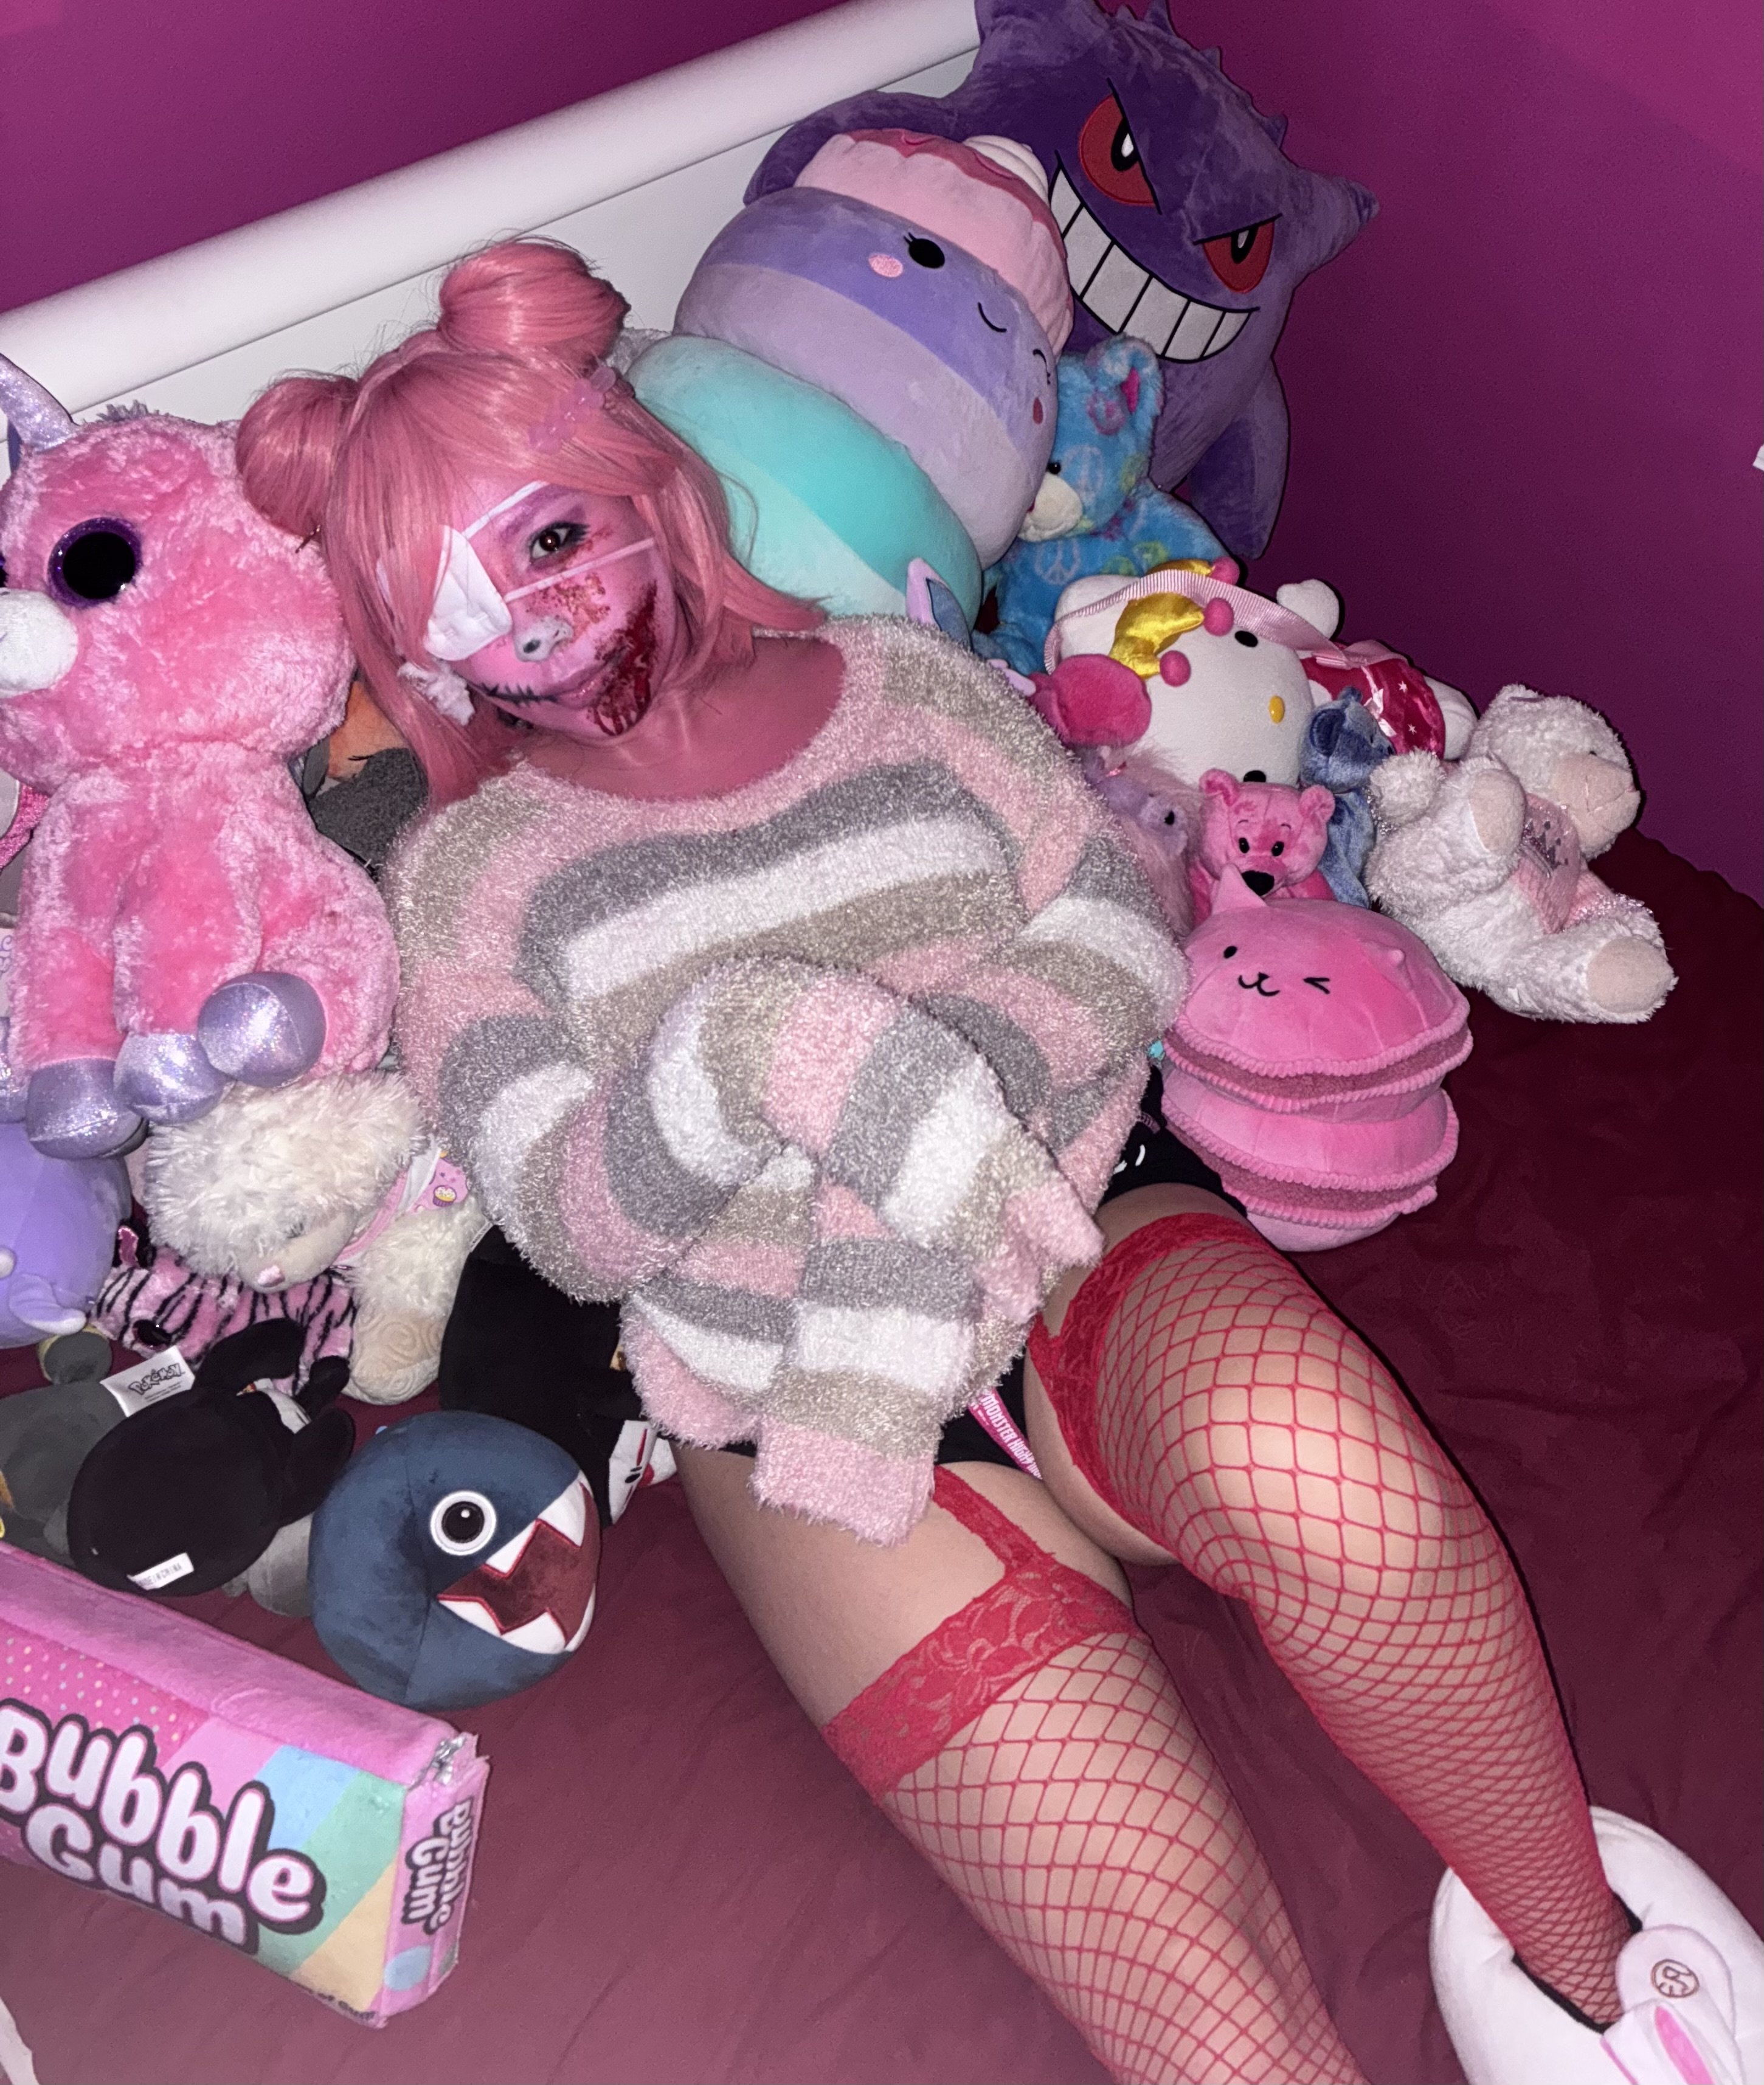
Hi everyone! This is my entry for the 2025 SWSCA Halloween Costume Contest 🩷
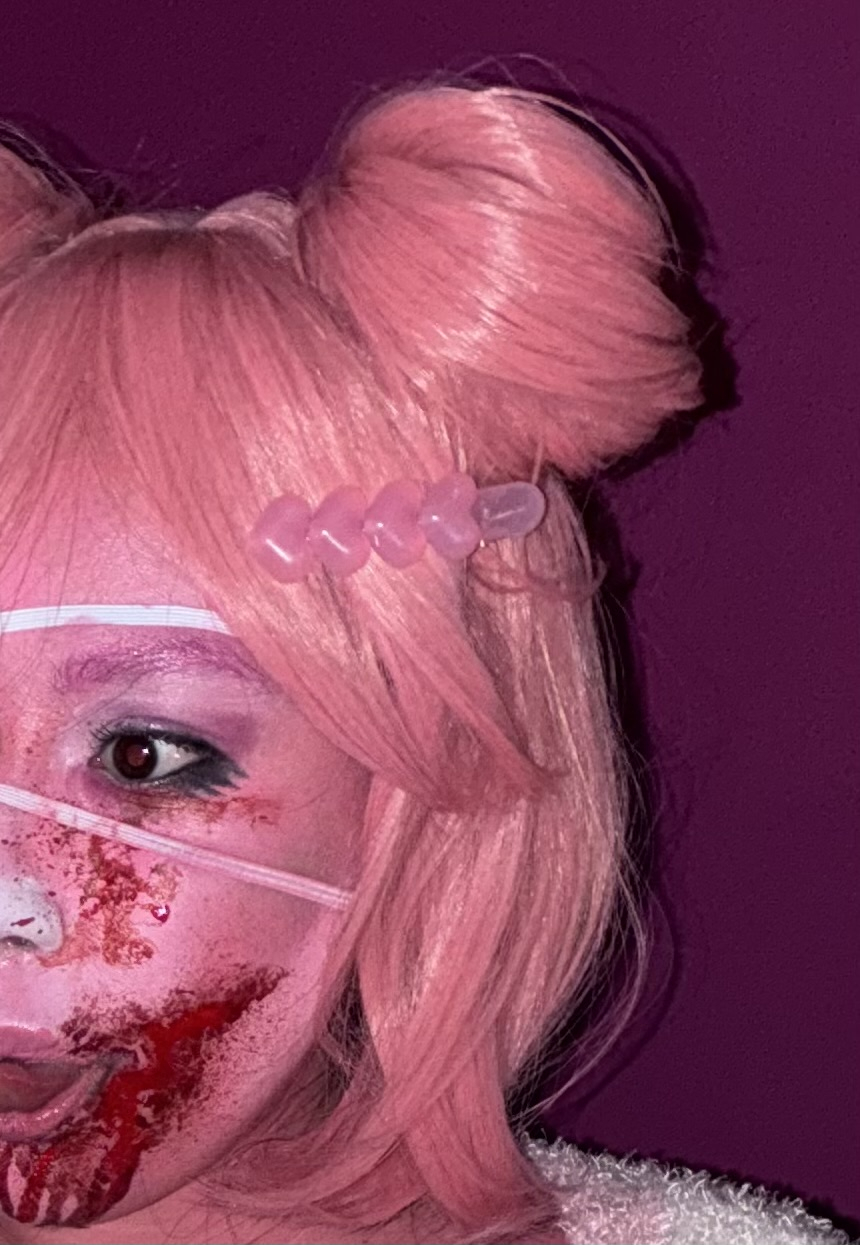
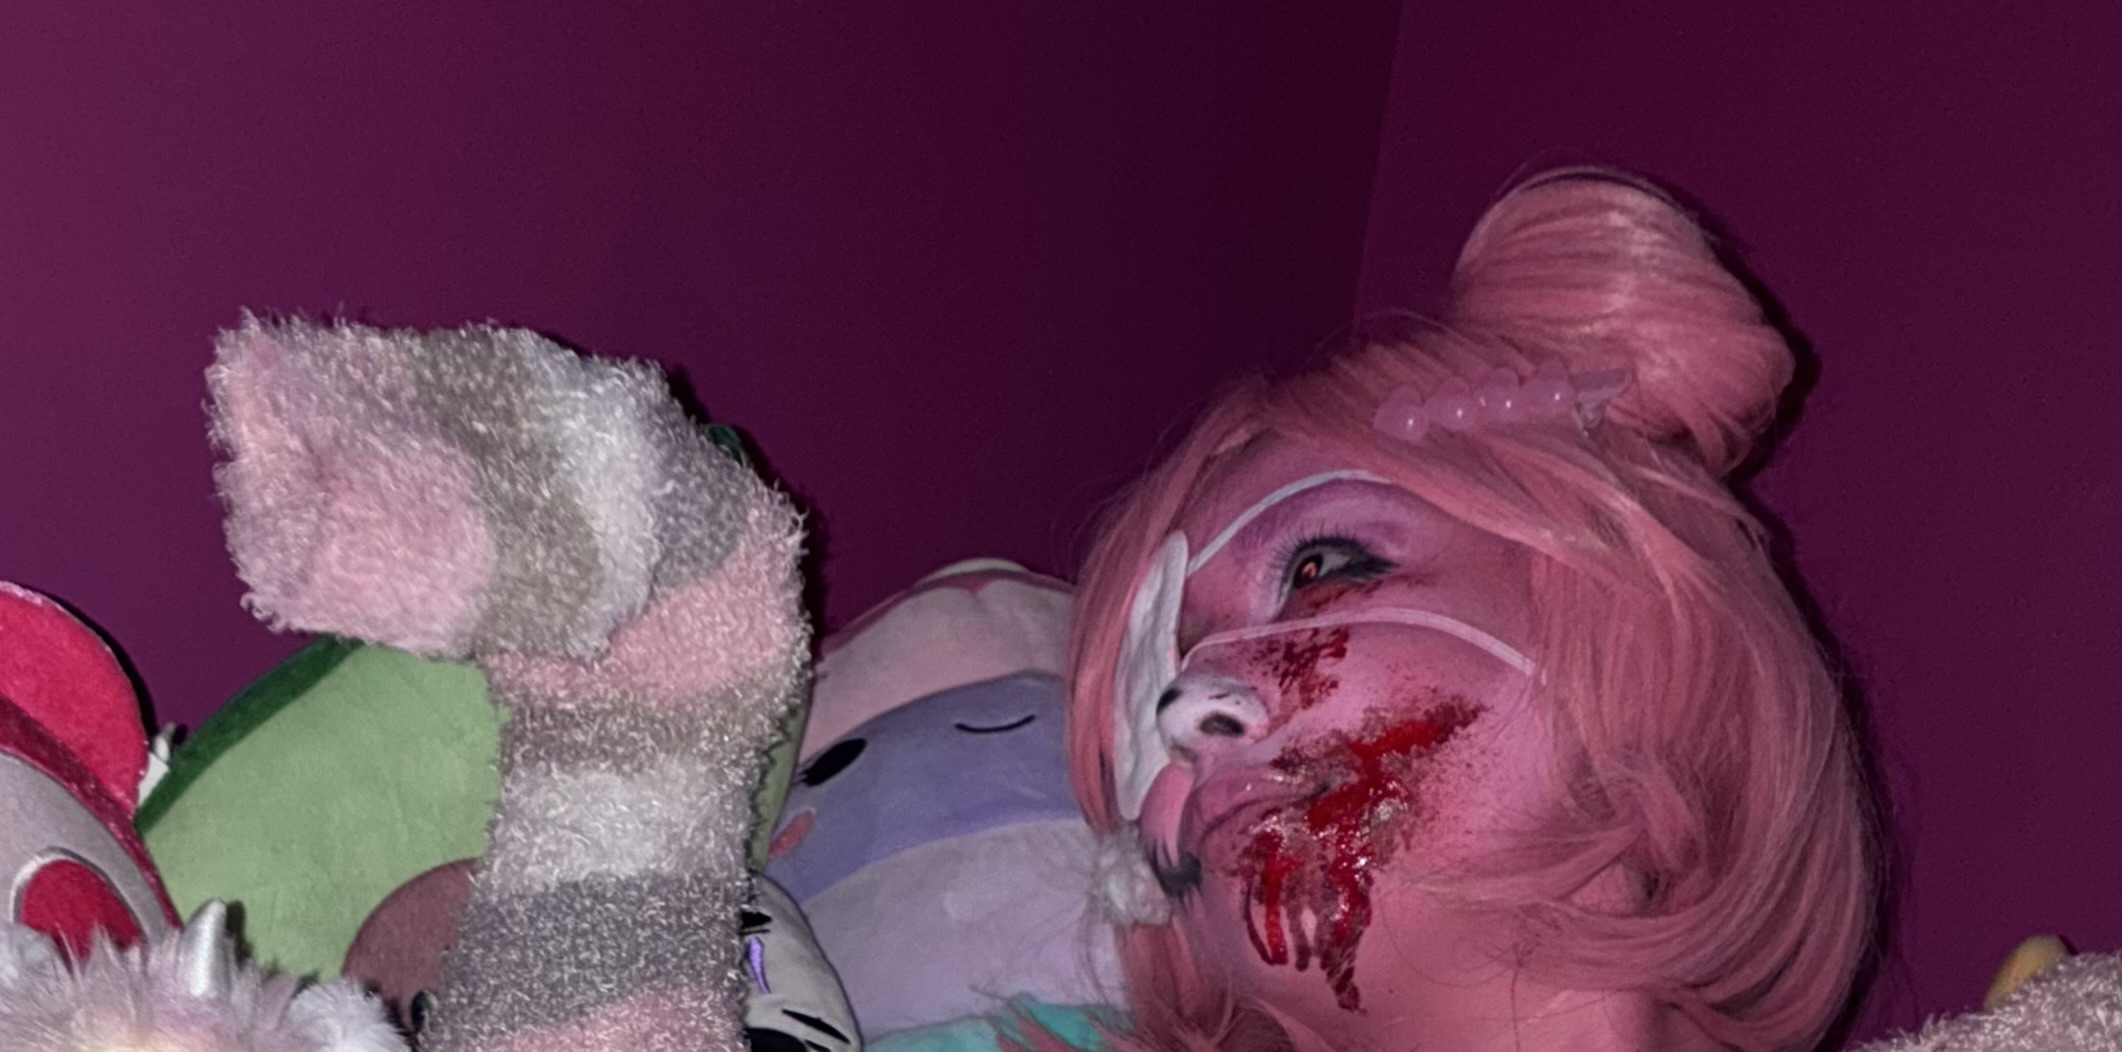
Concept: Plush Gone Psycho – Gloomy Bear 🧸🩸
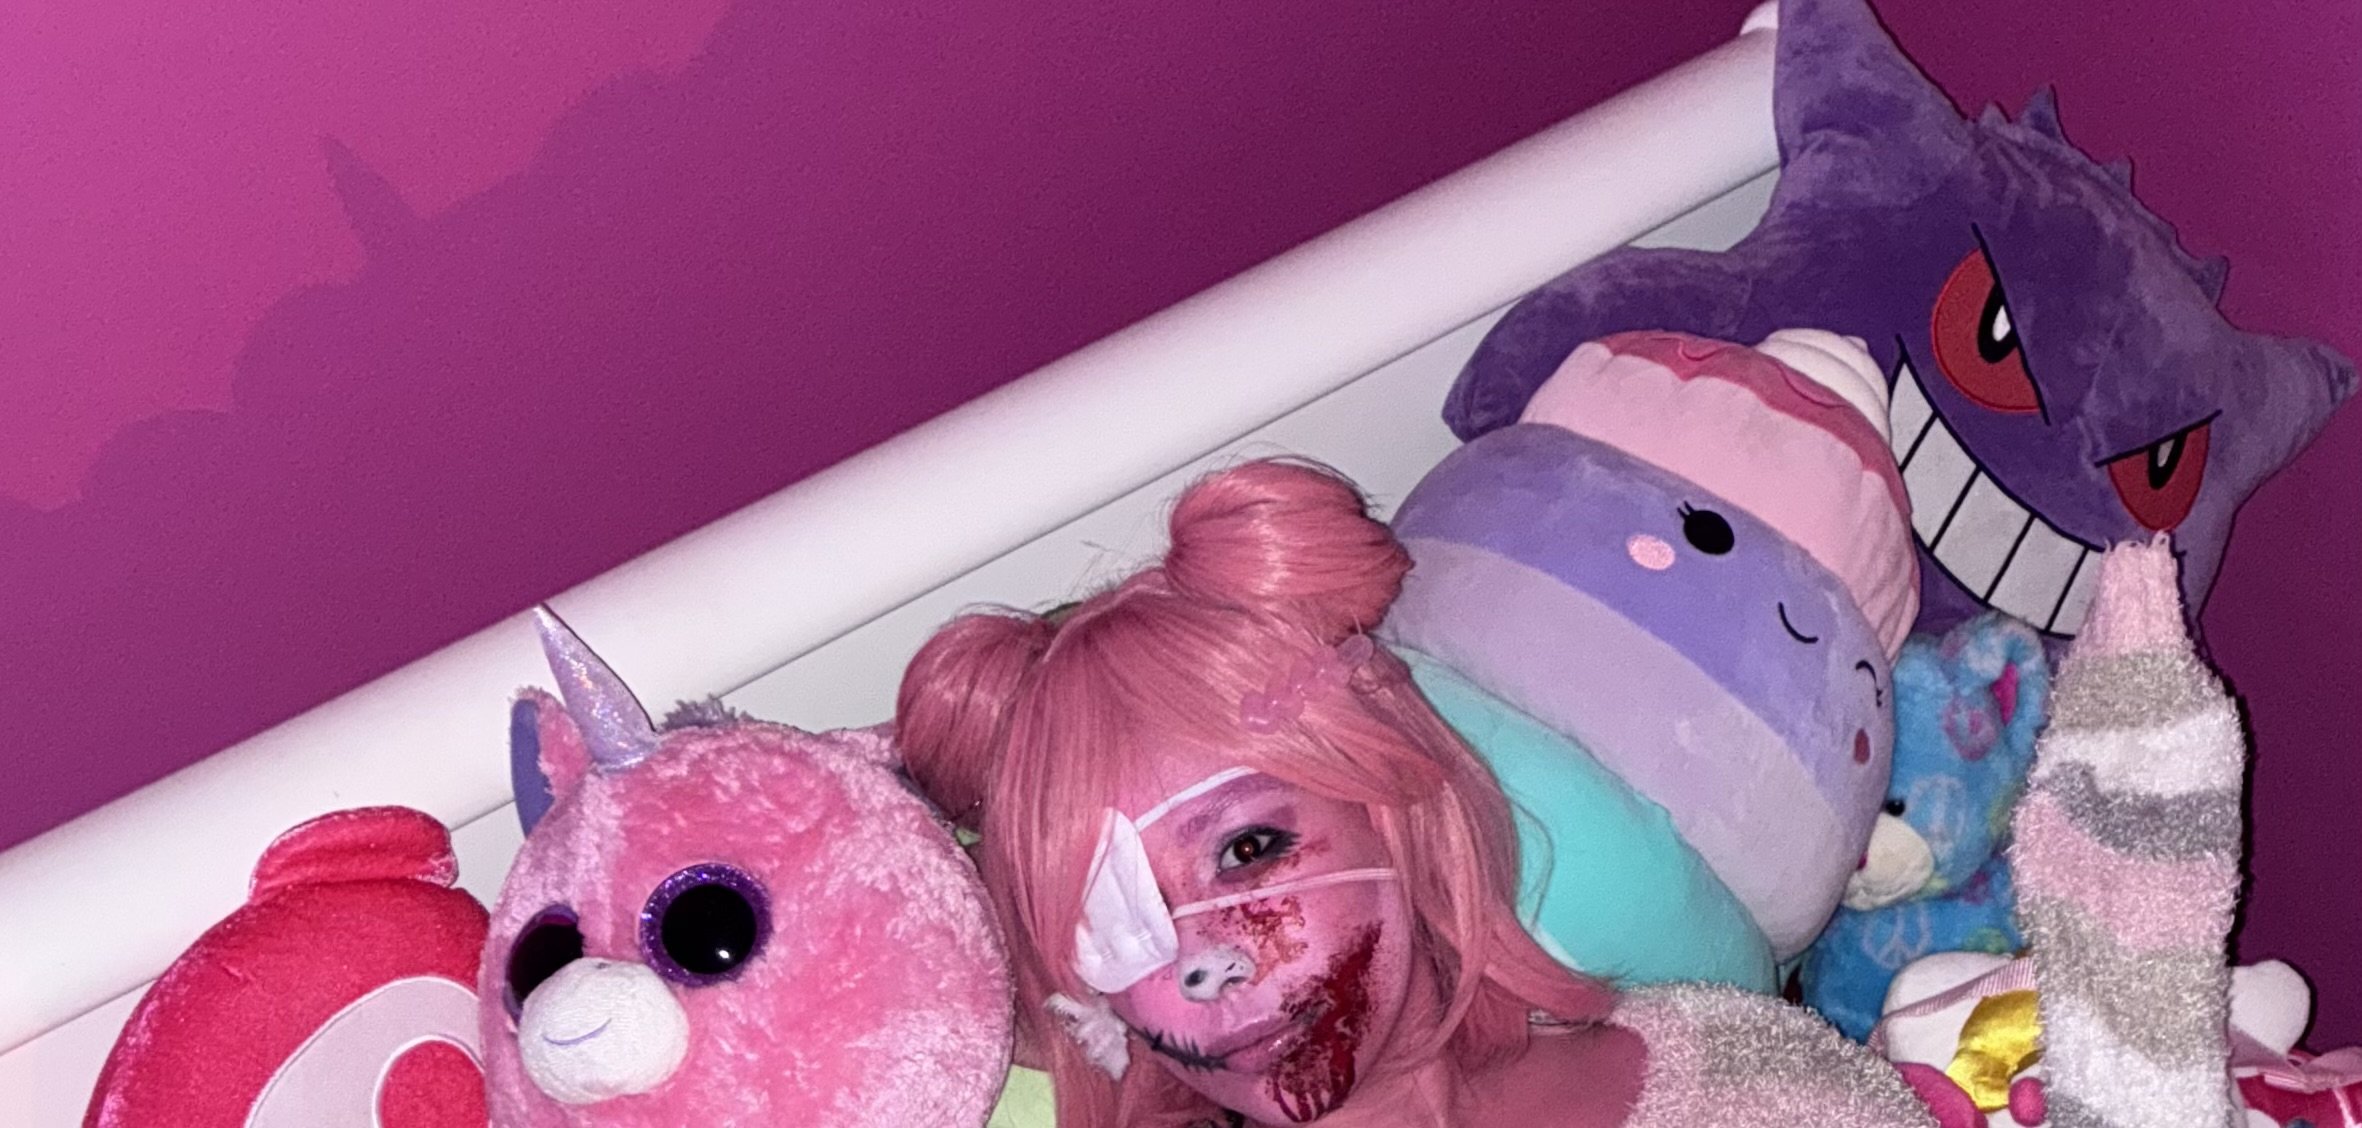
A feral-cute plush toy who’s snapped — blending horror and sweetness into a handmade pastel nightmare. My goal was to create a character that feels cuddly from afar, but unsettling up close — a broken and battered toy with a story behind every stitch.
Build & Makeup: I hand-placed cotton using eyelash glue to form a realistic plush-fur texture, sealed it with barrier spray for structure, and layered pink tones from the Athena Water-Activated Palette and Mehron White Cloud for a soft yet dimensional base. I added a black plush-style nose with a white highlight on the bulb for toy realism.
On one side of my face, I created torn-plush SFX with sculpted “ripped fabric” detailing and fluffy cotton spilling out, paired with an eyepatch for asymmetry and character storytelling. On the opposite side, I used Mehron Professional Spray Blood for contrast and movement — giving the illusion that one side of the plush had endured more “damage.”
The wig — a WildCos Short Pink Cosplay Wig for Women (Two Ponytails) — was fully hand-styled into side space buns, secured with bobby pins, lightly straightened, shaped by hand, and finished with hairspray for a smooth, plush silhouette framing the face.
Products Used:
• Athena Water-Activated Palette
• Mehron White Cloud Makeup
• Mehron Professional Spray Blood
• ColourPop × Pokémon Shadow Palette (for pastel lids + mauve contour)
• Cotton & eyelash glue (faux-fur texture)
• Mehron Barrier Spray (sealant)
Focus: Creating a believable “stuffed toy come alive” illusion using practical, skin-safe materials and precise asymmetry — emphasizing handcrafted texture, color layering, and wig styling to tell a visual story.
Credits: Photos shot by my boyfriend Chase McFann 📸; all makeup, SFX, and hairstyling by me.
Theme: Plush toy turned feral — kawaii horror meets Y2K sleepwear, a soft-scary dream that blends childlike nostalgia with handmade menace 💕
Photos attached.
Thank you so much for viewing my work — I love the SFX and character-arts community and would be honored to continue learning with SWSCA 🎭

Re: What's On Your Workbench? (Fall 2025)


Re: What's On Your Workbench? (Fall 2025)

 one of my silicone masks, hope you like it!
Locust Cosplay gears of wars
https://www.youtube.com/shorts/X0cRIGtOHt0?&ab_channel=spydercosplay


Aliens: Resurgence (For The Hive) @ C2E2 by TrisRex
I just debuted my first exhibition this past weekend at C2E2 here in Chicago. It's an exhibit built to explore the Alien Hive inspired by action figures, comics, and video games. I've been working on this since 2021 and still working on other set pieces and characters. I'll be turning this into a short on YouTube as well. The Queen Alien was my first introduction to the Xenomorph so I saved her debut for this event as well!
See more here!


Shot by Steve Kaminsky @ Kaminsky Kandids Photography

Shot by Steve Kaminsky @ Kaminsky Kandids Photography

Shot by Steve Kaminsky @ Kaminsky Kandids Photography

Shot by Steve Kaminsky @ Kaminsky Kandids Photography

Shot by Steve Kaminsky @ Kaminsky Kandids Photography

Shot by Steve Kaminsky @ Kaminsky Kandids Photography

Shot by Steve Kaminsky @ Kaminsky Kandids Photography

 Shot by Steve Kaminsky @ Kaminsky Kandids Photography


Hope you enjoy, stay frosty!


💀Babydoll 💀


