Options
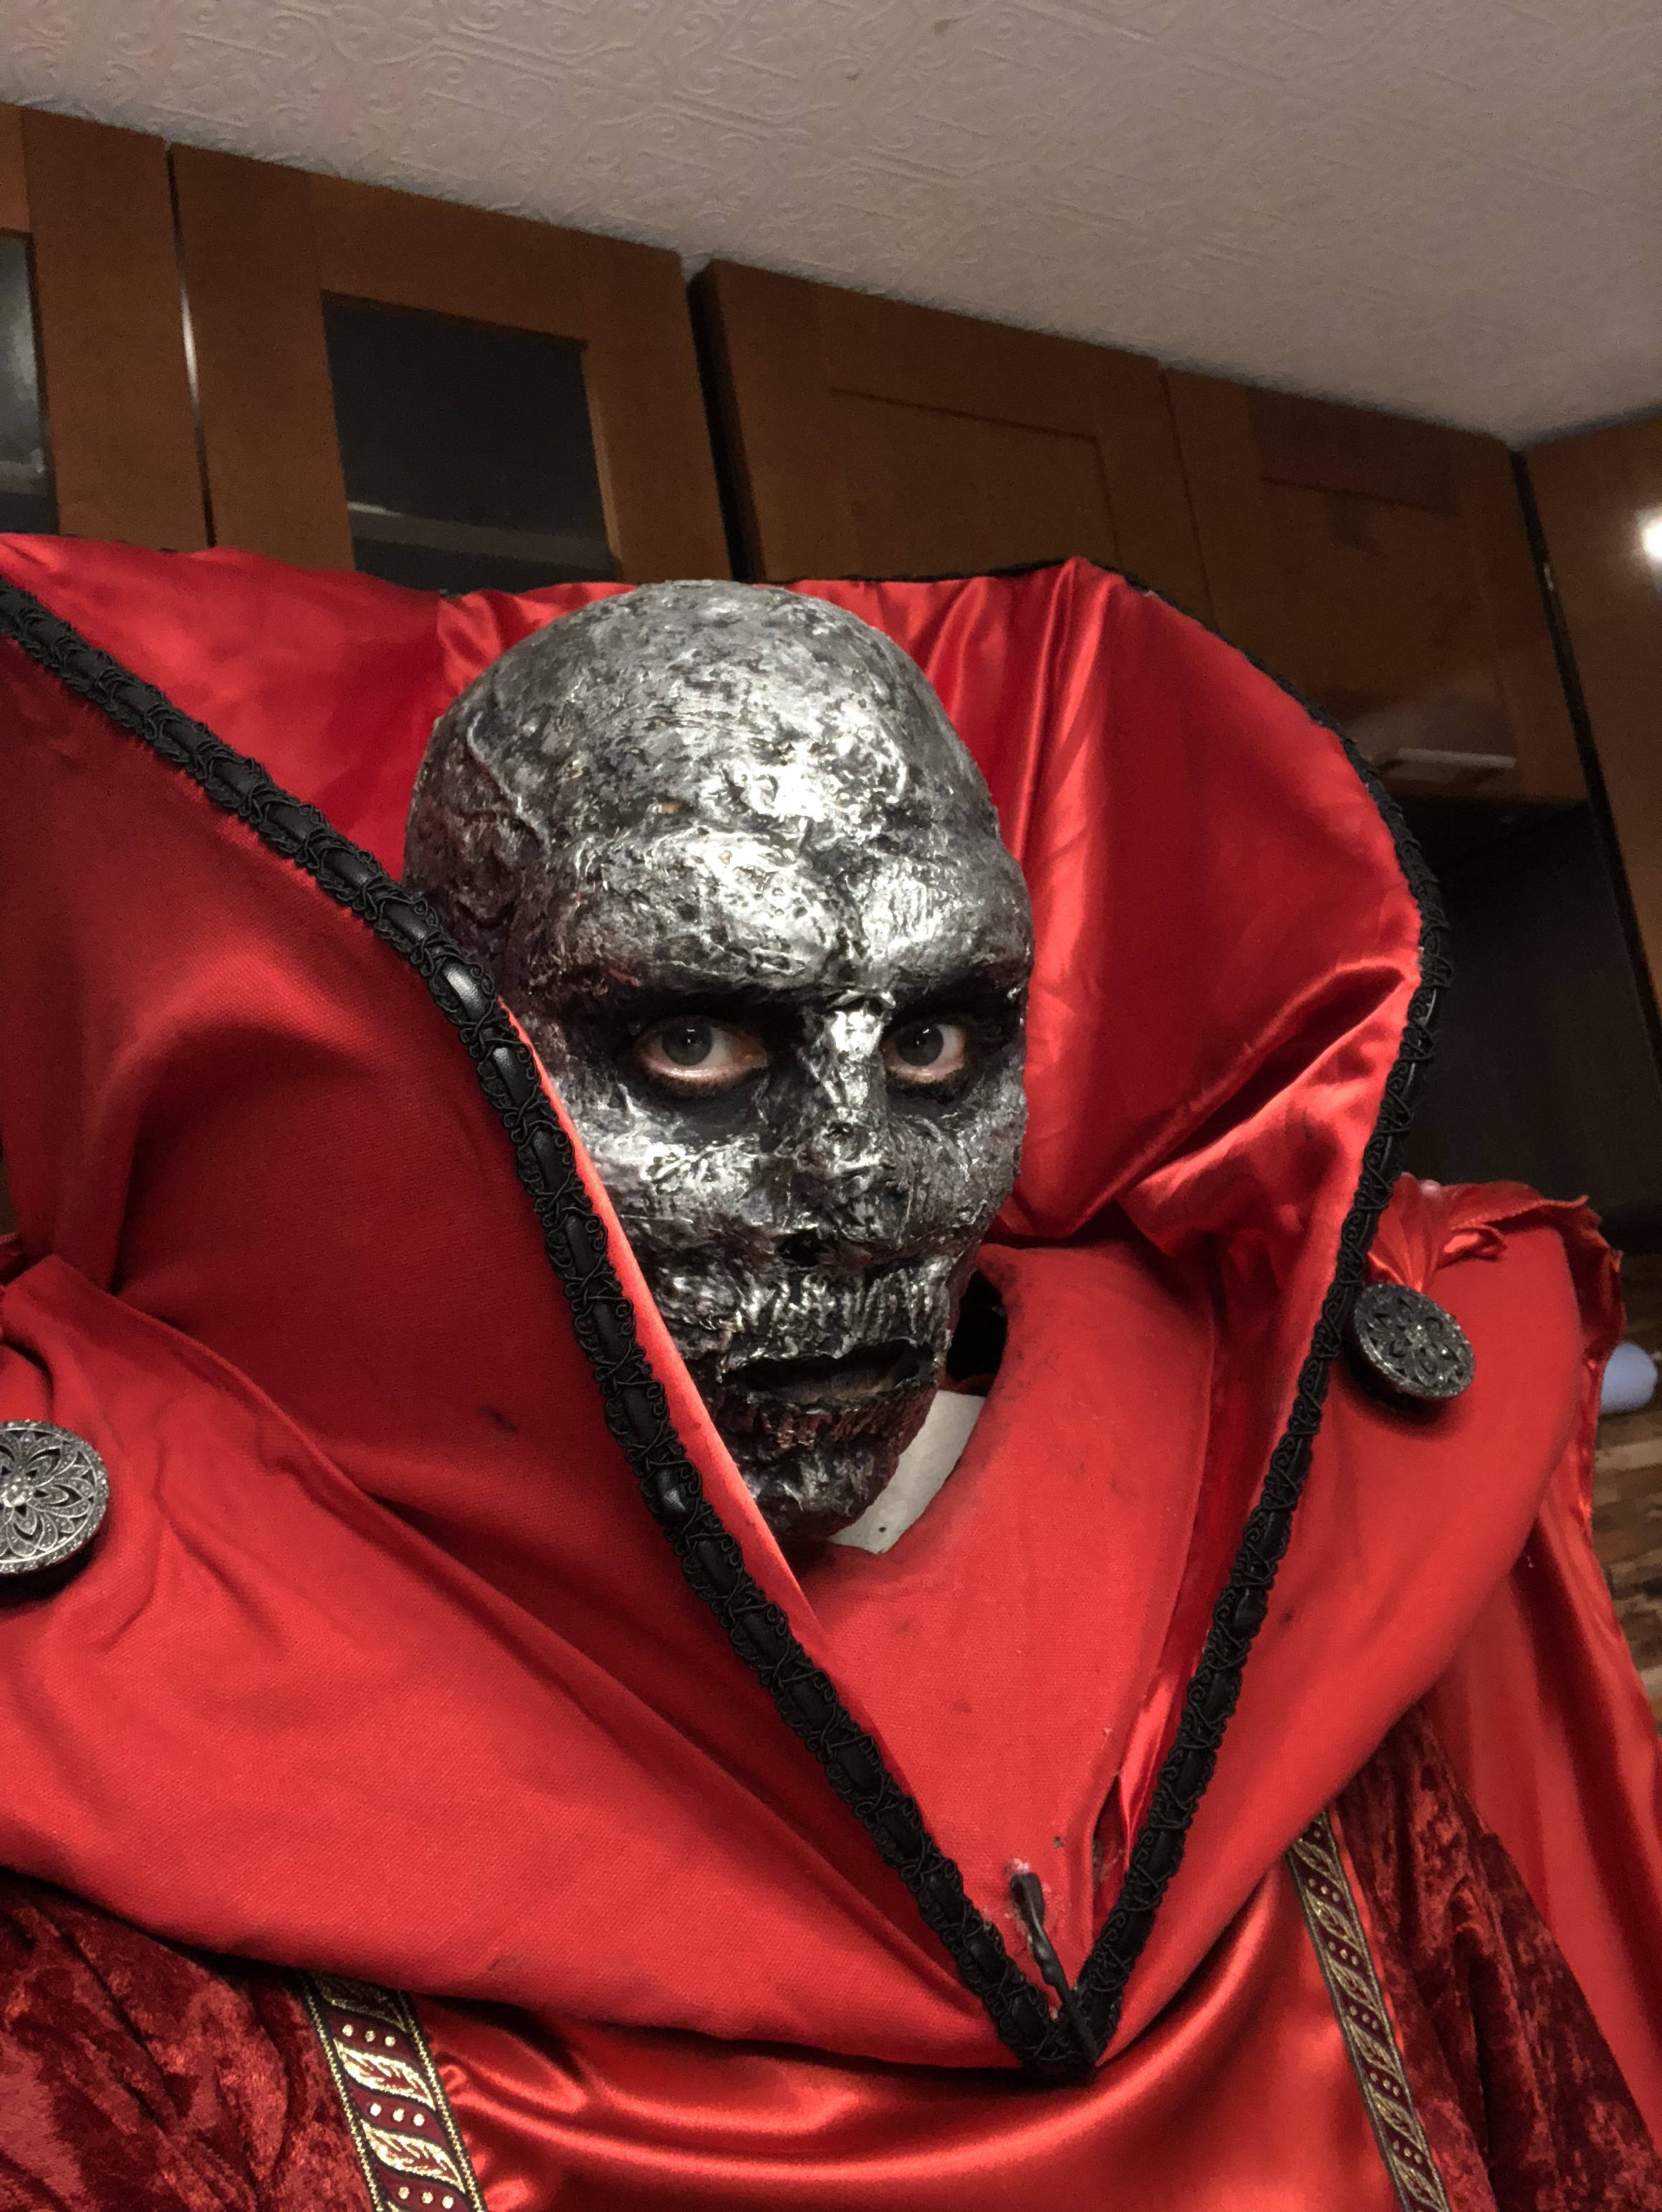
Szass Tam *Completed*

Hello again.
A while back I posted my entry for a 100% scratch built Szass Tam costume where I made the head out of a bike helmet, paintball mask, the skin was hot glue and I made electronics in it for lights and voice.
I was pretty proud of the costume, however on reflection it seemed showing off what I figured out on my own and less leveraging anything I've learned from the Stan Winston School.
This is my submission to showcase skills learned from a course here.
A little background.
I'm a mid 40's contract jockey. I sit in a cube all day reviewing contracts, running them through the garden of regulation and seeing where I can poke holes in them. That's what I do for 50 hours a week. I'm autistic, so I don't turn off. It's an advantage and disadvantage at the same time.
I'm a self taught artist, and in one of the classes here I learned that what I do is called "kit bashing", so that's my art style. I take a few things, fuse them together and make something new. So taking a paintball mask and a bike helmet to make the original mask falls under that kit bashing umbrella.
I learned the term kit bashing here on this site from the video that landed me here. There's a dude with a pony tail teaching how to make a helmet and a vacuum former. Outstanding video, amazing teacher. I'm looking forward to that build quite a bit. I had also watched a dude sculpt a droopy face monster and mold it. That was my first introduction to sculpting, I viewed it to learn ho to make a Klingon headpiece for a cosplay wedding.
For this submission I started from scratch. I watched a video of a long haired dude making a wolfman mask. It was the closest I could find to the idea of making a guy with a living metal skull.
This is my 5th attempt at sculpture, and I'm going to show the bad stuff I want to hide as well as what I feel is a success. At the time of this post I've made significant progress.
The rules I set for myself, I have to make progression in my kitchen I'm building, still have to make food for work, continue projects for work (I'm in a class there as well), still have time to spend with my wife being social and I can't drop my volunteer work. That and I have to do this from scratch, head and hands. This is where not having an off switch gives me an advantage. The disadvantage is autistic hyper-focus and a bunch of other unsavory things that comes with my wiring.
I have no illusions that I'm winning a contest. I've seen some real talent posted here. I'm doing this for me, and I'm wearing this for my 19th anniversary photo with my wife. I'm posting the pics as a nod of appreciation to the Stan Winston School for the incredible lessons.
Post edited by Chris Ellerby on
0
Comments
While I can't watch horror movies because they give me anxiety that usually lasts for months (I missed a lot of references), this dude teaching the course is straight up cool as hell. Amazing style, tons of awesome information and all around super informative!
https://www.stanwinstonschool.com/tutorials/how-to-sculpt-a-mask-sculpting-monsters-in-clay-norman-cabrera-part-1
The dude in the video was showing how he marked up the clay, and I dug this. So following the mantra "Fail to plan, plan to fail" I cut some lines in this clay.
Fun fact, using this clay, it's basically sand. Very gritty. It does wonders for exfoliating your hands and making your house smell like a wet dog and bog moss. It's not bad to work with, then again I really don't have a "good to work with" reference so take it as you will.
I'm buying tools as I go, and I couldn't find the triangle one the dude used to remove so I bought one that had the name he dropped and cut it up with a dremel to make the teeth.
In these shots you can see me trying to figure out the skull. The high points and how in the hell I'm going to hide my big snozz when the character doesnt have a nose.
I smoothed out a bunch of the lines and pitty pattied it to get an idea of texture. I hadnt watched the texture video yet
So the morale of the story, stand straighter, get someone to look at the WIP, or walk at an angle when it's all said and done.
Ive decided using the camera that I don’t like what I’ve done with the lines.
dude says it’s only clay, took that to heart
time to kit bash
at the time of this part the intent was to use the teeth as the final product
life happened and that idea was abandoned
There wasnt a lot of detail, but screw it, that's never stopped me before. I gave myself 5 min to make a test piece and see what I could do
Proof of concept worked, rainbows and crap, I'll take it.
I figured this is either going to be really cool, or a delightfully fun train wreck