My Ganon costume from The Legend of Zelda
 Jared Lee
✭✭✭
I really enjoy the process of making these costumes. It keeps my attention focused on things, and keeps me moving. I feel like Tony Stark building in his cave in the Iron man comic. You just get a really good sense of accomplishment wearing a work of inspiration.
Last November I made the upper body of Hakumen from Blaz Blue. I started the build on November 11 and had it done by the 26th. It did not come out to my liking, but I leanred a lot about sculpting foam, managing time, and how to properly paint with latex.
Since the Legend of Zelda is never out of style I decided I would make a Ganon costume. To make sure it was something no one had ever seen before I decided to make my own design based on various incarnations of the character.
The build consist of; Twilight Princes Ganons' head. Some elements of Orcarina of Time Ganon's body/clothing, and some modified Twilight Prince Ganondorf armor.
The Movie Hellboy II had a character named Mr. Wink in it that was a huge inspiration on the size, and color scheme.
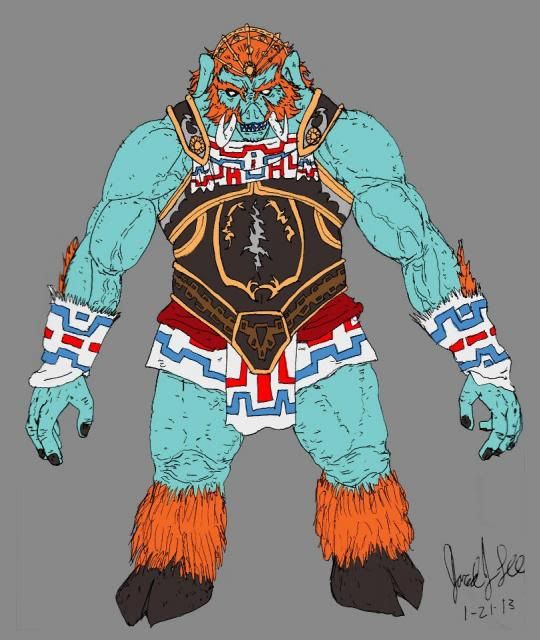
I want to make this a film-able costume. Something that would look great in a Legend of Zelda movie. The build consist of several things I have never attempted before.
Making a foam core to sculpt for the inner mechanics.
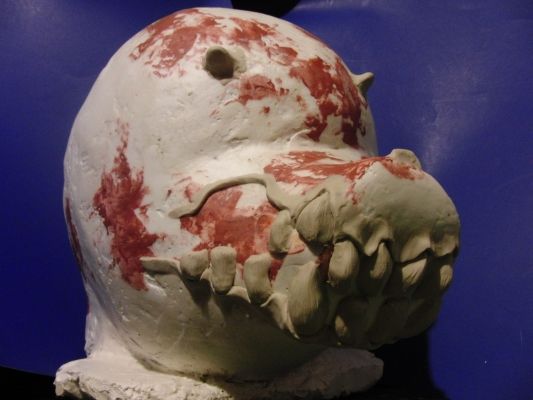
Casting that in resin, and sculpting on top of it.
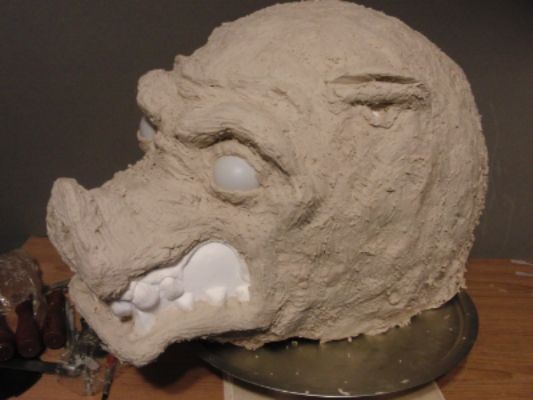
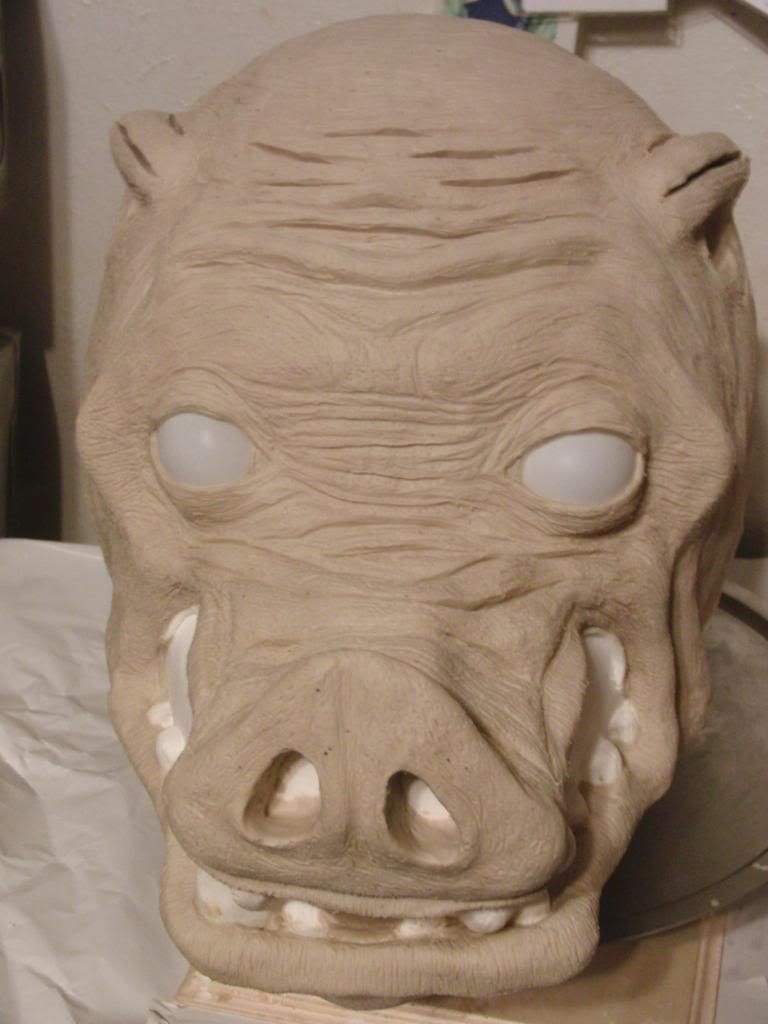
The head was cast in rebound silicon, and cast in of dragon skin silicon.
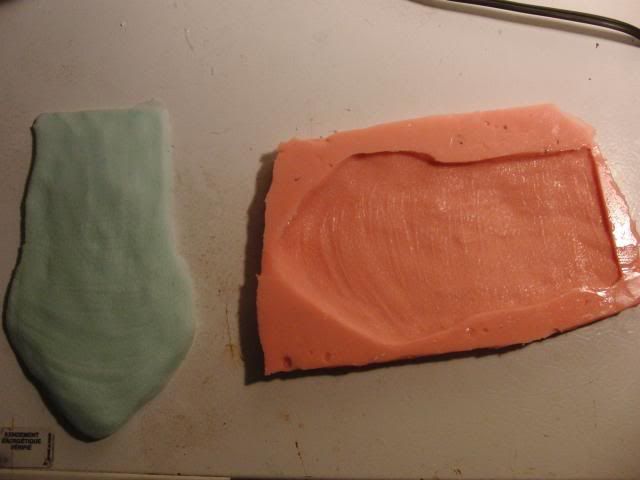
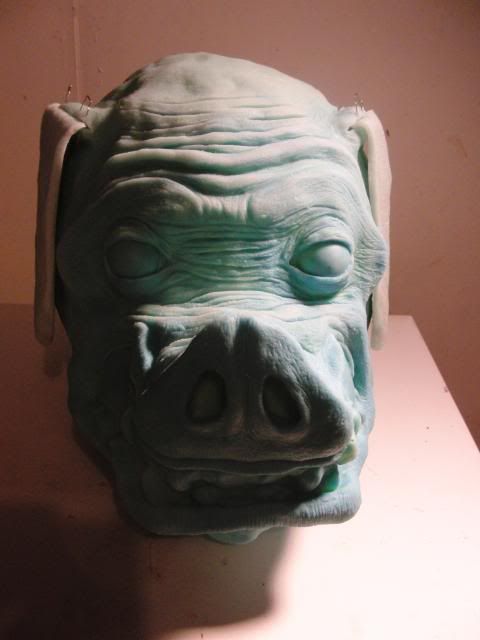
Airbrushing with silicon paint .
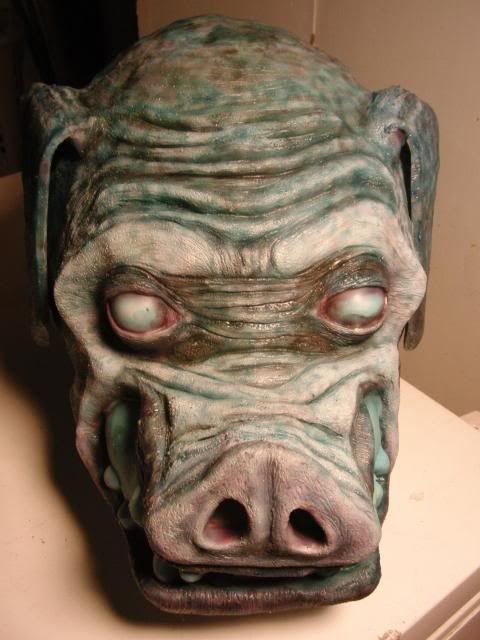
The one the face, and hair around the hair line was punched into the skin with a needle.
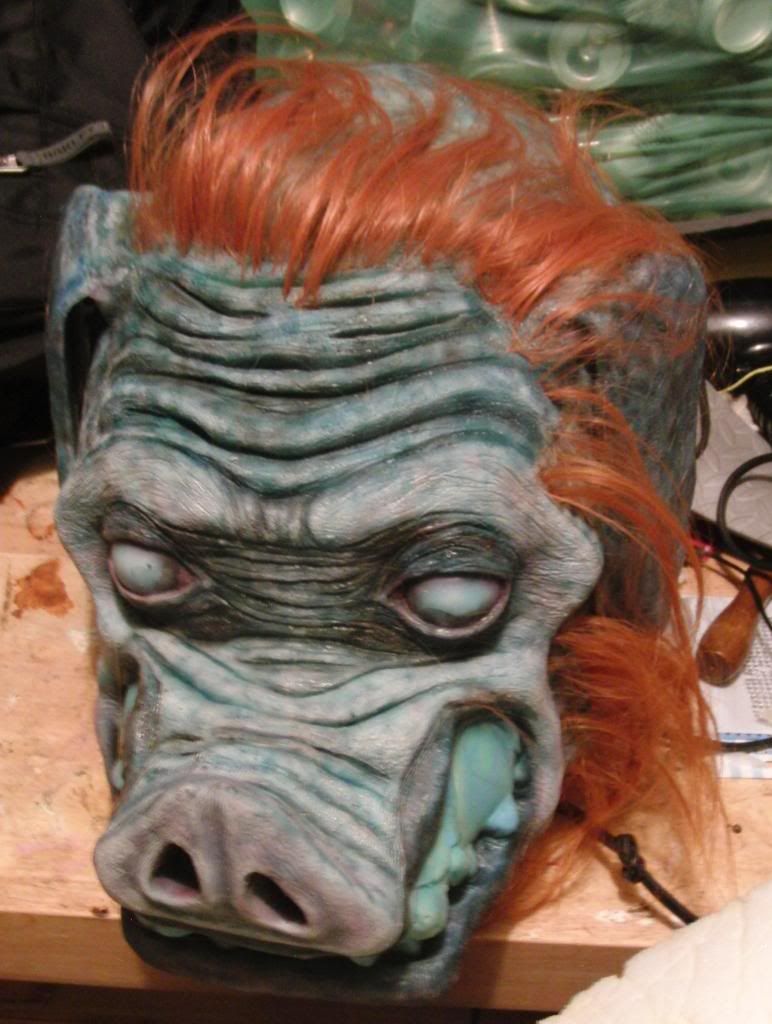
Eyes light up with dollar store book clip lights through ping pong ball eyes. I had a brow mech but it hit me in the eye do I took it out.
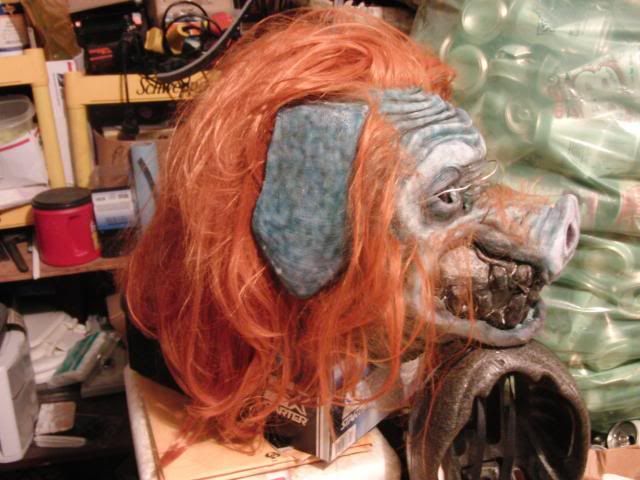
Several battery powered fans to blow air in and out of the mask and armor.
Hands will be arm extensions with working fingers. Skinned with upholstery foam.
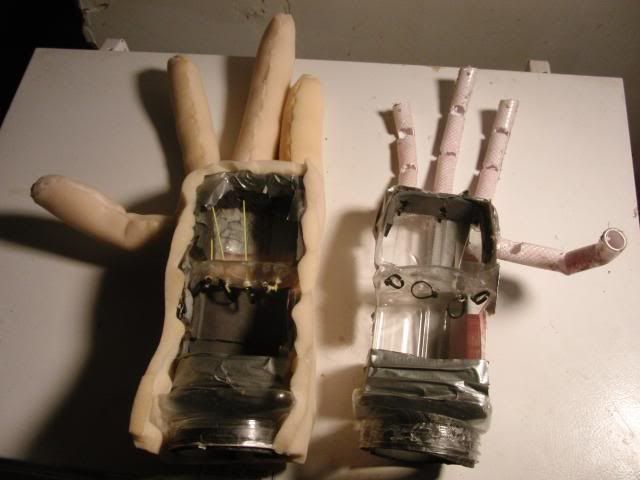
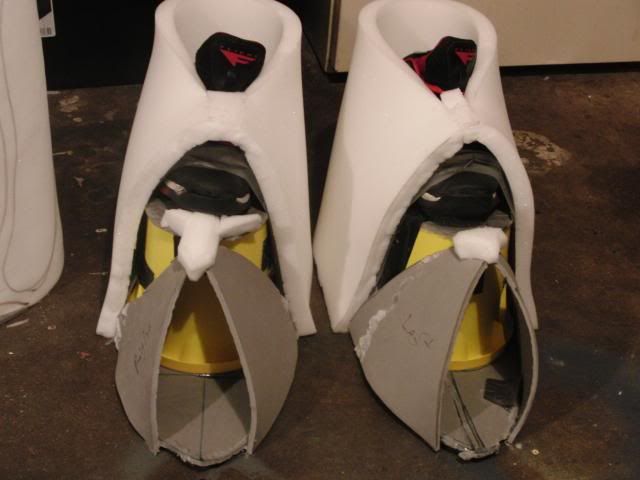
Proportion test with homemade bucket stilts, and arms. I was 6 foot 11 inches all.

The upper body removable like a coat. A vest of 6mm thick EVA foam/ L200. With1 inch upholstery foam glued to it and carved into the shapes of muscles.
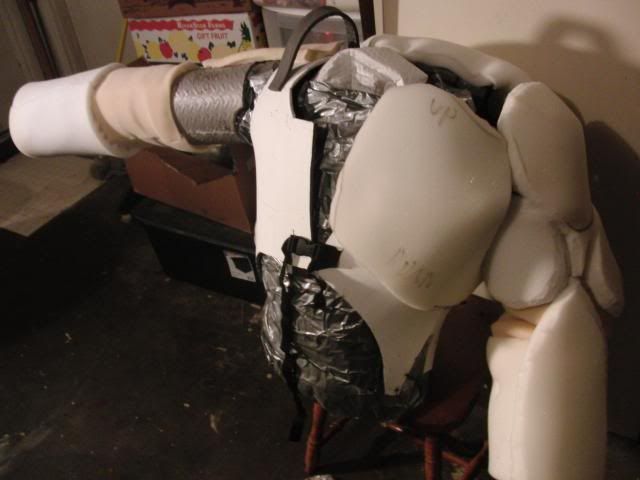
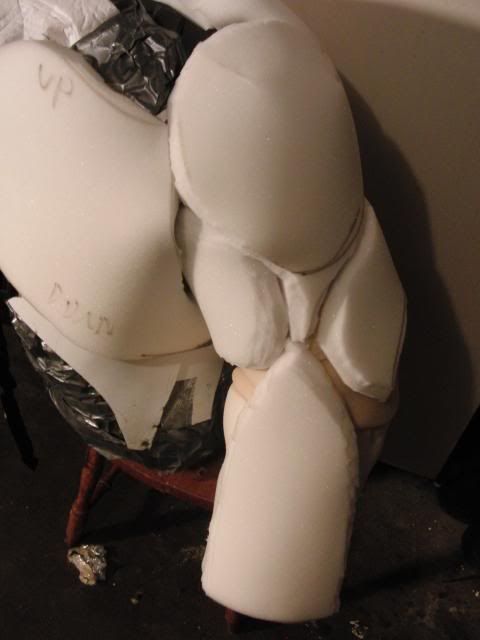
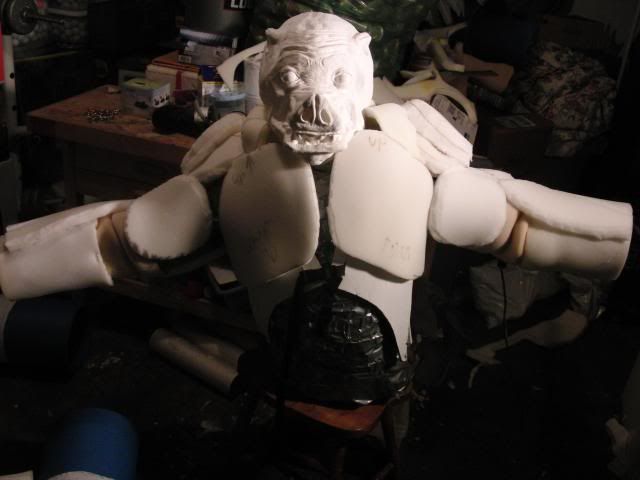
The lower body were worn like cowboy chaps.
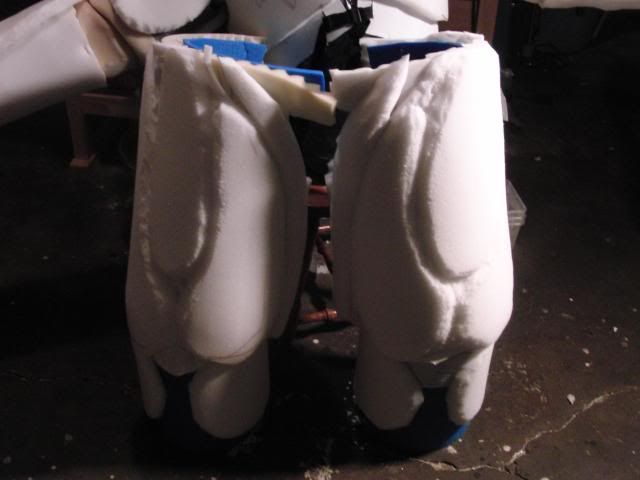
I added the details the legs,band upper body with a wood burning tool, and the veins were added with yarn. I sealed the upholstery foam with spray glue n filled the gaps between the foam muscles with cotton balls. First layer of latex is on.
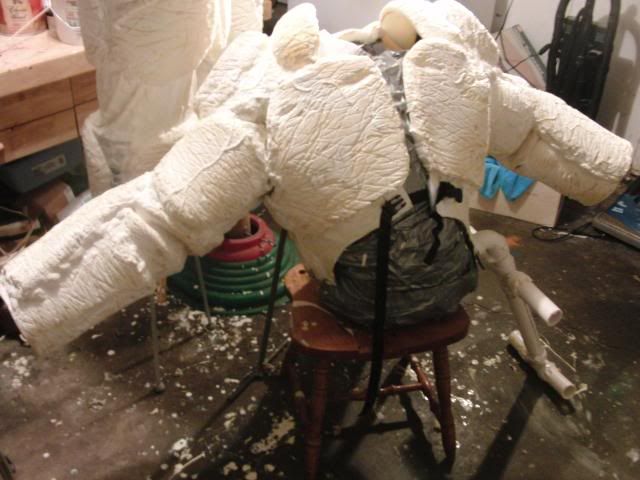
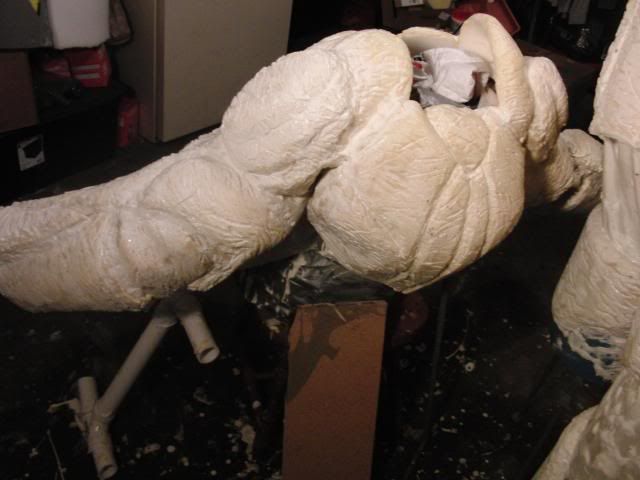
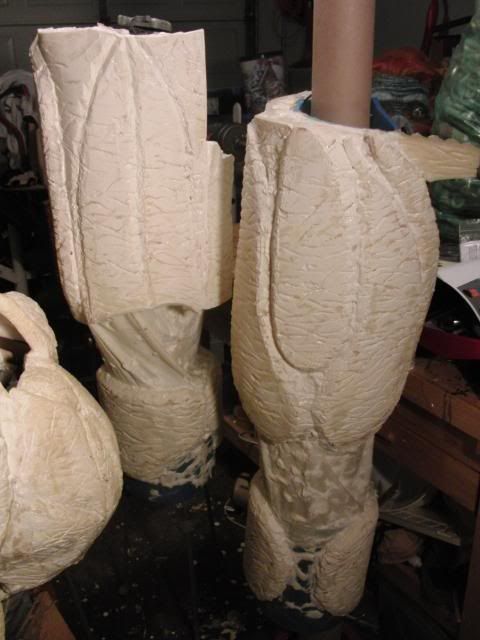
Just so when I have to cool off or wait for a long time I don't have to wear the weight of the entire suit.
All of the things I wanted to do with this costume I have done, or know how to do. It was just be my first time I have ever putting all of those features into one character.
The design and head making processes took 6 months. Finishing the body, and armor took 10 days. I did not sleep the last 3 days trying to get the costume done for a convention. Here is what it looked like the first time I tried the costume on in the hotel room. This is after going up several filights of stairs and missing the costume contest. At the time the head was 14 pounds.
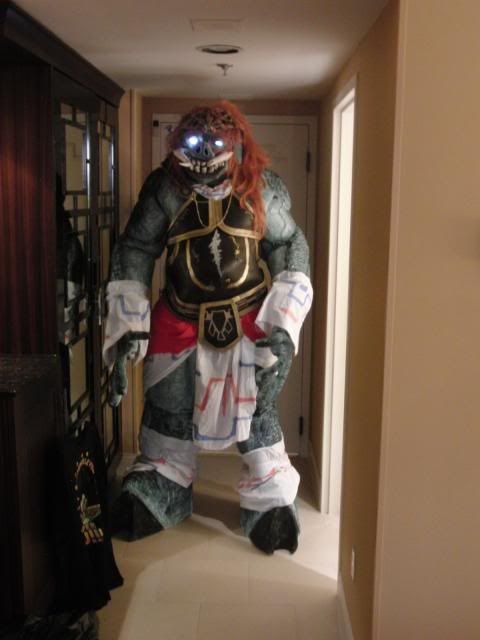
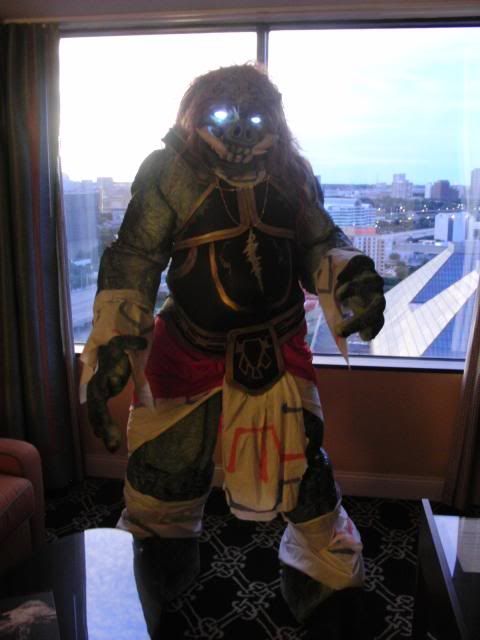
I was very disappointed I did not get a chance to show it at A-kon 24.
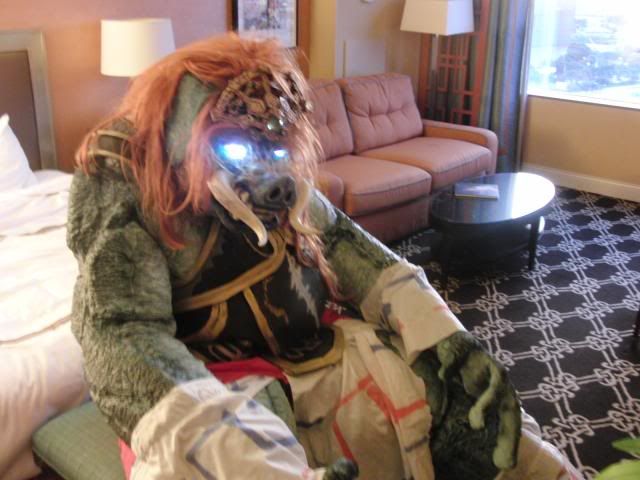
After a few weeks of modifications I was able to get in the costume in 5 minutes, and the head was reduced to 8 pounds by cutting away extra resin from the head shell I made, and cutting away silicon under the wig portion of the head.
I then had he finished costume along with a cape to hide the back opening of the costume's armor.
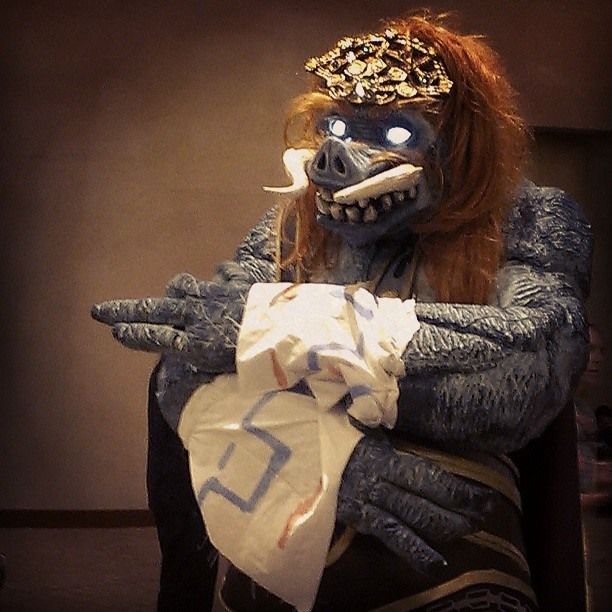
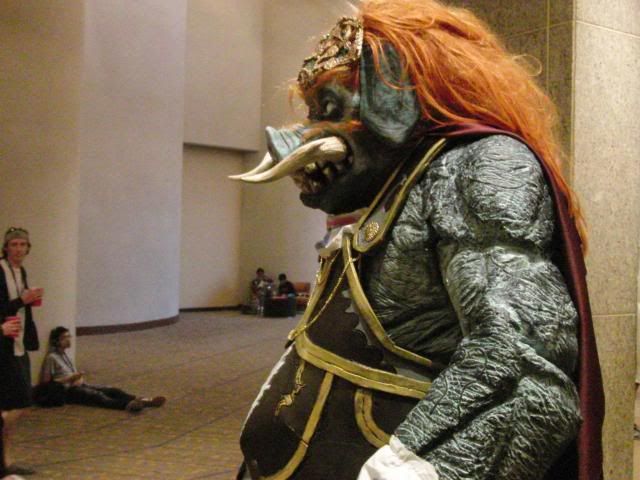
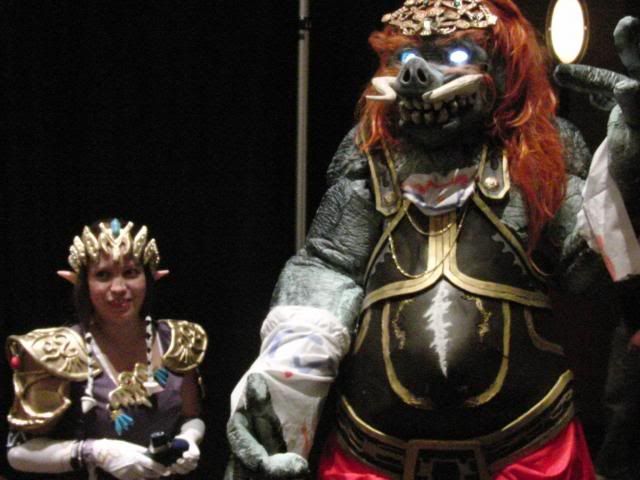
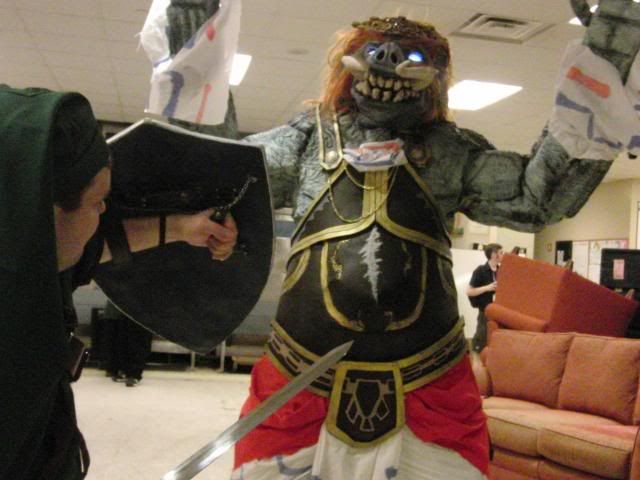
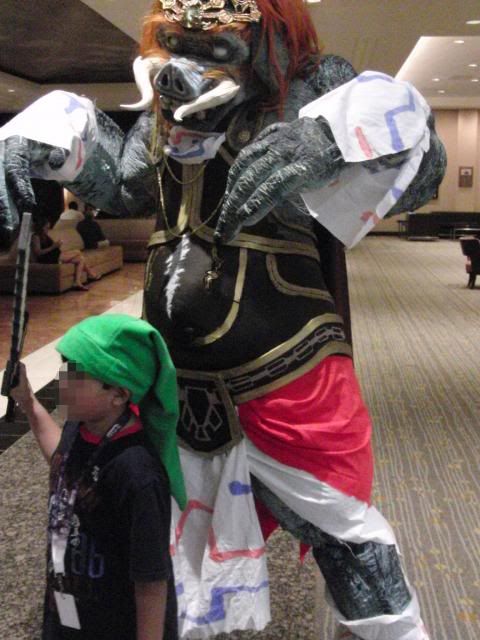
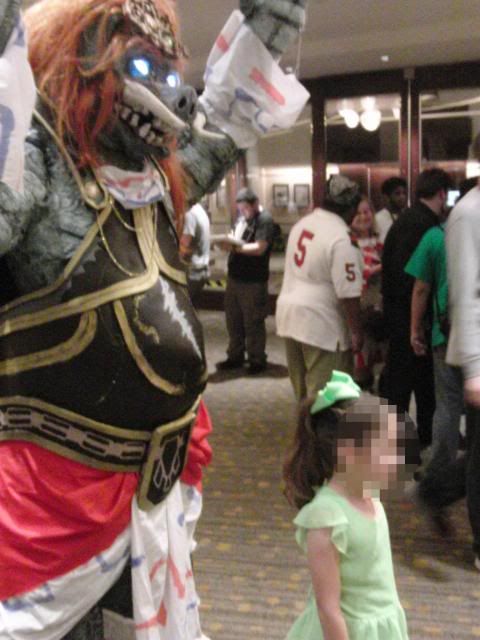
Took it to the Screwattack Game Conference and people loved it!
I even won the costume contest!
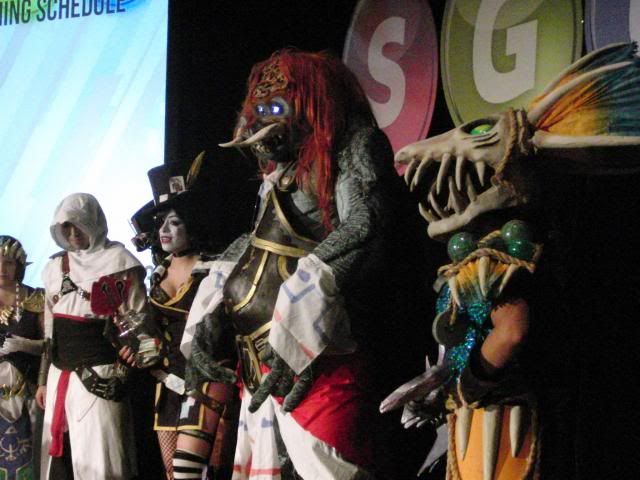
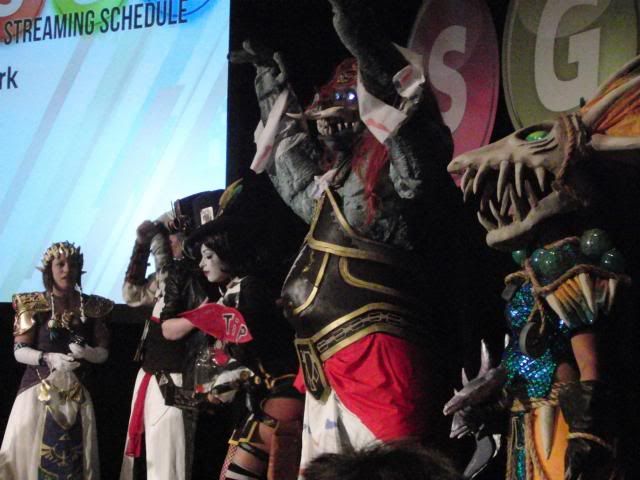
For the most part everything worked as planned. I was even able to take sections of the costume off to cool off.
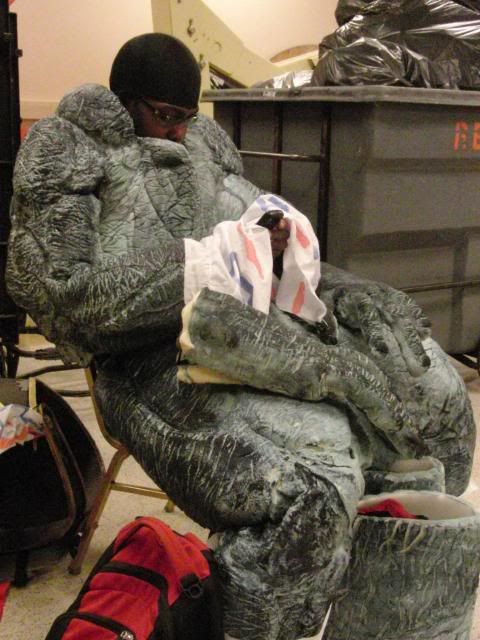
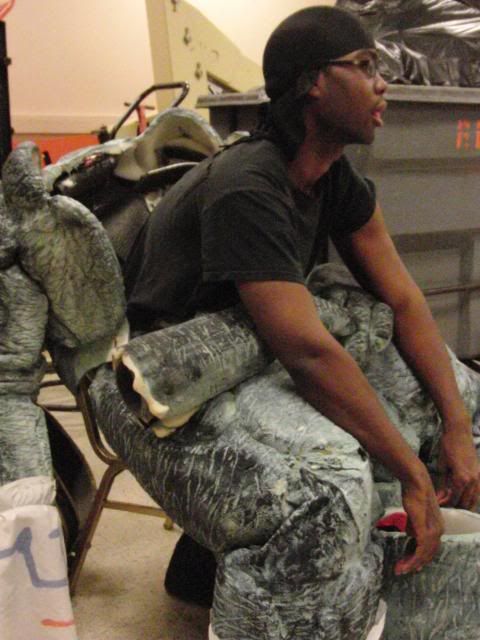
It was all so worth it! Thank you Stan Winston School!
Comments
I'm impressed how you went from the rough cut foam to the smooth muscle shapes. Did you do all this just by building up cottonballs and latex? Did you need to do any smoothing with a electric sander or something?
Thank you, Mikey!
I did not do too much. I mostly used razor blades to round out the corners of the foam. Then I finished rounding the edges with a Red Devil Metal sandpaper called Dragon Skin. I saw Shannon Shea use it on his foam road puppets in the garage monsters lessons. It works really good for rounding out details, but it leaves a mess. So I for the most part I use razor blades o take off as much of the edge as I can, before sanding.
With the edges off the foam lays down flush to the surface it is put on.
I used one inch foam so you can carve fairly deep into it without it cutting in two. Just slice at a 45 degree angle into the foam from the right. Then do it from the left, and you have a wedge of foam peel out. I did the same for the back, and forearm.
The cotton was to fill in the gaps between the foam sheets. The liquid latex soaks into it and after the first layer things starts to smooth out.
The texturing, and painting help everything look like one piece too. Those two elements make it difficult to see where one part ends and another starts.
Thank you! I have a lot of ideas floating around about what I would like to create.
Right now a big factor in what I make is how if I can store it safe, and be comfortable in it.
So I am going to avoid characters with tails, and wings so I can sit down. I will also lean towards costumes I can put on without aid, and store on a hanger or in one storage bin.
I am making Psy-Cro from Earthworm Jim for the SGC convention next year; no doubt.
I want to get a Ninja Turtle made for the film's premiere in August next year.
Anti-Venom,and Usagi Yojimbo would make a great costumes too, but those are currently just prospects.
Thank you Rajesh! I am happy you like it.
I made a lot of mistakes building this costume, but I got a lot of knowledge in the process.