Neck Mechanism for Animatronic bird

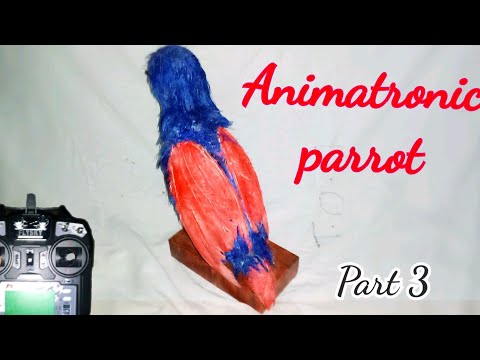
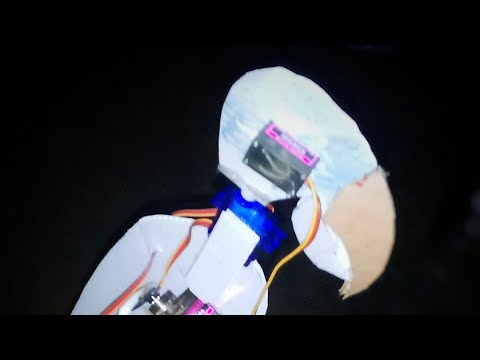
Is there anyone who has built an animatronic bird here, how did you do the neck mechanism?. I have made one before but the movement was not natural and it only moved along one axis. I'll link it below, Thanks the response in advance
 https://youtu.be/-kM2xoD2xY8
 https://youtu.be/91J7XScB6xo
https://youtu.be/-kM2xoD2xY8https://youtu.be/91J7XScB6xo0
Best Answers
-
Hey Praise,
It looks to me like you have a great grasp of where you want to go with the motion already - the video you show is a really good start. For a simple answer, I'd move the point of motion at the base of the neck up closer to the point where the neck and body meet. it looks kind of buried in the body right now. Is the pivot for the neck mounted to the servo horn directly? I'd put the neck on its own pivot and drive the neck up and down via a linkage - a short arm from the servo to the point of motion. Then, link another point of motion like in the attached drawing. Sorry, its a quick sketch - it's basically a two jointed finger joint to spread out the motion of the neck. See if this works for you or generates other good ideas. I'll look for another posting from you to see how you've done - good luck !!
-RL
Post edited by Chris Ellerby on2 -
Who, me? Just someone with a few good ideas... ;^)
If you are going for a twist, look at the quick drawing I've attached. It's what I put at the top of the ferret's neck for the Budweiser frog series of commercials, and the Seplevites from Constantine. It's a bit of a pain to turn the cable housings 90º this quickly to run down the neck, but it is possible. This sort of pulley to pulley idea is the heart of so many mechanisms I think it's a good idea for anyone to get it into their brain as a basic technique. Any motion inside a character can be remoted out through a pair of cables (then to a pulley controller), or to a servo in the body and then R/C to a transmitter. I hope the drawing makes sense. If you are looking for a head side to side motion, the same idea still applies, you just need to picture the pulley reoriented to the base of the skull with the point of rotation facing forward/rearward so the head "tips" to either side when driven.
Beast of luck !!
(I cannot tell you how cool it is that you did a cardboard mock up to do a quick test - that's the way to get anything correct quickly !!!)
Post edited by Chris Ellerby on1

Answers