Now On-Demand: How To Build An Animatronic Head - Part 1
 Chris Ellerby
Admin
Chris Ellerby
Admin
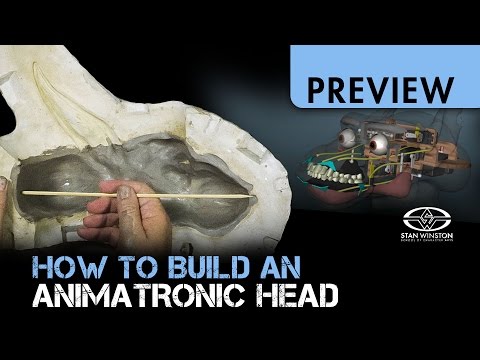
HOW TO BUILD AN ANIMATRONIC HEAD PART 1 - CREATING THE MECHANICAL UNDERSKULL
 https://www.youtube.com/watch?v=aKjlicPpv_o
Learn how to build an animatronic head with master creature effects mechanic Craig Caton-Largent (Jurassic Park, Terminator 2: Judgment Day, Predator 2). In Part 1 of his 4-part webcourse series on DIY mechanical characters, Caton-Largent teaches you how to create an epoxy & fiberglass underskull, the critical first step in building facial animatronics for your character creations.
WEBCOURSE HIGHLIGHTS
- Tips for Controlling Skin Thickness
- Laying-Up Clay Inside the Mold for Core Creation
- Creating a "Throw Away" Core Mold
- Laying Up the Epoxy/Fiberglass Underskull
- Joining the Underskull Halves
VIEW THE LESSON HERE
Post edited by Chris Ellerby on
0
Comments
Also, I seem to be confused and missing a step.
1) Have a mold
2) Cover it with vaseline(?)
3) Put WED type clay into it.
4) Spray with Crystal Clear
5) I'm lost...Spread plaster on the inside of the WED clay? And stick it together? And wait for it to dry?
6) Spread vaseline on the plaster and
7) Cover it with bandages?
Can anyone please help?
The steps you are mentioning are for creating the fiberglass underskull. You take the mold that was used to create the skin of your animatronic character and line the inside with clay that is the approximate thickness of the character's skin, and then create a mold of that internal cavity using plaster bandages.
With complex lessons like this, I find re-watching a few chapters (or sometimes the entire lesson) helps, since you have more context having seen more of the process.
Here is the list of servos used in this lesson: (form the lesson page materials list)
Please let me know if you have any other questions.
Thanks,
/Chris
I have to build the rest of his poseable body too so I‘m trying to save as much as possible wherever I can.
If you don't need your character to move on its own, and just be posed, it should be much easier and less complicated. One quick way to make a character poseable is to add aluminum armature wire, or stiffer steel wire to the joints.
/Chris
I am very interested in using this technique for an upcoming short film I am producing, but was curious if you have a rough estimate of the material cost from start to finish? I looked over the materials list but it doesn't seem to list costs anywhere-- is this true, or did I miss it? I need to make sure I'm allocating enough of our budget to this and would rather have at least a rough idea before purchasing the course.
Thanks, and cheers!
This course focuses more on the mechanical aspects of the head, but there are other aspects that would add to cost like sculpting, molding, and casting of the skins. So coming up with a total cost estimate is not really feasible.
If the needs of your project are simple enough, you could create a basic no-frills head for around $500. How you control it has a big impact on cost as well, since RC transmitters can cost hundreds, but simple wired controllers (potentiometers) can be much less expensive.
/Chris
In a post above it sounded like the skin for the animatronic had already been cast prior to the fiberglass underskull, leading me to think there is a core mold used to create the skin and then the fiberglass underskull created to match the core as much as possible.
You can create your underskull using the core from your skin's mold. Sometimes this is done using vacuum-formed plastic to create a lightweight underskull, or you can make a stronger/heavier one out of fiberglass. For fiberglass, I would first make a negative mold of the core and lay the fiberglass inside that, so the material you build up does not increase the size of the underskull. With the vacuum-formed underskulls the material is usually so thin you can create than right on top of the core without changing scale too much.
Hope that helps!
/Chris
Another question I have is about when I put the core back in the mold to create the skin. I don't understand how the core does not touch the sides of the mold. Is it anchored somehow?
thanks so much!
The core is normally created by laying clay inside the outer mold. The thickness of the clay represents how thick the skin will be in that area. Then you can either cast a core and make a mold of it later so you can cast a light/hollow core, or lay-up fiberglass and resin directly on the clay to make a light/hollow core.
The core and outer mold would then be bolted together so that the core is held in place by the outer mold. Keys created on the outer mold and core help them line up so the spacing is perfect.
/Chris