
Aliens Chestburster (Portable animatronic tentacle mechanism)

Here is my Aliens Chestburster made from Vinyl plastic model, molded from silicone and a custom RC servo controlled tentacle mechanism based on the techniques shown in the Basic Cable mechanism tutorials from here 
Im based in Sydney Australia, and its difficult to find many of the parts and products referenced in the video tutorials, so I had to improvise to make it work.
Here is the finished result - I used gelatin for the blood and blue alien secretion and some blood mixture for the highlights.
https://www.youtube.com/embed/2ZXzfu-yVD0
 https://www.youtube.com/watch?v=2ZXzfu-yVD0

Close up 1

I constructed the mechanism using a combination of 3D printed parts, RC servo components and a Pololu Mini Maestro 12-Channel USB Servo Controller.
The aliens model is from a Vinyl plastic model purchased from E-Bay... unfortunately my artistic skills are minimal, whereas my mechanical/electrical skills I'm strong, so for simplicity I used the vinyl model and then molded it from silicone.
Using reference photos I got to work....


Trying to be as creative as possible, I used a plastic bottle as a mold and cut it to size.
I knew I only needed the front half of the alien, so I only used that portion in silicone.


I then proceeded to make the mold after making a base out of clay.

I inserted the vinyl model in the bottle and poured the silicone.


This was my very first time molding in silicone (or any material for that matter) so I was very nervous and unsure if it would work.
It did!

I cut the top off the blue tube and removed the positive....


I was then ready to pour the Plat-Sil Gel 10 silicone skin mixed with some skin pigment colour.

Unfortunately, I was warned that not giving the Silicone mould 24hrs to cure may cause it to stick to the skin silicone... and it did a little, forcing me to have to cut the blue mold away from the skin.


But it turned out great! I was quite pleased with the skin and its overall appearance and thickness.

Now came the tricky part... the internal mechanism.
I used a nylon rod cut into disks and bicycle brake cable for the inner spine and control cables.


Following the instructions from the Cable Basics and improvising slightly, I ended up with this;
https://www.youtube.com/embed/-M2LyYqPNvs
 https://www.youtube.com/watch?v=-M2LyYqPNvs
I then used my 3D printer to create a skull/jaw mechanism as well as RC Servo mounts.


The skull was attached via a Universal joint I happened to have in my stockpile of junk which came from a machine I pulled apart years ago.

Cables were threaded and attached.

Unfortunately another problem presented itself. The brake cables and housings have a large bending radius, and cannot be bent 90 degrees effectively.
As I needed to attach the mechanism to a chest harness and wear it, this was going to need to go through a 90 degree bend.
I modeled up an adapter and tested it out.

It posed a serious problem...

the 90 Degree bend created so much friction that my RC motors couldnt drive them effectively without drawing massive current. I also lost bend angle on the tentacle so I needed to find a solution.
I stripped more of the cable outers (removed the outer sheath) and inserted it between the base and the coupling.

That reduced the friction, but still didnt work well enough for it to be considered a solution.
The final answer was to move away from the brake cable (shown below) and move to a 1mm steel wire rope (1 x 19)

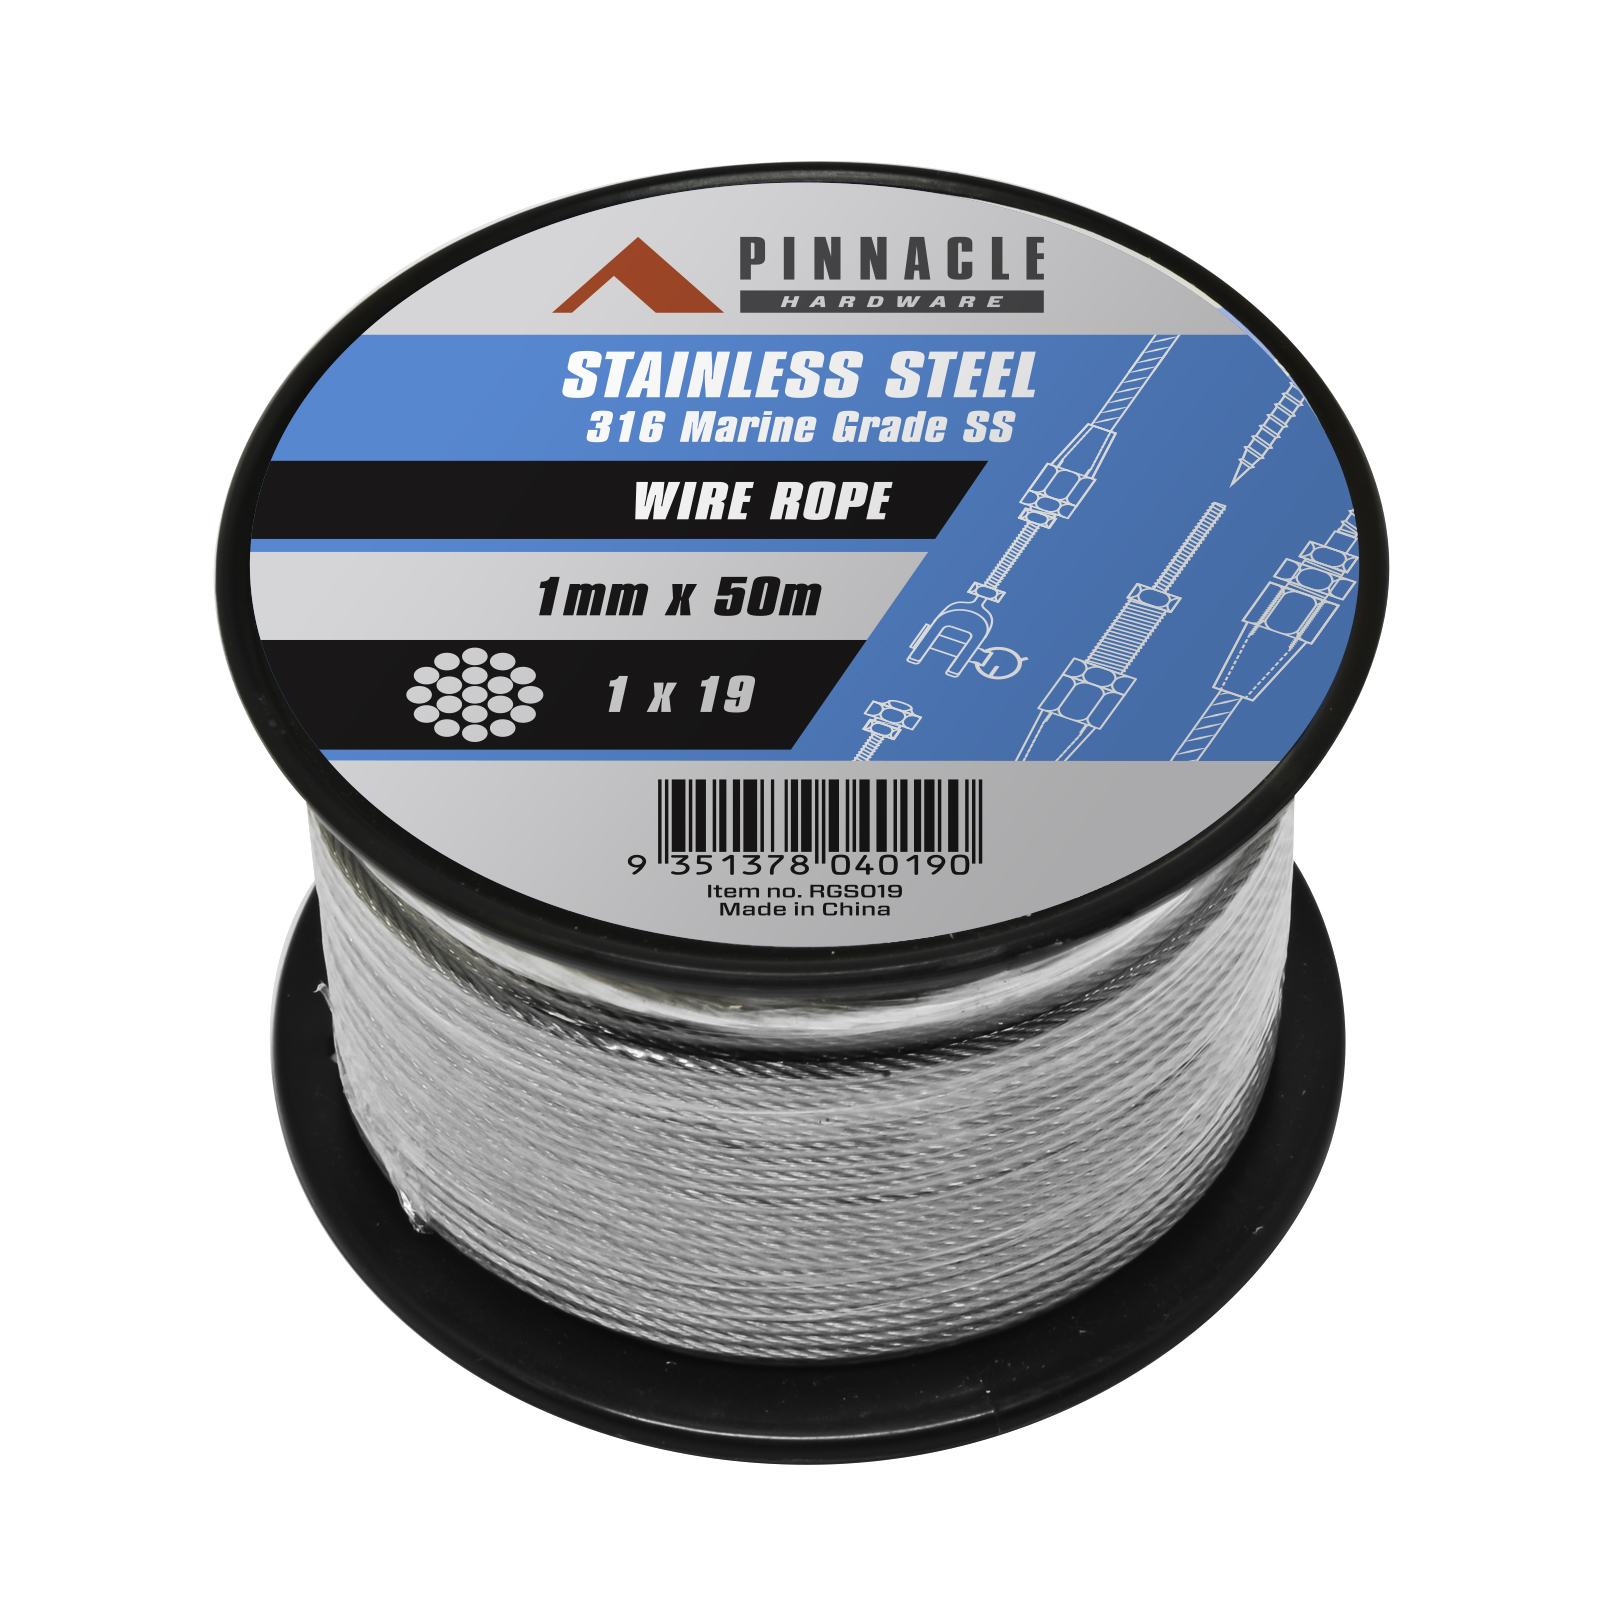
That gave the mechanism the flexibility and massive reduction in friction, reducing the power draw on the servos.
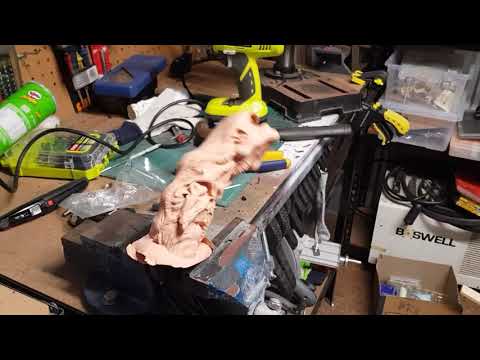
The final chest burster was put together and then some layers of silicone with paint was added for realism.

The Chest harness was a cheap 10 dollar Go-Pro copy chest harness bolted onto the adapter.
The RC Servos were controlled by a Pololu Mini Maestro 12 Channel controller with a simple motion path controlled by a single push button switch. When the button is pressed, the controller runs through the program once, and then puts the servos on standby.


I didnt take a photo of the assembled RC control module or backpack mechanism, but if I get a chance I will later.
The Battery is a 6V SLA battery with 12ah capacity.
And thats it! It took about 6 weeks of work on and off (mainly the silicone mold part was the scariest) and about 1 week of solid work to get the final mechanism built and tested.
The part that I need to refine is the cable connections to the RC servos, as the connection is nowhere near ideal (or pretty!).
Phew! It was a massive amount of fun, and I scared the bejesus out of everyone when they saw it moving
Massive thanks to Stan Winston and the team because without them we wouldnt have any of this!
Much love from Australia,
Eddie!
Im based in Sydney Australia, and its difficult to find many of the parts and products referenced in the video tutorials, so I had to improvise to make it work.
Here is the finished result - I used gelatin for the blood and blue alien secretion and some blood mixture for the highlights.
https://www.youtube.com/embed/2ZXzfu-yVD0
https://www.youtube.com/watch?v=2ZXzfu-yVD0
Close up 1
I constructed the mechanism using a combination of 3D printed parts, RC servo components and a Pololu Mini Maestro 12-Channel USB Servo Controller.
The aliens model is from a Vinyl plastic model purchased from E-Bay... unfortunately my artistic skills are minimal, whereas my mechanical/electrical skills I'm strong, so for simplicity I used the vinyl model and then molded it from silicone.
Using reference photos I got to work....
Trying to be as creative as possible, I used a plastic bottle as a mold and cut it to size.
I knew I only needed the front half of the alien, so I only used that portion in silicone.
I then proceeded to make the mold after making a base out of clay.
I inserted the vinyl model in the bottle and poured the silicone.
This was my very first time molding in silicone (or any material for that matter) so I was very nervous and unsure if it would work.
It did!
I cut the top off the blue tube and removed the positive....
I was then ready to pour the Plat-Sil Gel 10 silicone skin mixed with some skin pigment colour.
Unfortunately, I was warned that not giving the Silicone mould 24hrs to cure may cause it to stick to the skin silicone... and it did a little, forcing me to have to cut the blue mold away from the skin.
But it turned out great! I was quite pleased with the skin and its overall appearance and thickness.
Now came the tricky part... the internal mechanism.
I used a nylon rod cut into disks and bicycle brake cable for the inner spine and control cables.
Following the instructions from the Cable Basics and improvising slightly, I ended up with this;
https://www.youtube.com/embed/-M2LyYqPNvs
https://www.youtube.com/watch?v=-M2LyYqPNvs
I then used my 3D printer to create a skull/jaw mechanism as well as RC Servo mounts.
The skull was attached via a Universal joint I happened to have in my stockpile of junk which came from a machine I pulled apart years ago.
Cables were threaded and attached.
Unfortunately another problem presented itself. The brake cables and housings have a large bending radius, and cannot be bent 90 degrees effectively.
As I needed to attach the mechanism to a chest harness and wear it, this was going to need to go through a 90 degree bend.
I modeled up an adapter and tested it out.
It posed a serious problem...
the 90 Degree bend created so much friction that my RC motors couldnt drive them effectively without drawing massive current. I also lost bend angle on the tentacle so I needed to find a solution.
I stripped more of the cable outers (removed the outer sheath) and inserted it between the base and the coupling.
That reduced the friction, but still didnt work well enough for it to be considered a solution.
The final answer was to move away from the brake cable (shown below) and move to a 1mm steel wire rope (1 x 19)
That gave the mechanism the flexibility and massive reduction in friction, reducing the power draw on the servos.
The final chest burster was put together and then some layers of silicone with paint was added for realism.
The Chest harness was a cheap 10 dollar Go-Pro copy chest harness bolted onto the adapter.
The RC Servos were controlled by a Pololu Mini Maestro 12 Channel controller with a simple motion path controlled by a single push button switch. When the button is pressed, the controller runs through the program once, and then puts the servos on standby.
I didnt take a photo of the assembled RC control module or backpack mechanism, but if I get a chance I will later.
The Battery is a 6V SLA battery with 12ah capacity.
And thats it! It took about 6 weeks of work on and off (mainly the silicone mold part was the scariest) and about 1 week of solid work to get the final mechanism built and tested.
The part that I need to refine is the cable connections to the RC servos, as the connection is nowhere near ideal (or pretty!).
Phew! It was a massive amount of fun, and I scared the bejesus out of everyone when they saw it moving
Massive thanks to Stan Winston and the team because without them we wouldnt have any of this!
Much love from Australia,
Eddie!
1