Jurassic World inspired Raptor costume
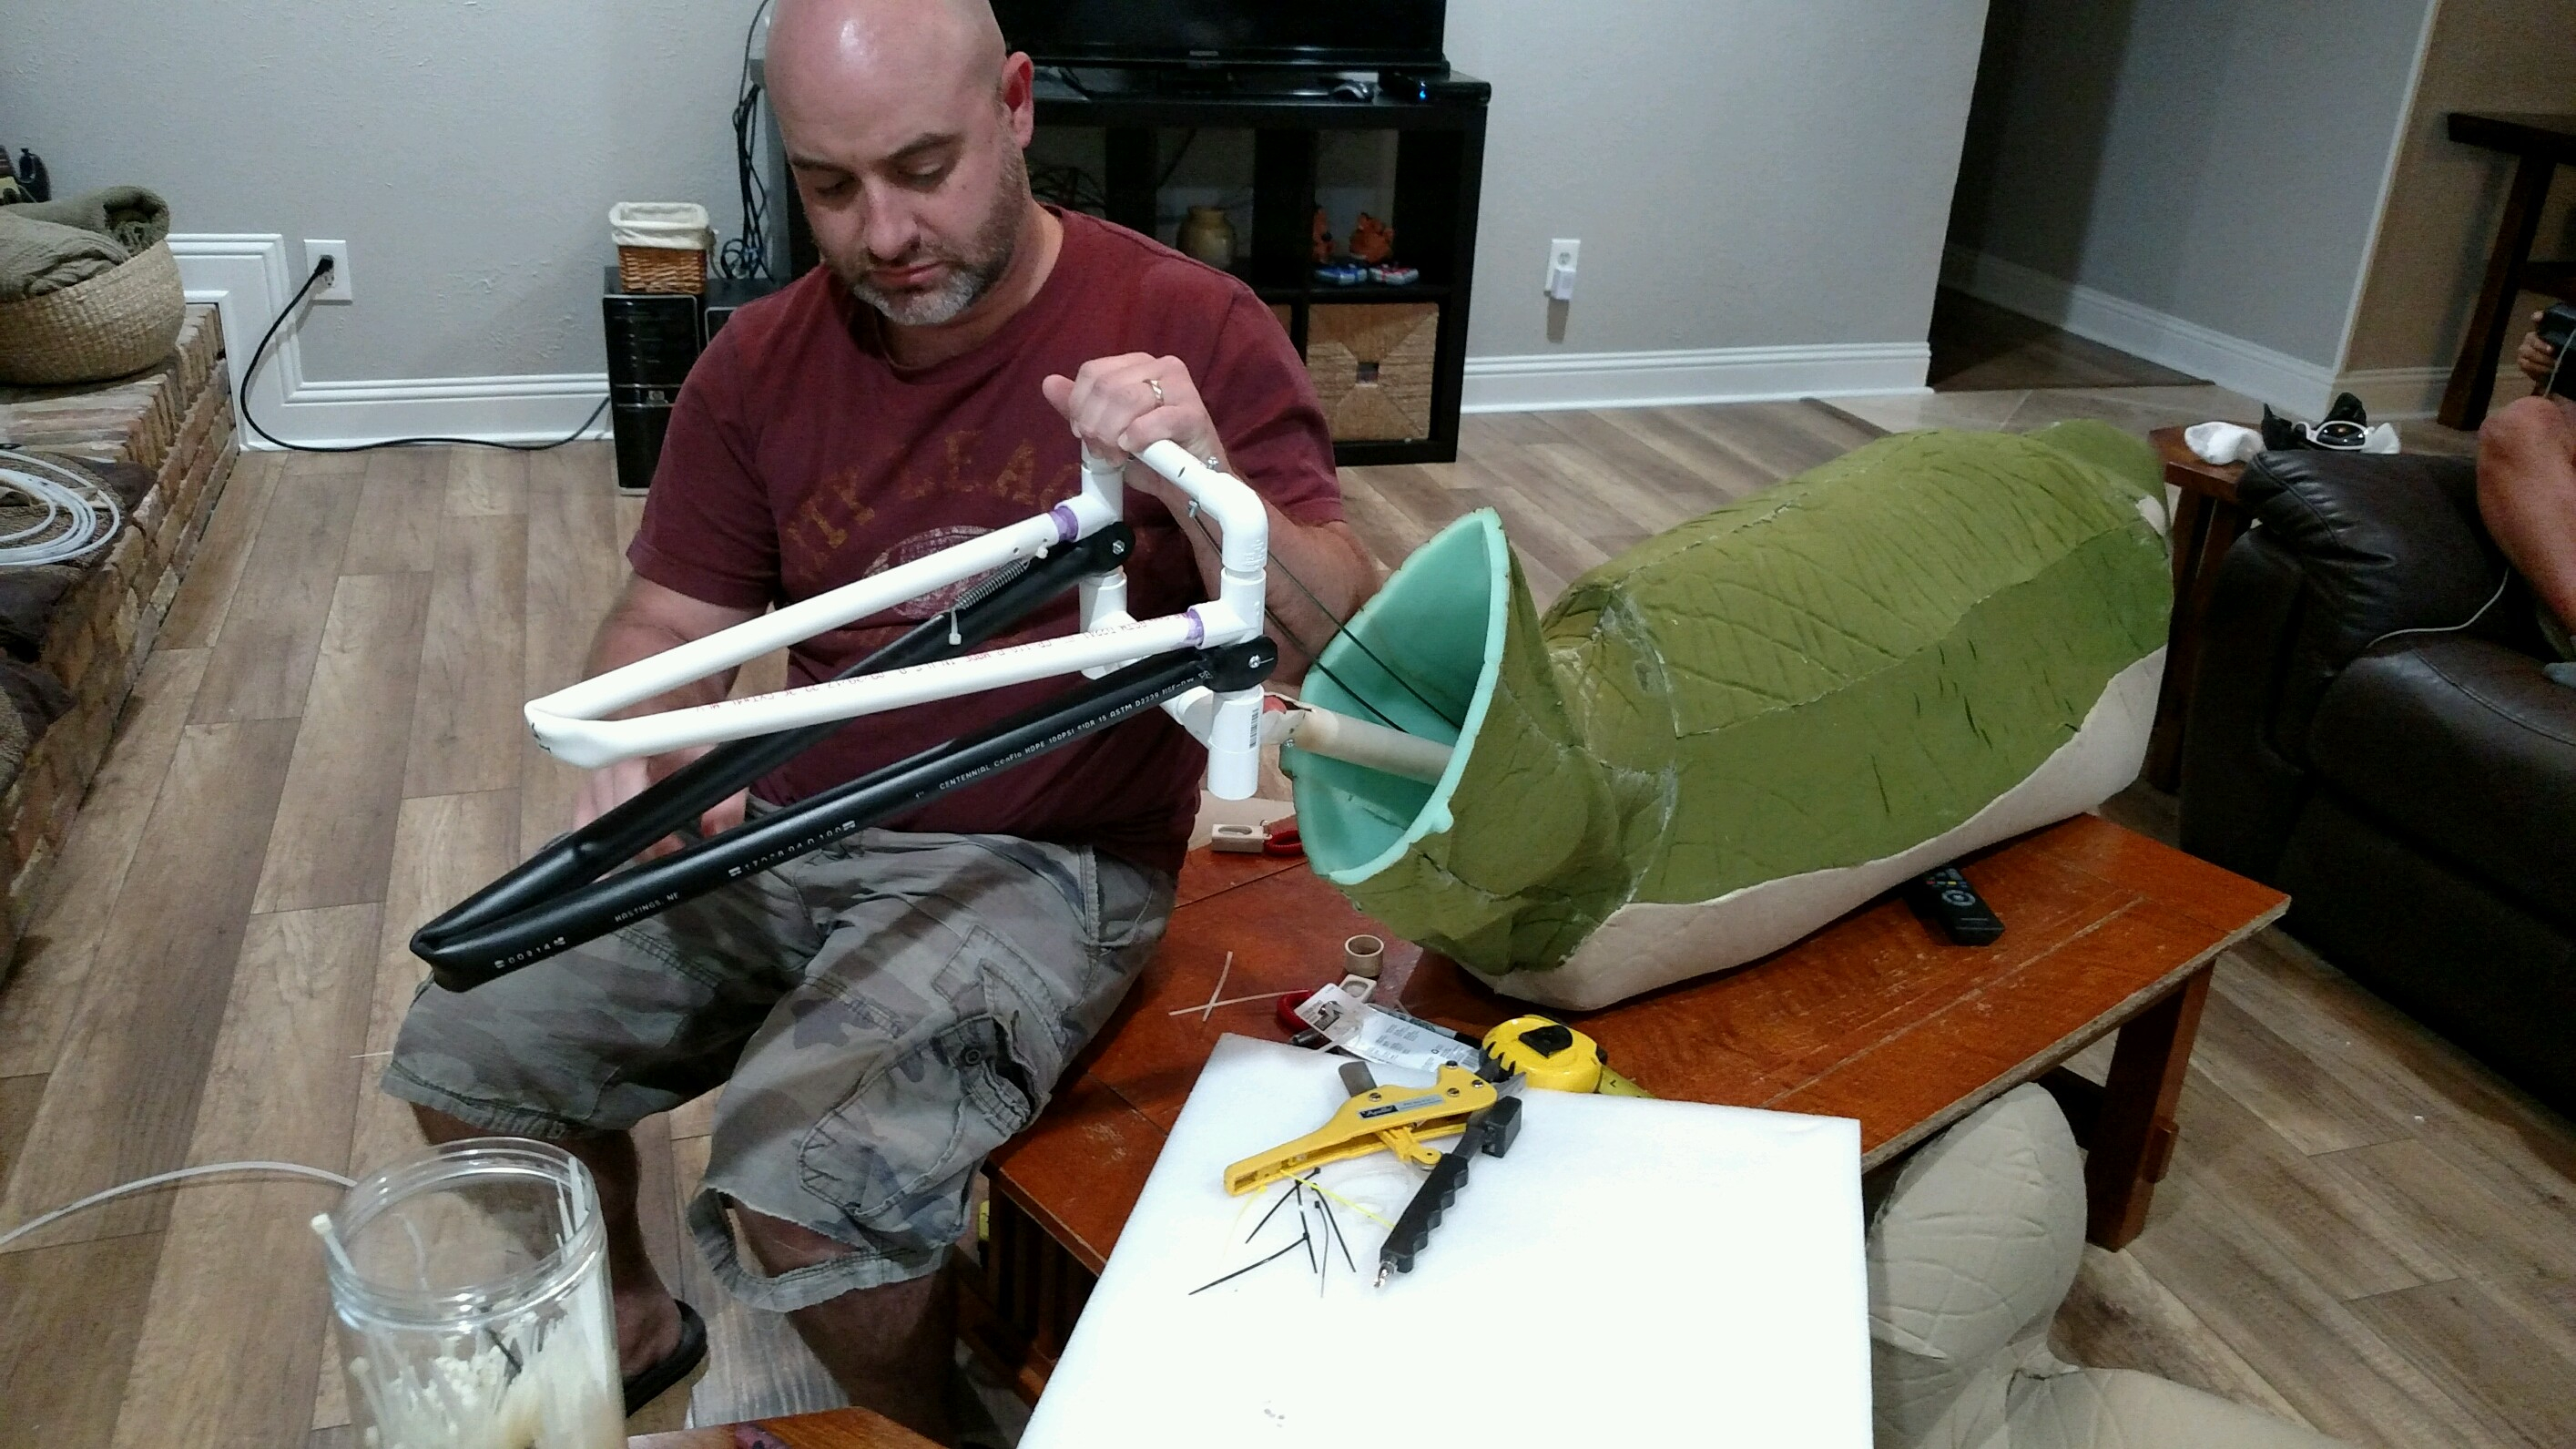
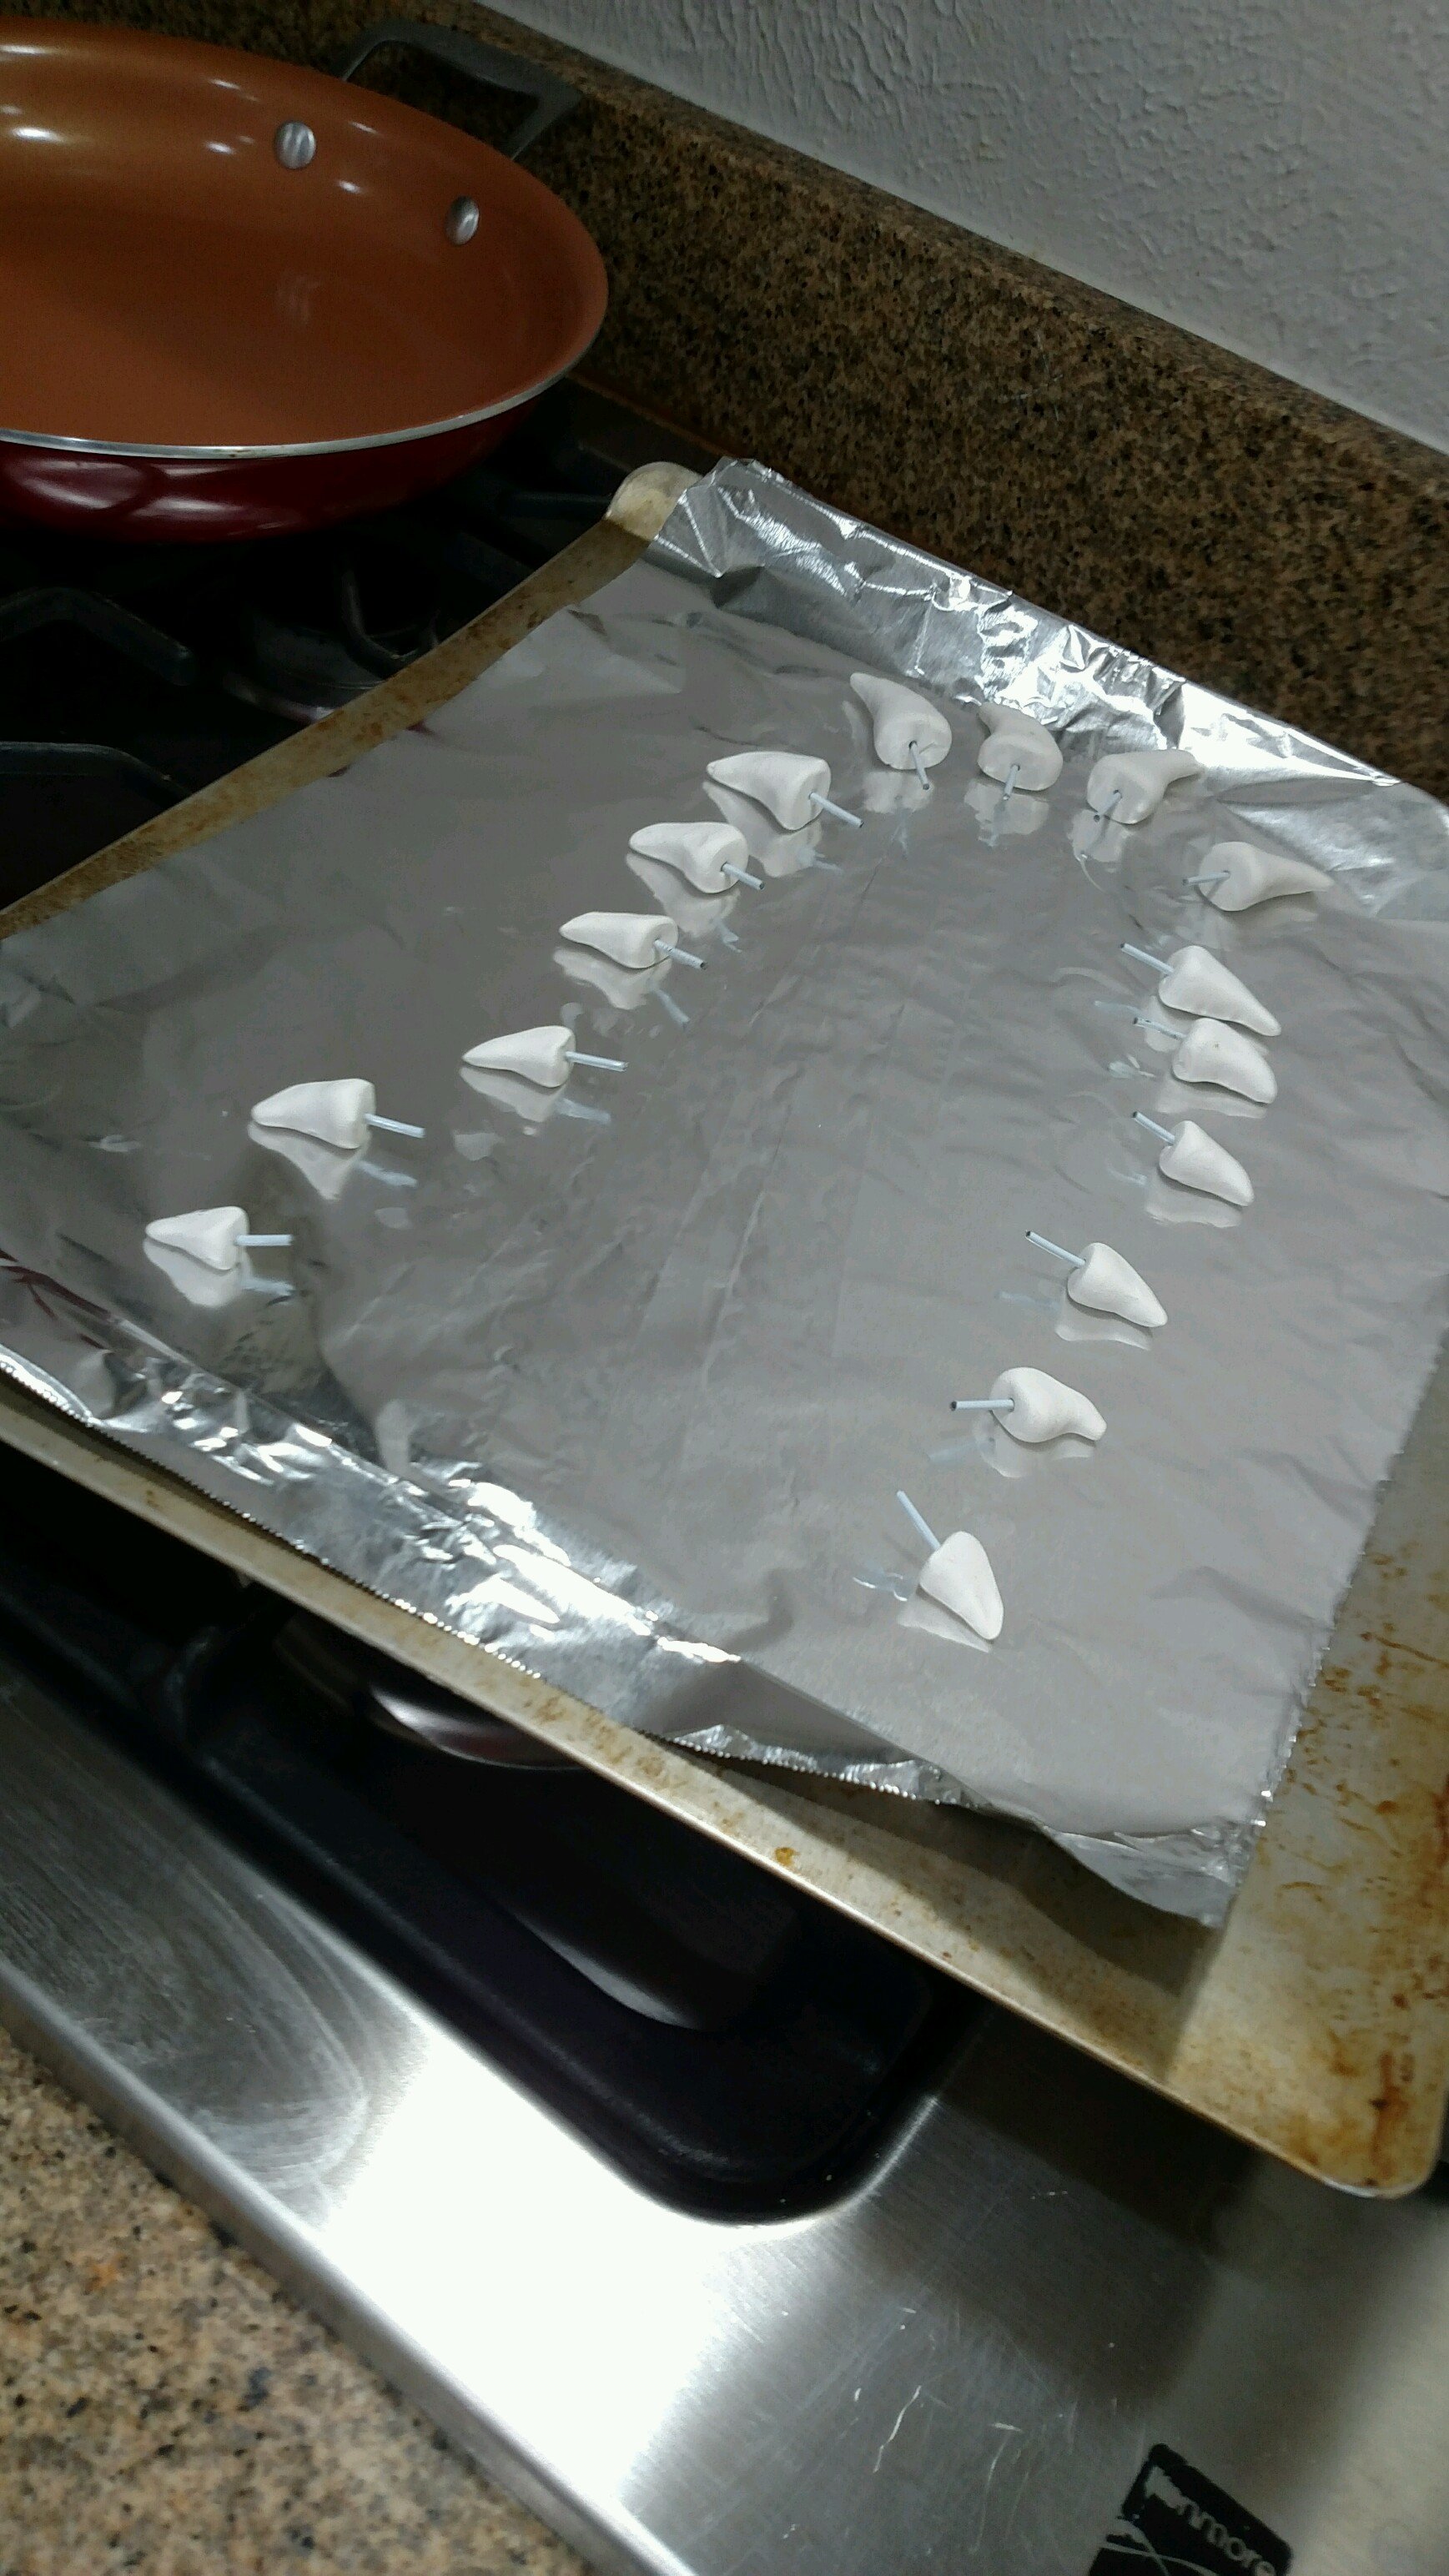
The family and I made this 11' long Jurassic World inspired raptor costume for my 10yr old son. The frame is 1/2" PVC, the skin is 1/2" upholstery foam covered with 2 way stretch spandex fabric. We textured the foam with a wood burner before we sprayed adhesive on it and added the fabric. I found a pattern for the raptor head for $5(here) and I purchased a raptor toy and made a pattern from it for the body. I scaled it to fit my son. We cast the eyes from epoxy from Lowe's in a ping pong ball cut in half. WD40 as release. We used fingernail polish to paint the eye details. We polished the eyes with a hand drill and buffing wheel. I we used spray paint to color the raptor. We used EVA foam for the claws and sculpty clay for the teeth. We used a backup camera and small monitor inside so he could see outside ($25 from Amazon). I had a bluetooth speaker we used for dino sound effects played from my phone (free apps). We mounted the battery for the camera in a fanny pack he wore around his waste. The neck was articulated with small steel rods and a ball joint made from a fooseball and PVC molded around it. The tail was filled out with a pool noodle but the structure was PVC. We used metal clothes hanger wire to stick through the raptor feet and bent it into his shoe so when he lifted his foot the raptor foot would move with him.

Video 1
Video 2


Lessons Learned:
- Scale it a little bigger so the lever for controlling the neck is longer. He had a hard time holding the head up for long periods of time because the pipe on his side of the lever was too short for the weight of the head
- Build the frame first and estimate the weight of the head, instead of build the frame inside the skin.
- Get a adhesive sprayer instead of cans of Super 77 and 90. Adhesive costs added up.
- Figure out how to degas expoy (we had air bubbles in our eyes).
- Start early than mid-September
I took a scrap piece and put silicon caulking on it. It looked good but kind of thick. I want to thin out silicon caulk with Naptha and spray it on with a paint sprayer to see if it gives it a wet reptile look.
We had a great time making it as a family.

Video 1
Video 2


Lessons Learned:
- Scale it a little bigger so the lever for controlling the neck is longer. He had a hard time holding the head up for long periods of time because the pipe on his side of the lever was too short for the weight of the head
- Build the frame first and estimate the weight of the head, instead of build the frame inside the skin.
- Get a adhesive sprayer instead of cans of Super 77 and 90. Adhesive costs added up.
- Figure out how to degas expoy (we had air bubbles in our eyes).
- Start early than mid-September
I took a scrap piece and put silicon caulking on it. It looked good but kind of thick. I want to thin out silicon caulk with Naptha and spray it on with a paint sprayer to see if it gives it a wet reptile look.
We had a great time making it as a family.
3
Comments