Our screen-used Terminator head gets a plaque
 Chris Ellerby
Admin
Chris Ellerby
Admin
We needed a plaque for the screen-used Terminator head used in our Animatronic Necks & Torsos lesson, so I got to work!
The head has a metal base, so I designed a stand that uses countersunk magnets to hold everything in place. I used OnShape for the CAD, and the design came together rather quickly.


Knowing that this stand would be 3D printed I designed it so the legs would slide into the base of the plaque and lock in place.

For the plaque I used a thin acrylic sheet that has a brushed aluminum finish on the surface, backed by a layer of black. By laser etching through the first layer the black is revealed. The outline and rivet holes were then laser cut.
Rather than traditional rivets I used "Chicago Screws" (which are 2 part rivet-like assembly) so they could be easily removed.


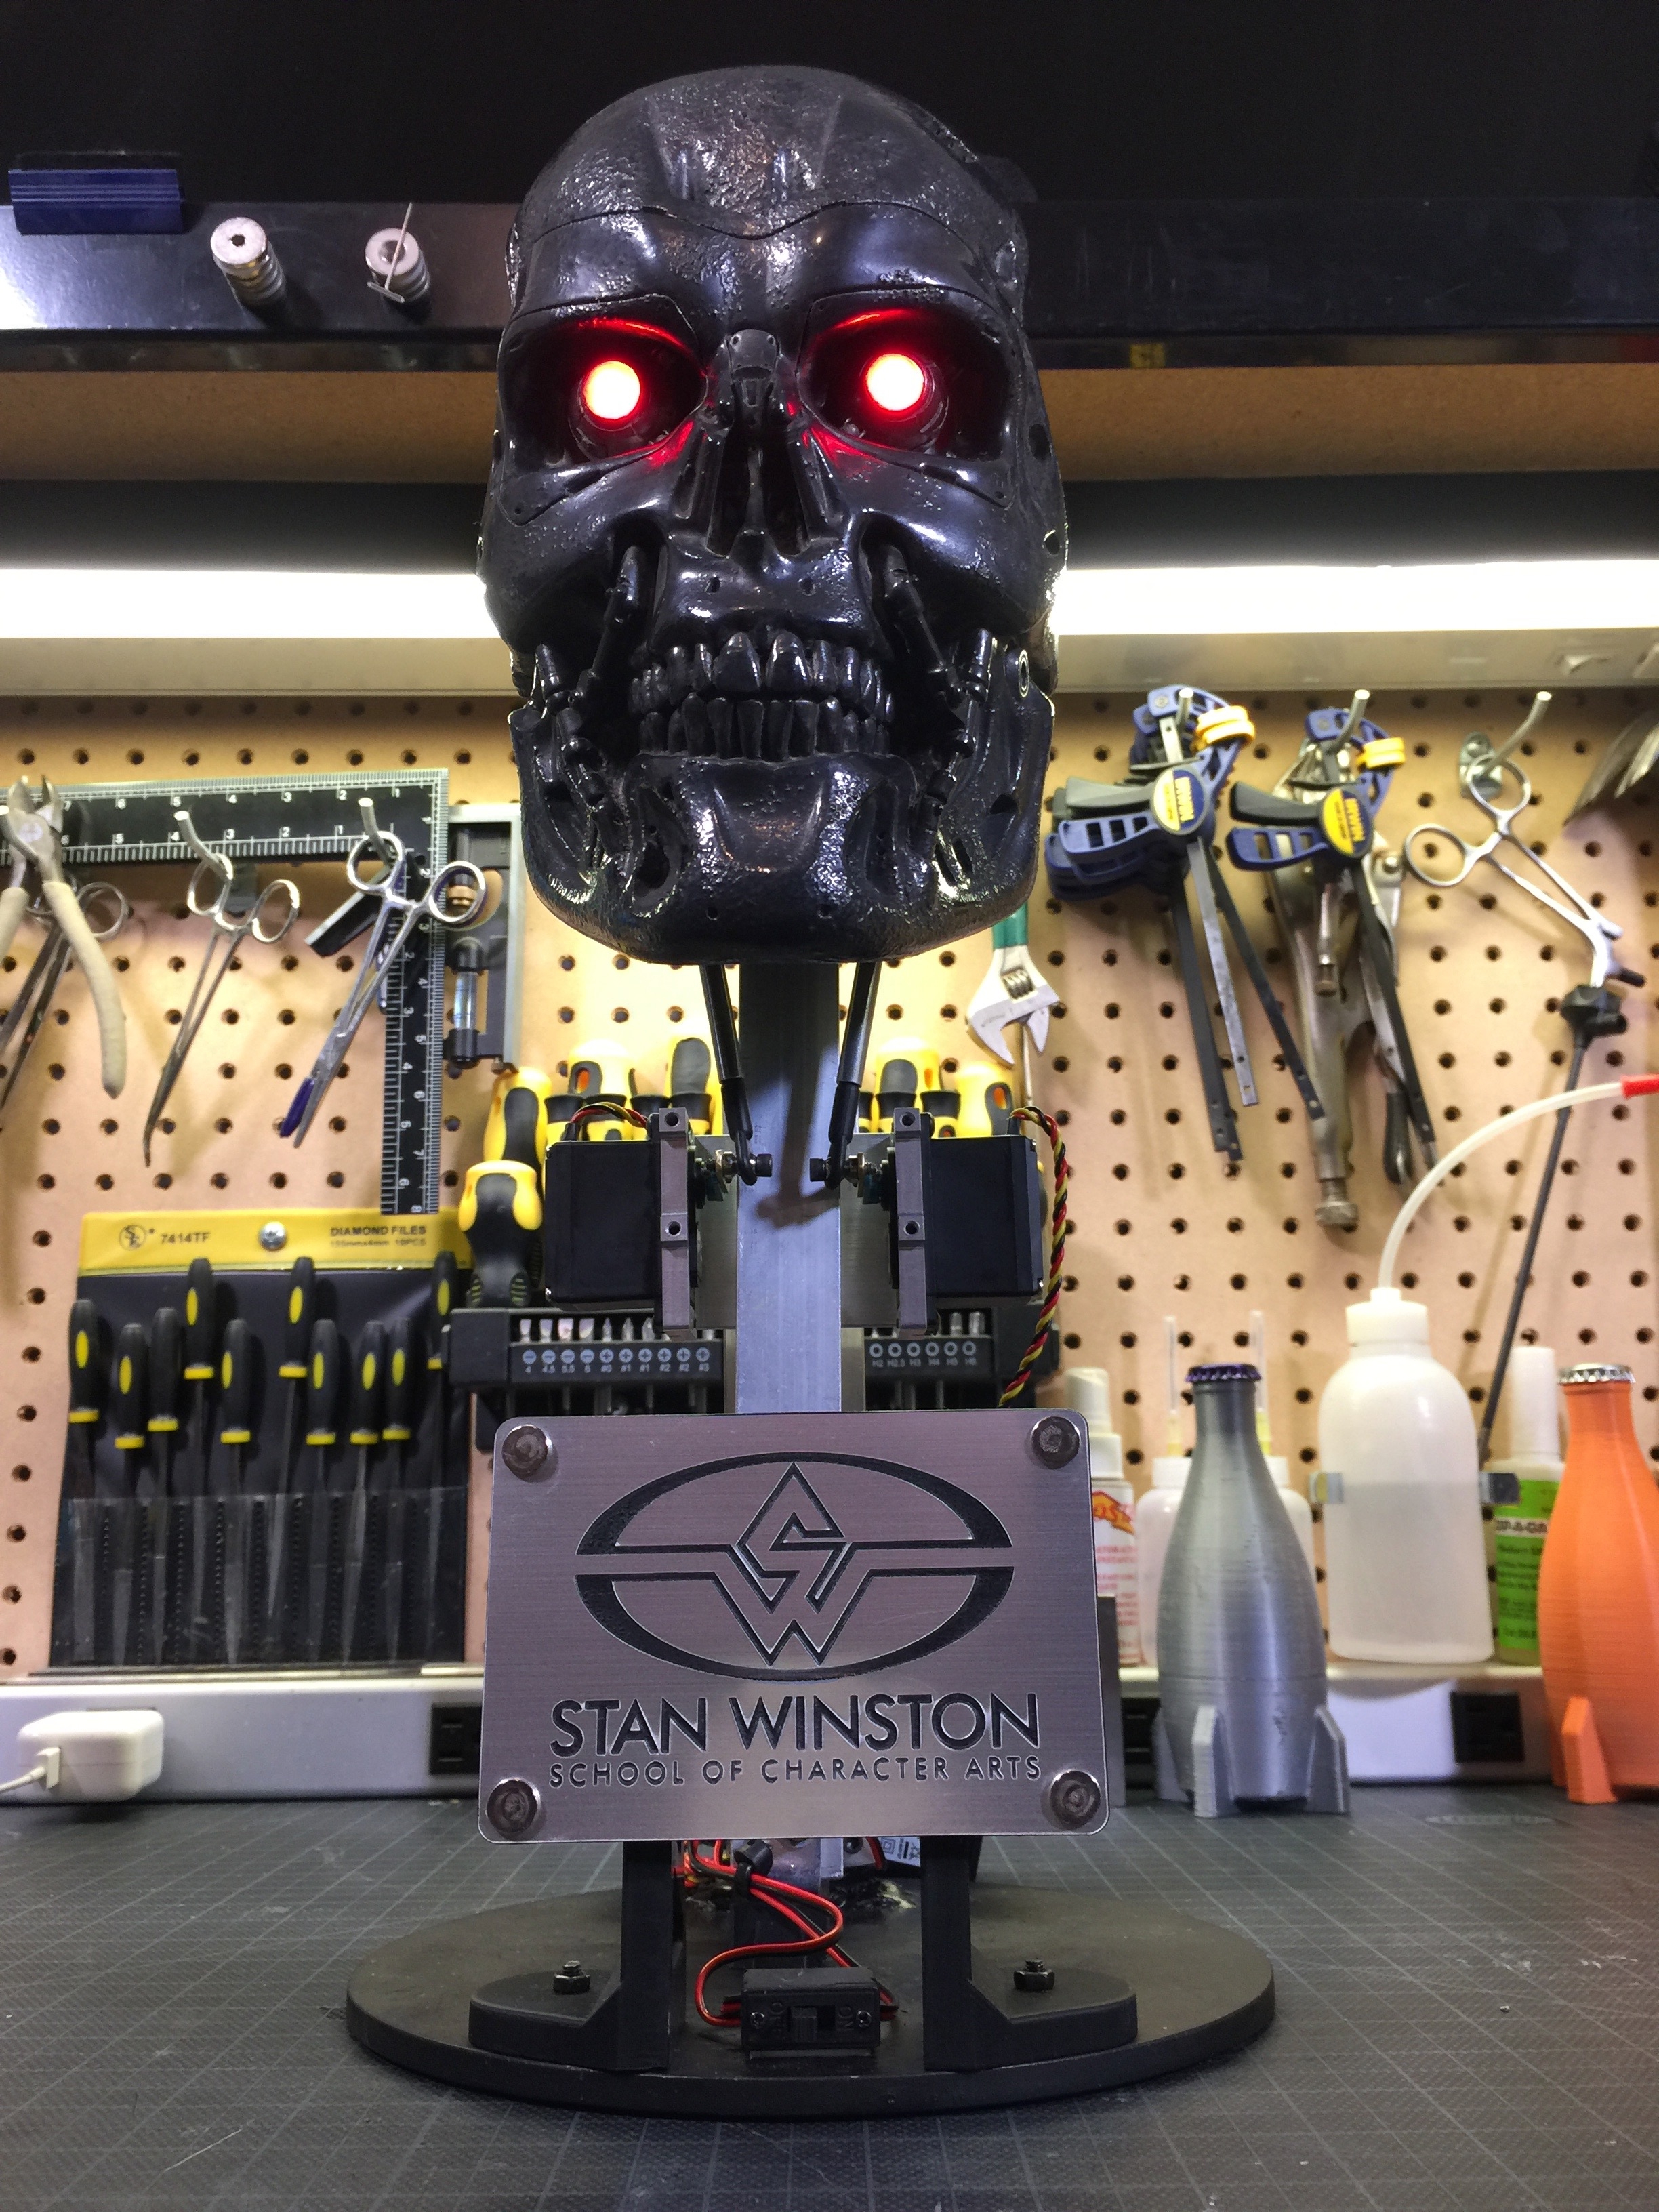
Sadly the only Chicago Screws and rivets I had in my shop looked a bit too large, so I opted to make a version without them (and a slightly larger logo)
Here is the final version
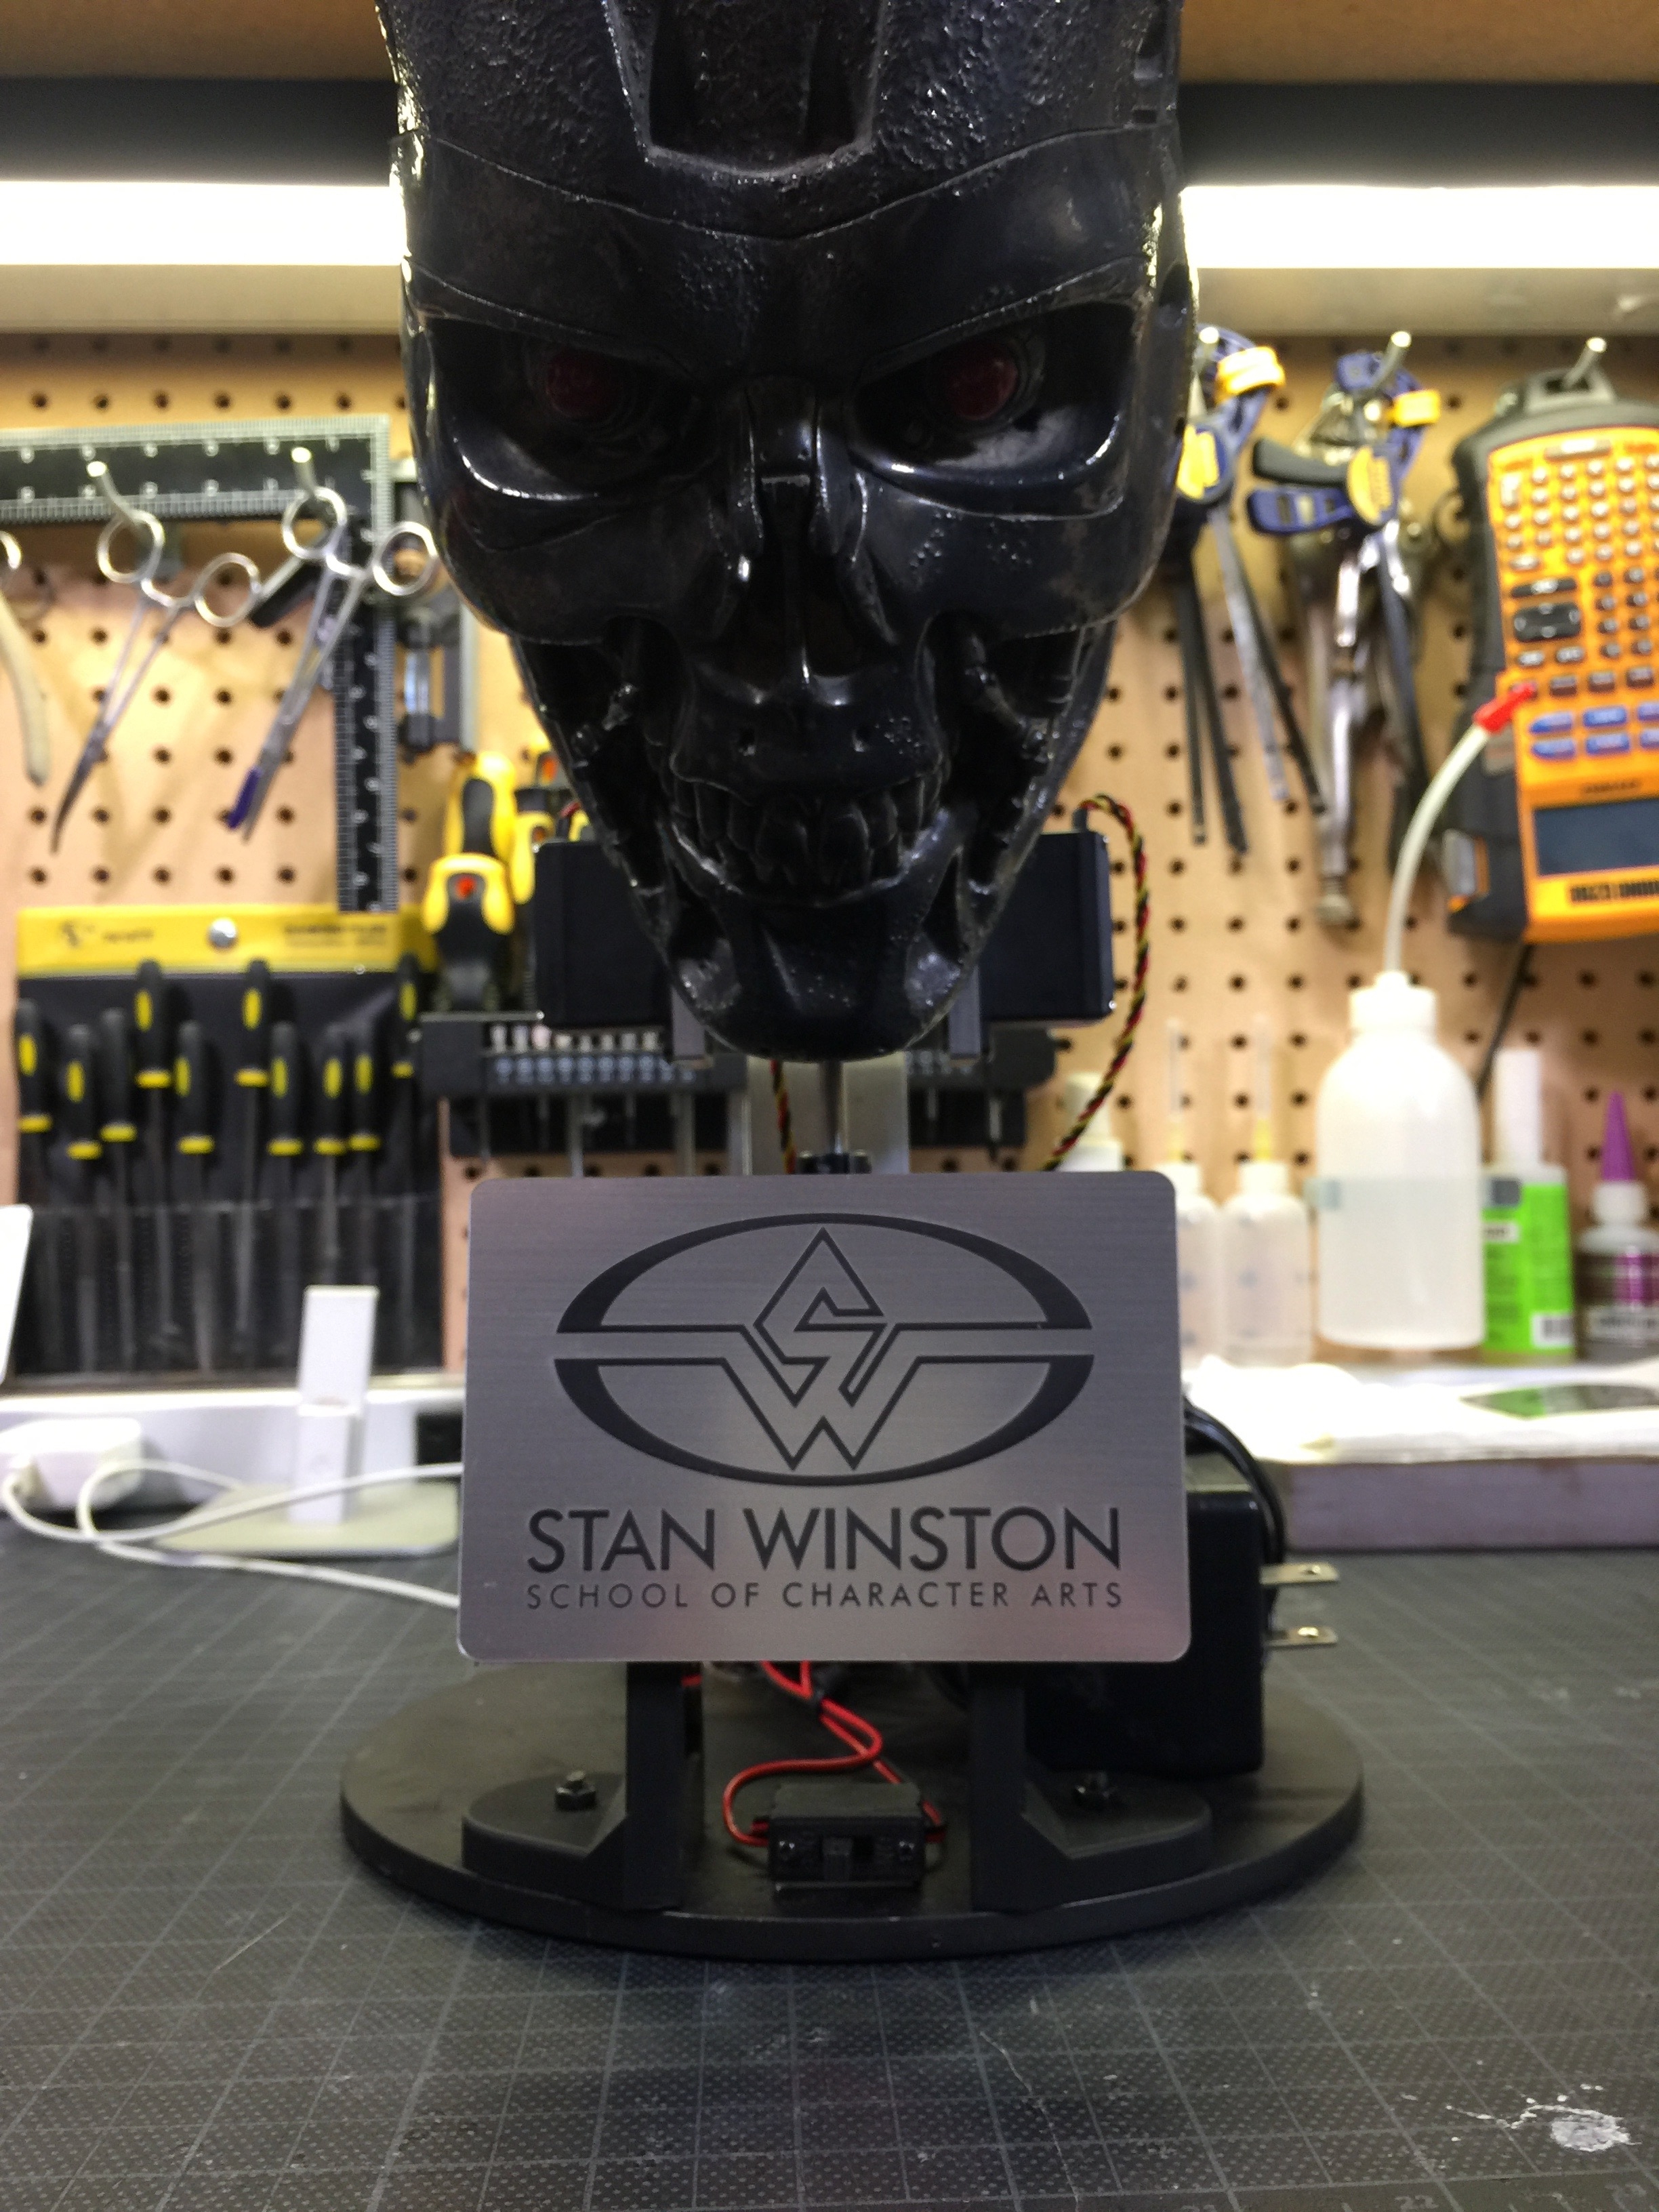
And here is a video showing the first version, with the rivet effect.
/Chris
The head has a metal base, so I designed a stand that uses countersunk magnets to hold everything in place. I used OnShape for the CAD, and the design came together rather quickly.
Knowing that this stand would be 3D printed I designed it so the legs would slide into the base of the plaque and lock in place.
For the plaque I used a thin acrylic sheet that has a brushed aluminum finish on the surface, backed by a layer of black. By laser etching through the first layer the black is revealed. The outline and rivet holes were then laser cut.
Rather than traditional rivets I used "Chicago Screws" (which are 2 part rivet-like assembly) so they could be easily removed.
Sadly the only Chicago Screws and rivets I had in my shop looked a bit too large, so I opted to make a version without them (and a slightly larger logo)
Here is the final version
And here is a video showing the first version, with the rivet effect.
/Chris
1
Comments