Latex Mask Making: how do I preserve detail and patch a cracked mould?
Hi,
Sorry if this is not the correct place to post this. I'm looking for some advice on:
1) What to use (and how) to patch a concrete mould to reconstruct pieces that have broken in the course of setting and then cracking it open;
2) How to reduce the odds of cracks, do a better job at capturing detail and making sure that a mould won't break when filling in tricky areas like a mouth full of teeth.
This is my first attempt at mask making, largely following the instructions in the guide by Monster Makers, here:
http://www.monstermakers.com/product/the-monster-makers-mask-makers-handbook-pdf.html
I sculpted this Skeksis-looking creature:

I then made a concrete mould using Herculite (I'm from the UK, so I used Herculite as a the best alternative I could find to the recommended Ultra Cal). I added strips of burlap to strengthen it:


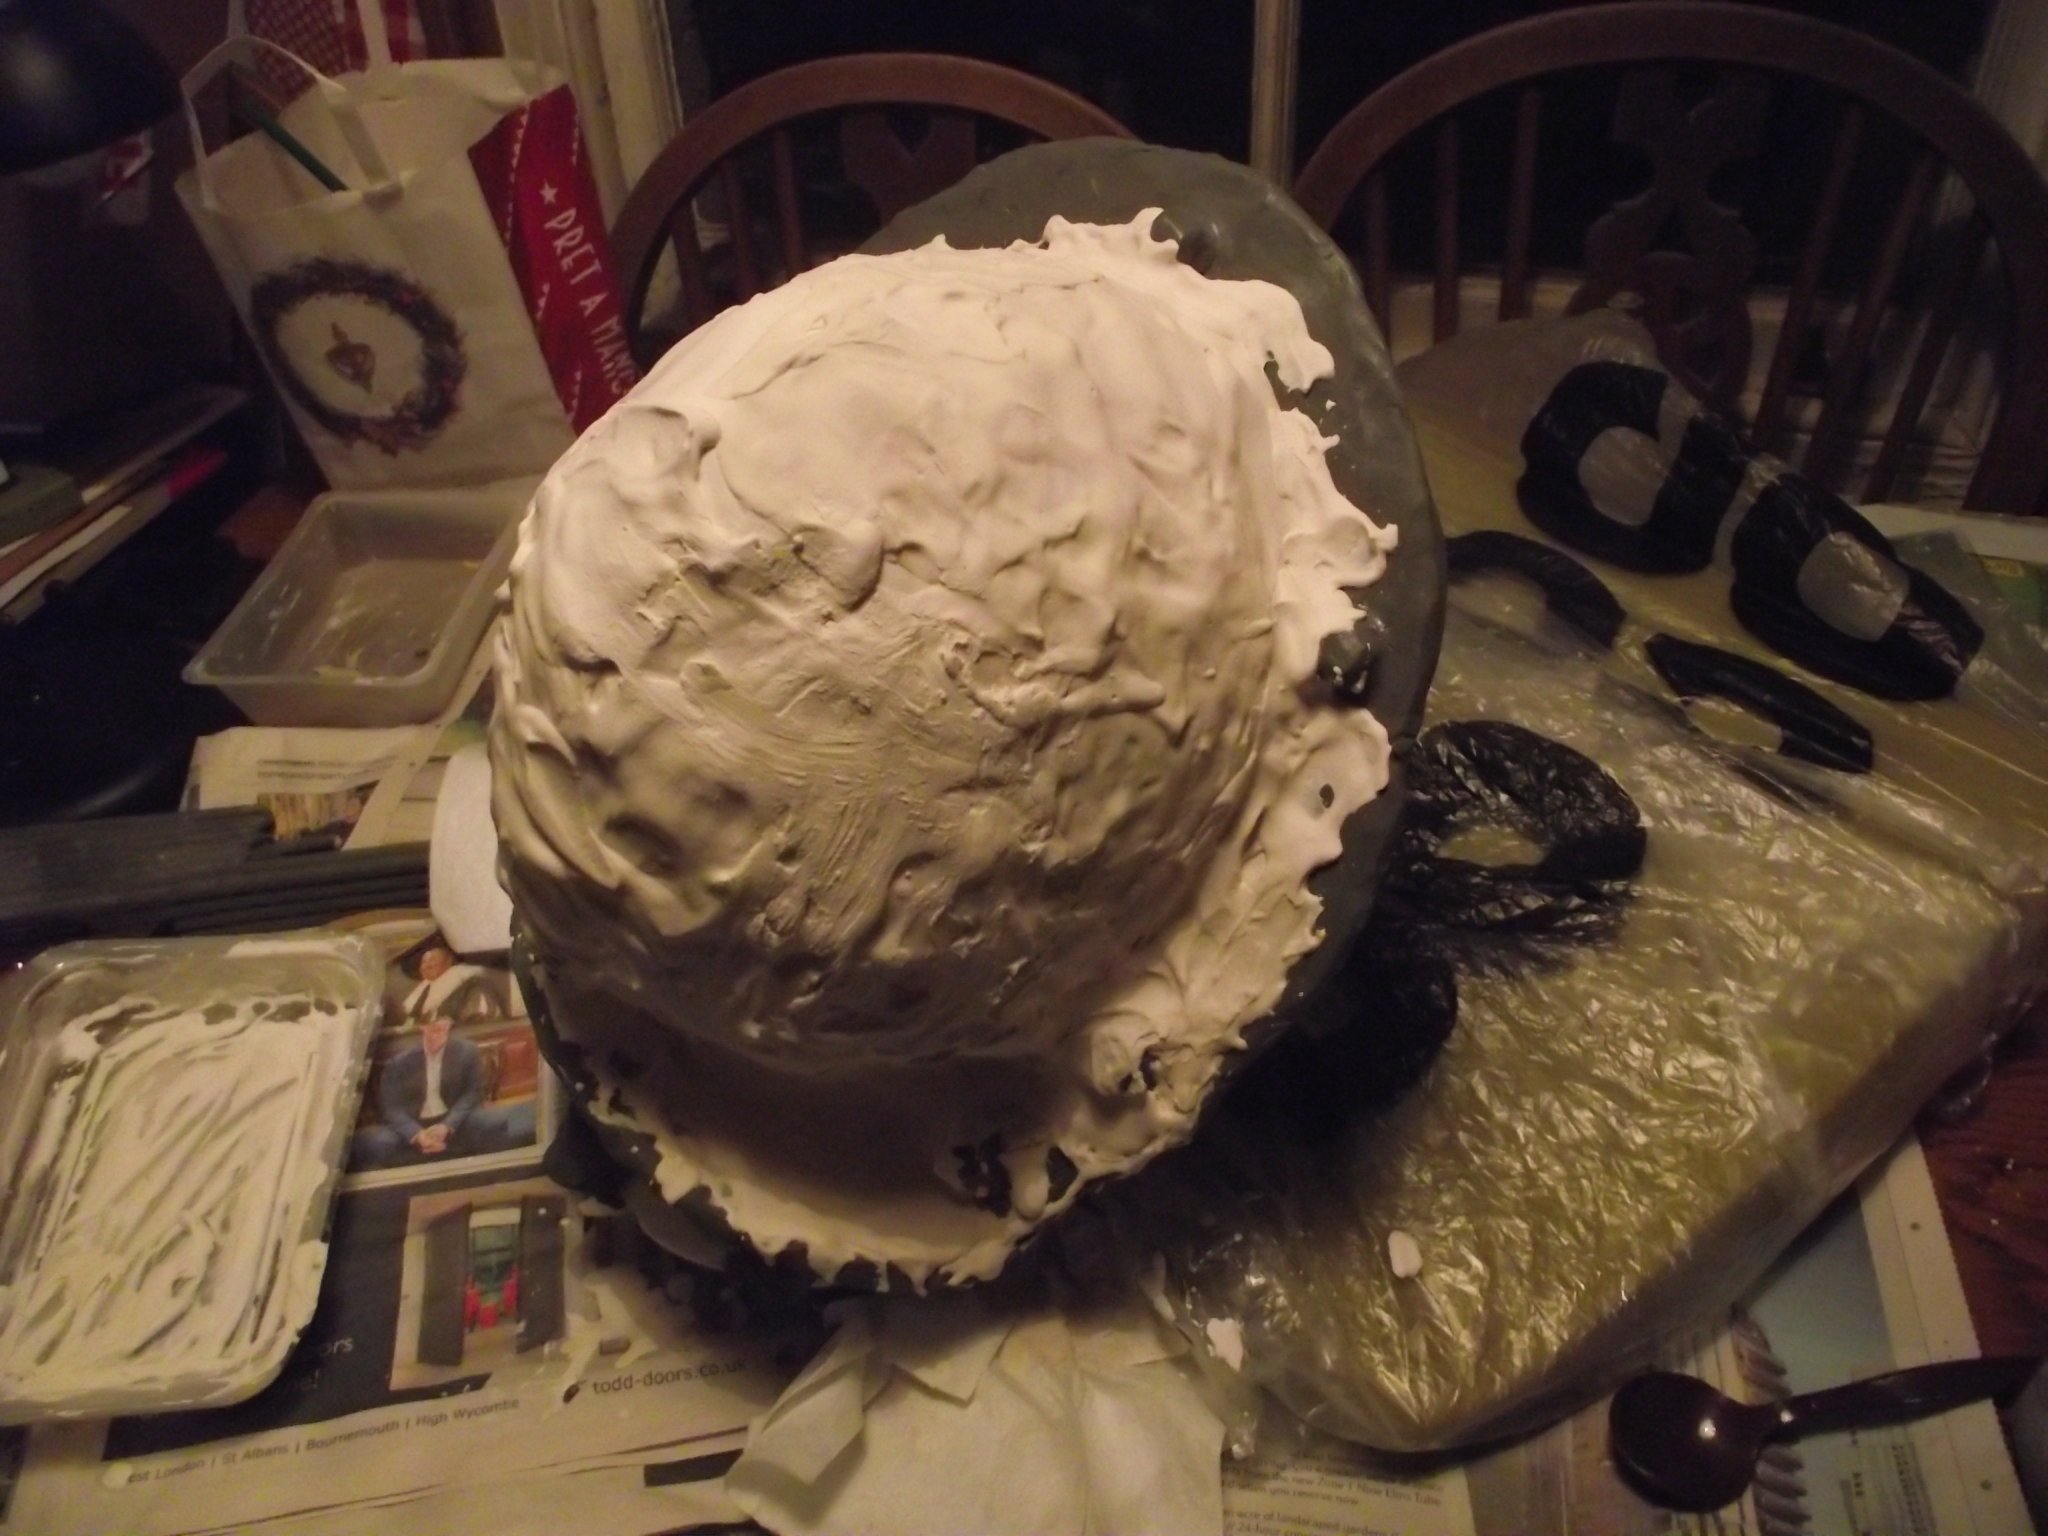
And wound up with a basic 2 piece concrete mould:

Unfortunately, there were some pretty big cracks. In particular, the sculpt tore out the concrete around the mouth when I cracked the mould open. Here you can see just how much it took with it:
Sorry if this is not the correct place to post this. I'm looking for some advice on:
1) What to use (and how) to patch a concrete mould to reconstruct pieces that have broken in the course of setting and then cracking it open;
2) How to reduce the odds of cracks, do a better job at capturing detail and making sure that a mould won't break when filling in tricky areas like a mouth full of teeth.
This is my first attempt at mask making, largely following the instructions in the guide by Monster Makers, here:
http://www.monstermakers.com/product/the-monster-makers-mask-makers-handbook-pdf.html
I sculpted this Skeksis-looking creature:

I then made a concrete mould using Herculite (I'm from the UK, so I used Herculite as a the best alternative I could find to the recommended Ultra Cal). I added strips of burlap to strengthen it:


And wound up with a basic 2 piece concrete mould:

Unfortunately, there were some pretty big cracks. In particular, the sculpt tore out the concrete around the mouth when I cracked the mould open. Here you can see just how much it took with it:

So my question is:
- how do I avoid having this happen again? (It's probably something pretty obvious, but since this is my first attempt I thought I'd better just ask).
and
- can I use polyfilla to patch the cracks? I'd like to use something that I can sculpt a little before it dries.
1
Best Answer
-
 David Boccabella
Moderator
Often when you make your mold you have to consider that the process may destroy your sculpture.
You basically have 2 options to avoid the above. 1 is the preferred method.
1) First paint your sculpture with a silicone layer to preserve the fine details and then put a plaster bandage layer over it. After you remove the plaster bandage you can carefully cut or peel the silicone off the sculpture. There are a few examples in the lessons. Downside is the cost of the silicone.
2. For Monsterclay or other oil based clay- after covering with with plaster - stand the mold somewhere and heat it gently until the clay becomes liquid and runs out.
Just be careful as the liquid clay can be VERY hot!!!!5
Answers
As far as the second solution goes, I think you're right and I'm pretty sure it would have helped. I should have melted or softened the sculpture - the teeth in particular just ripped some of the more fragile plaster off when I removed it.
What would be a good way to heat it? It's huge - head sized, basically. I don't have a big enough oven to fit it into and I don't think I can fit it on top of the hob either. I could get a heat gun, I guess, but using a hair dryer on Monsterclay has never heated more than just the top layer.
I think you are getting a little confused here. The silicone used is only to capture the details. in negative.. of your finished work. From there you can paint latex in to the silicone to create a positive latex skin.
The reason for using a flexible skin against your master is firstly it can pick up the very fine details (hair, wrinkles) and secondly you can carefully pull it around area's like ears and horns.