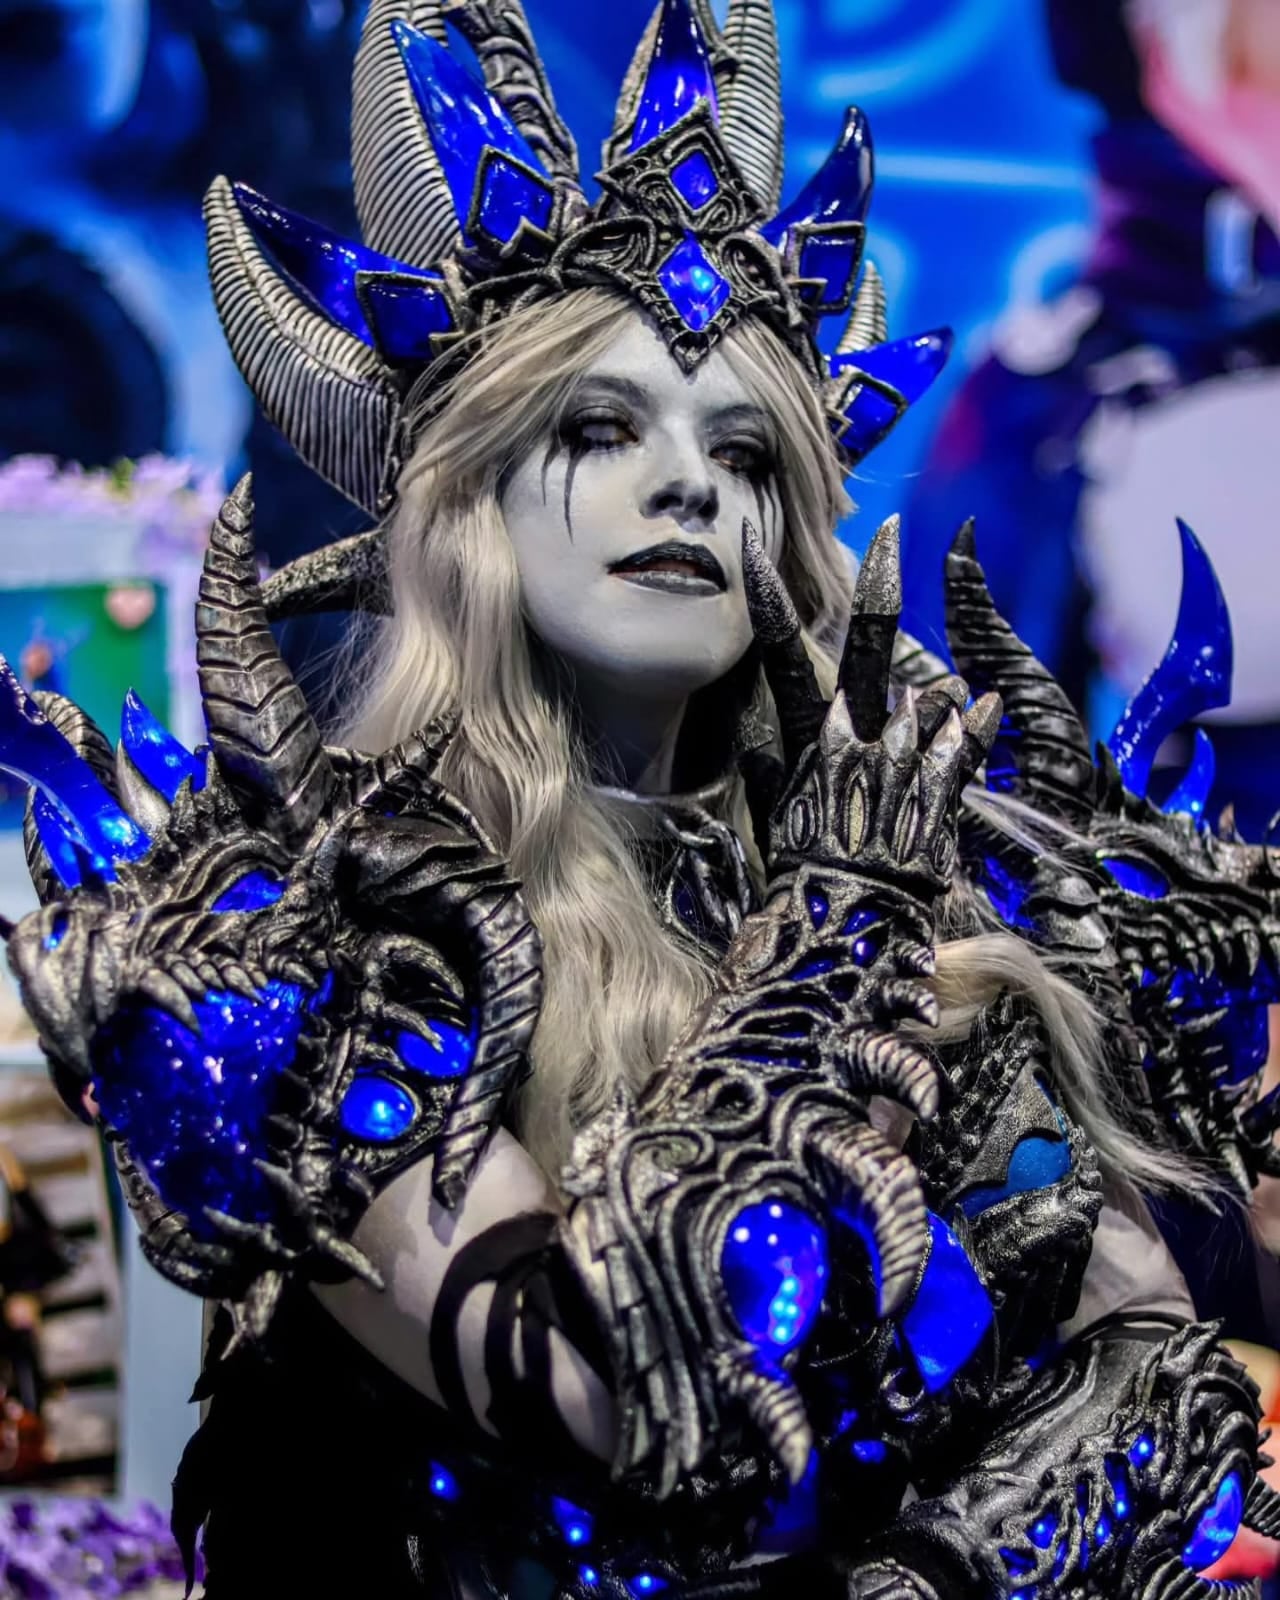
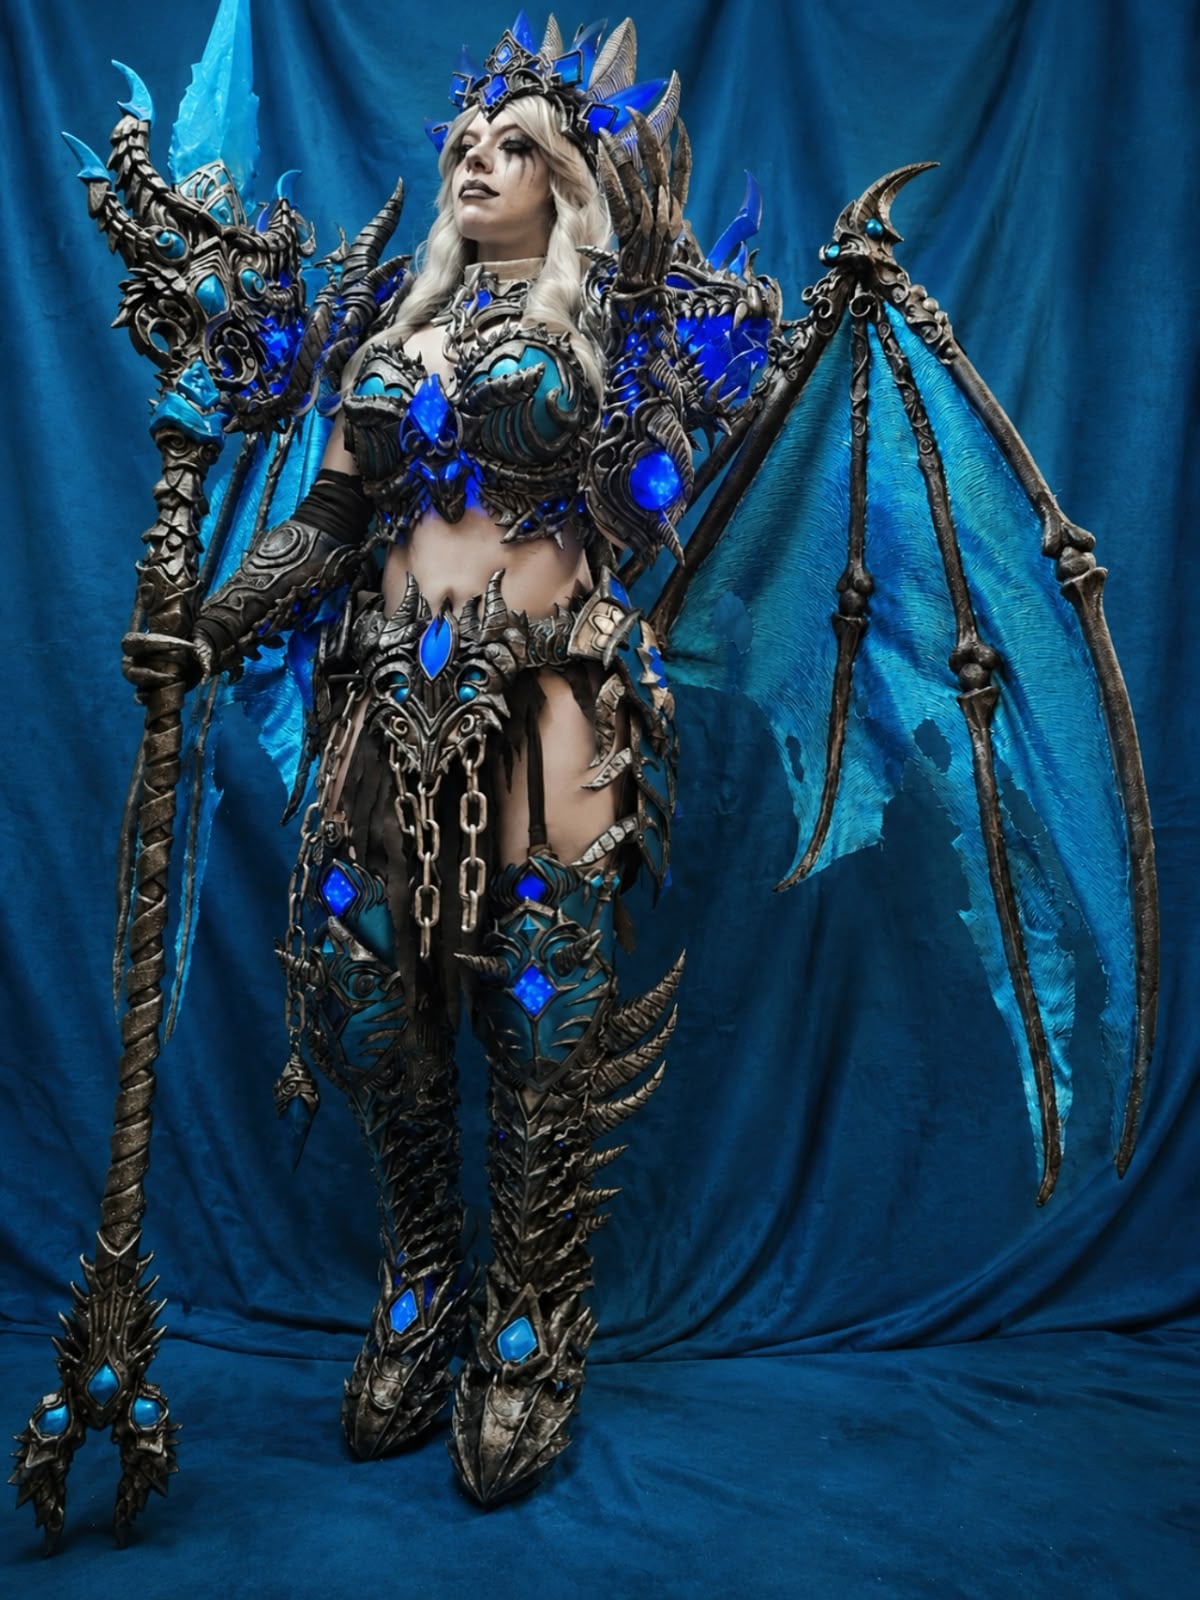
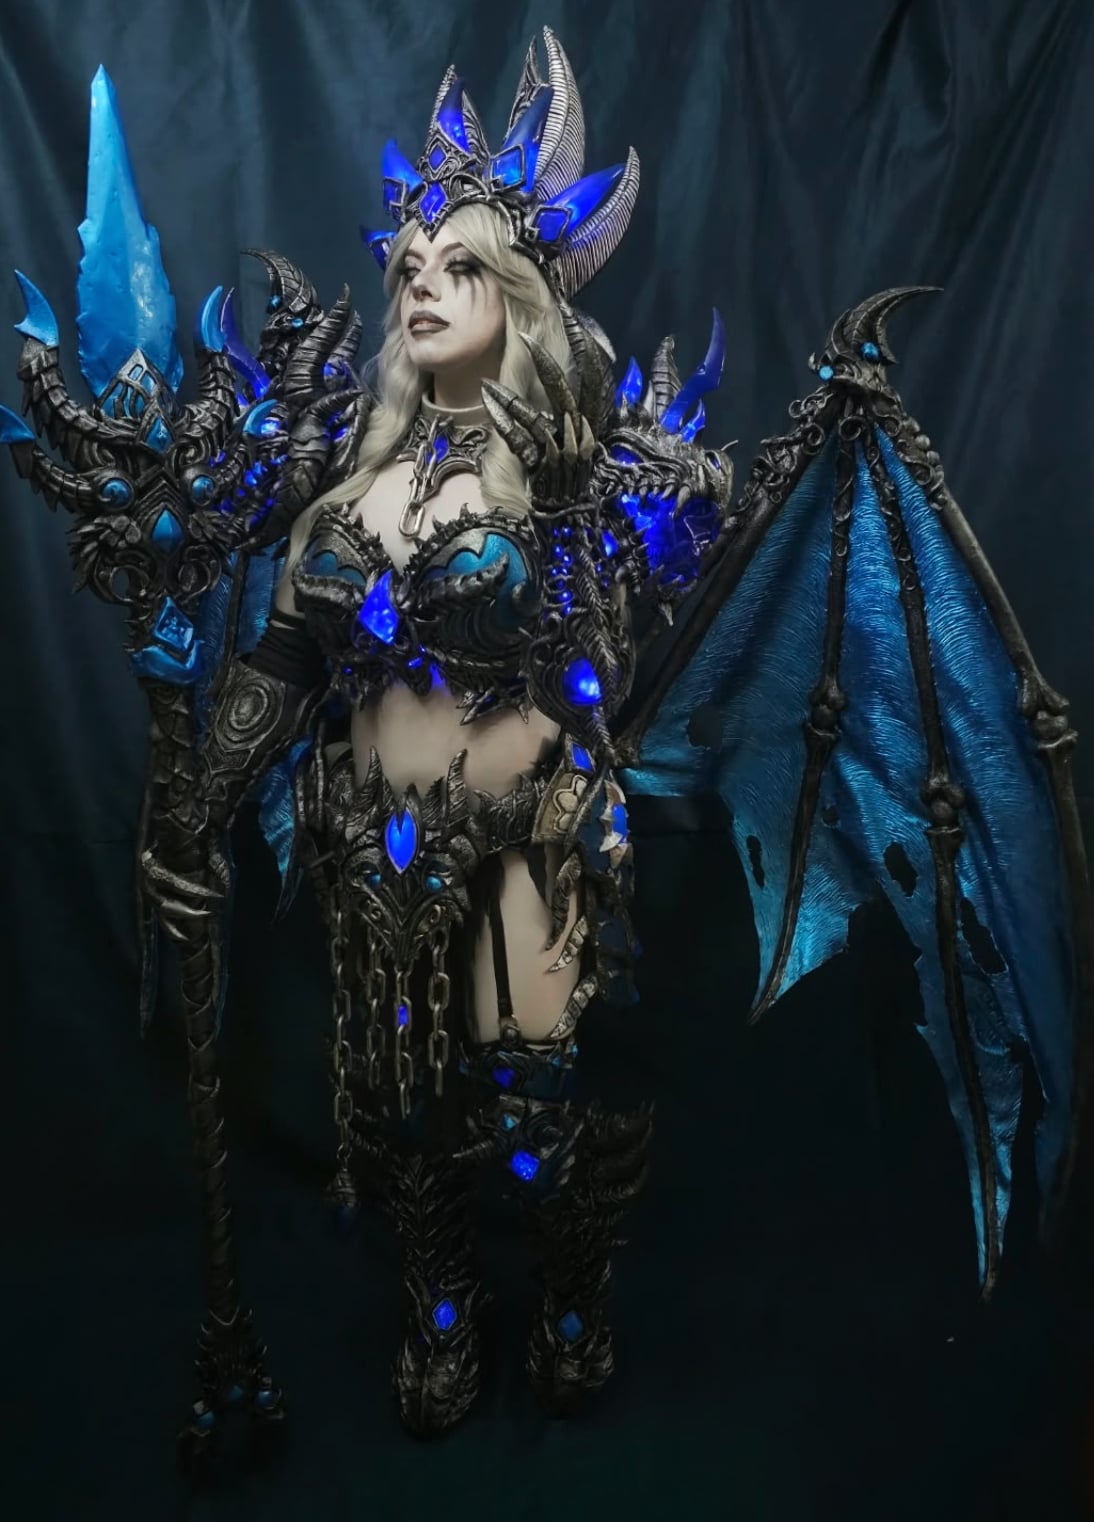
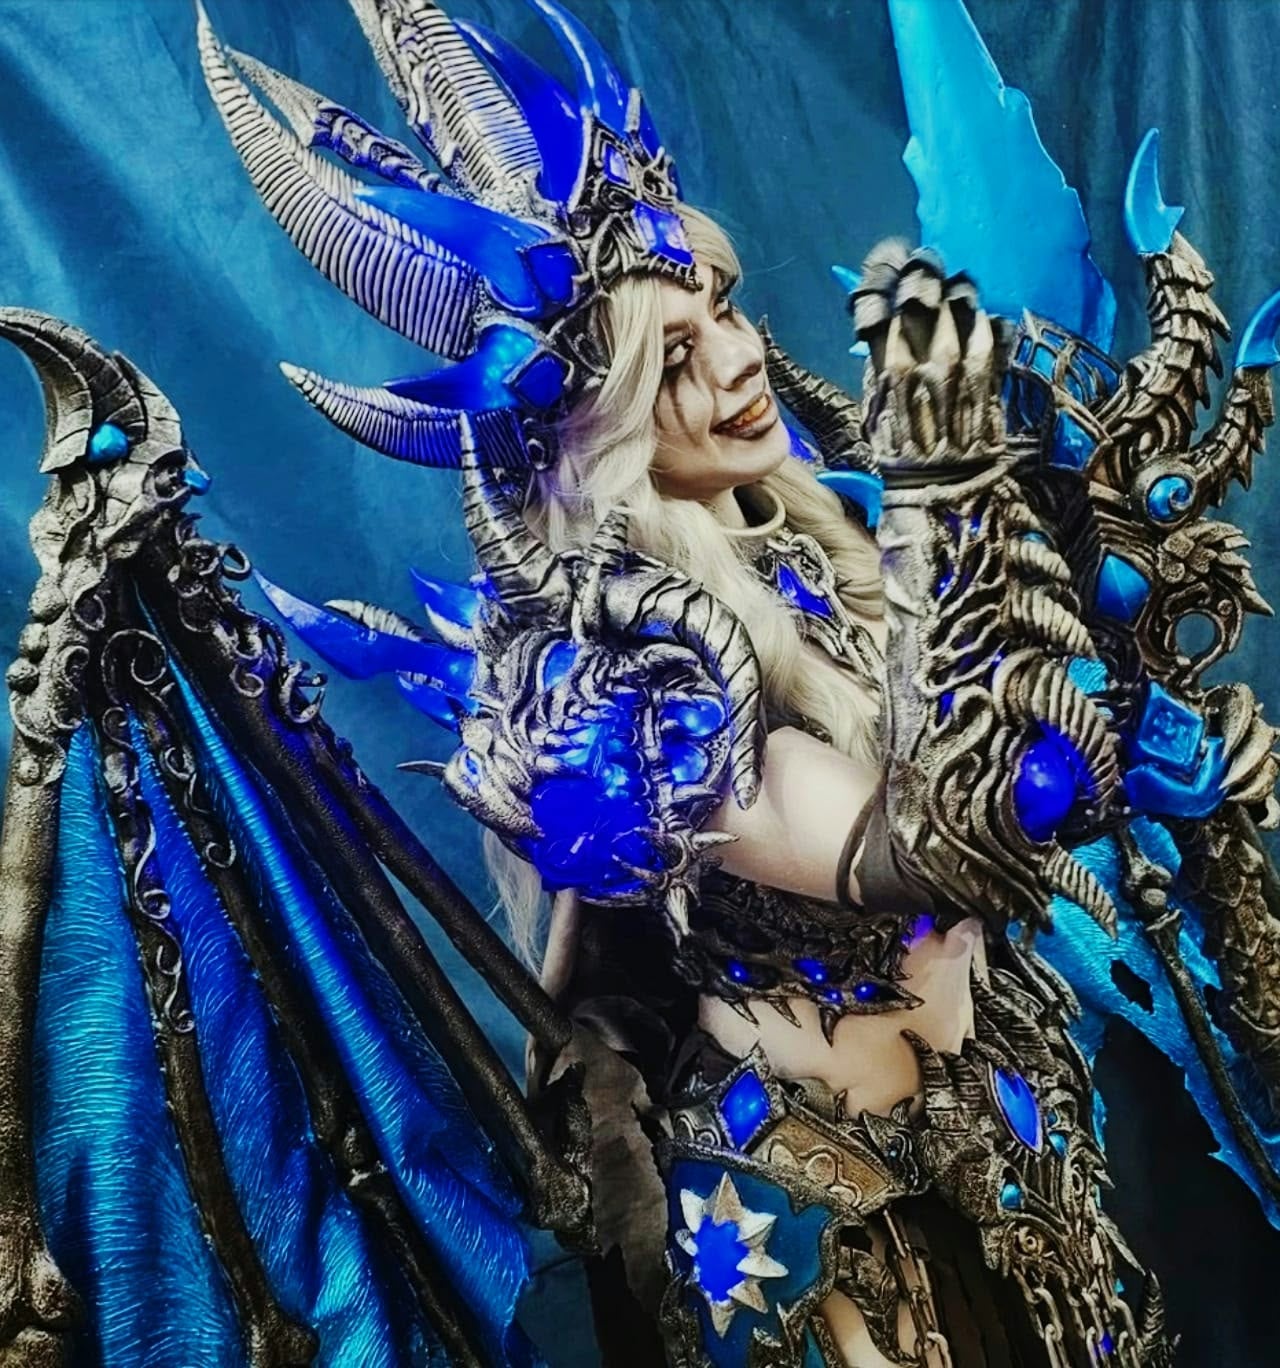
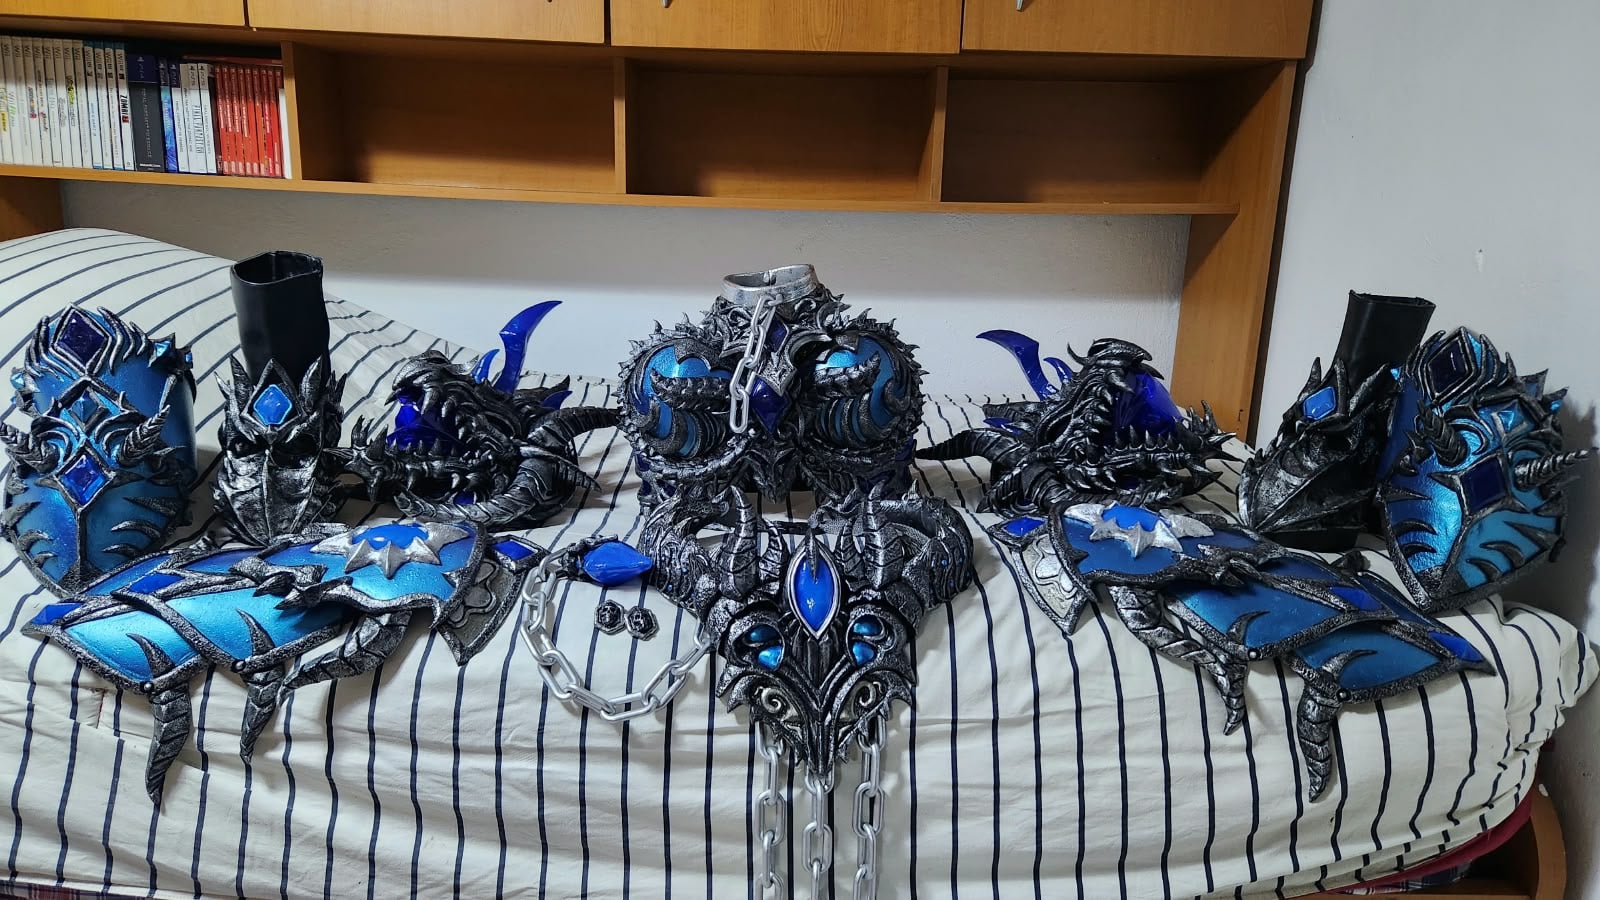
Cosplay de Sindragosa – World of Warcraft ❄️

how I made my costume
I’ve wanted to create a costume from World of Warcraft for a long time. I finally chose Sindragosa because I love her design and all its intricate details. I used LEVIATHAN’s version as my reference—LEVIATHAN is a company that creates figures—but made a few changes to make the costume more comfortable to wear at conventions and add some personal touches.
Building the body of the costume
I started by making the patterns directly on my body. I used silver duct tape to cover the areas around my torso, head, arms, and legs and get the shapes I needed. For the shoes, I started with an inexpensive pair, covered them in plastic and tape, and drew the design details on top.
Next, I marked the lines with a marker, cut out the patterns, and made several copies. That helped me adjust the proportions, work out where each piece needed to go, and sketch the extra details and changes I wanted. Once I was happy with everything, I transferred the patterns to EVA foam and started cutting, assembling, and gluing the pieces together.
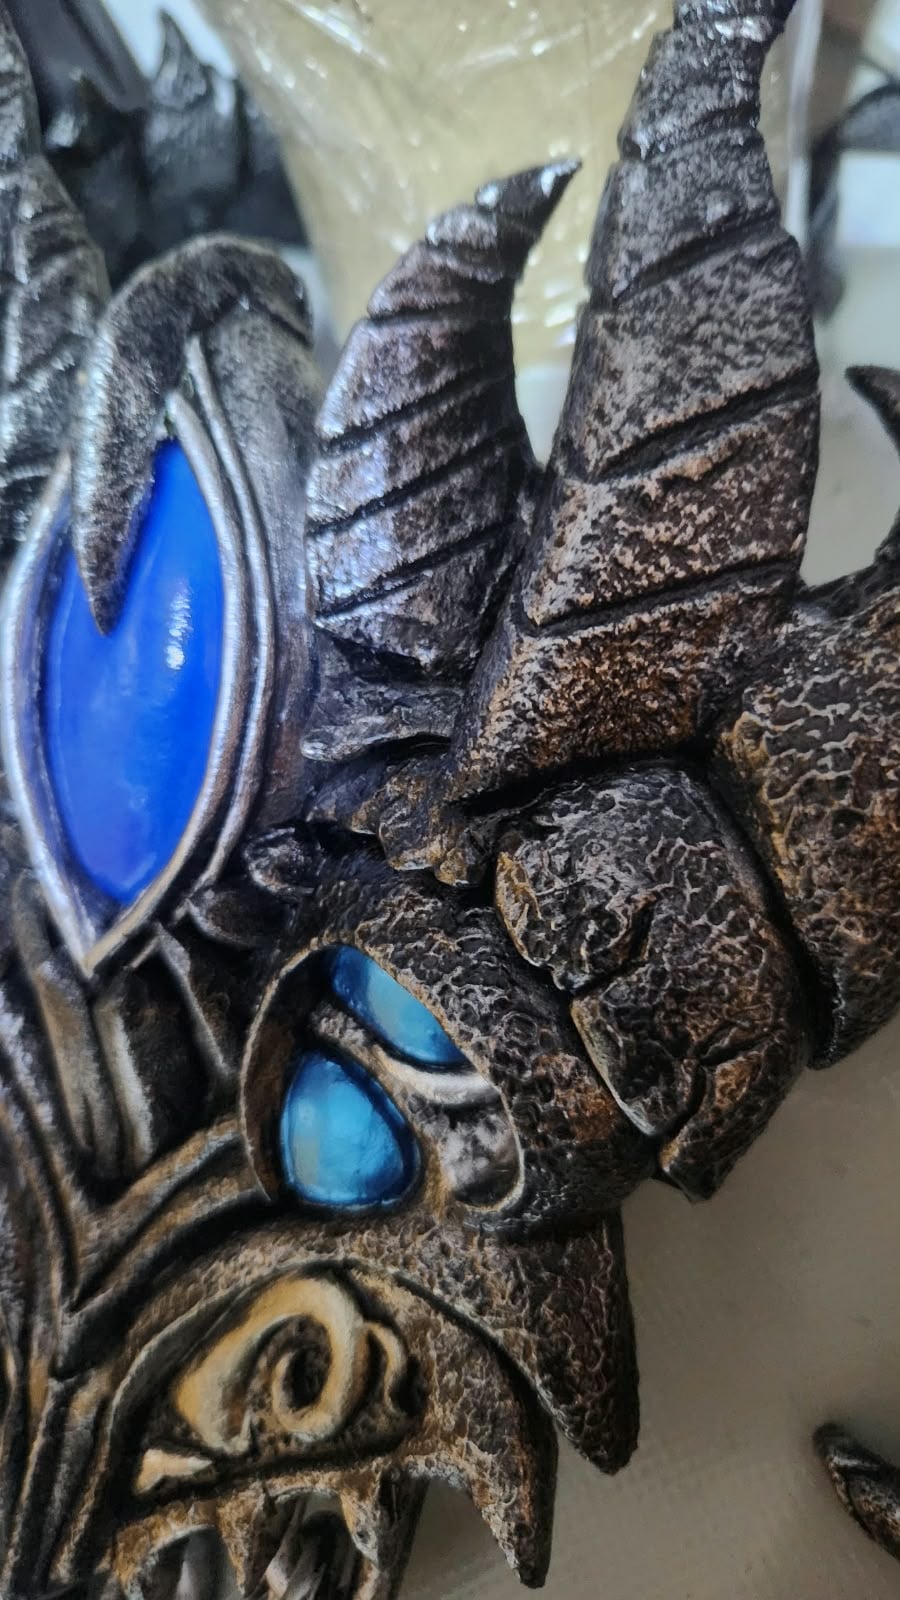
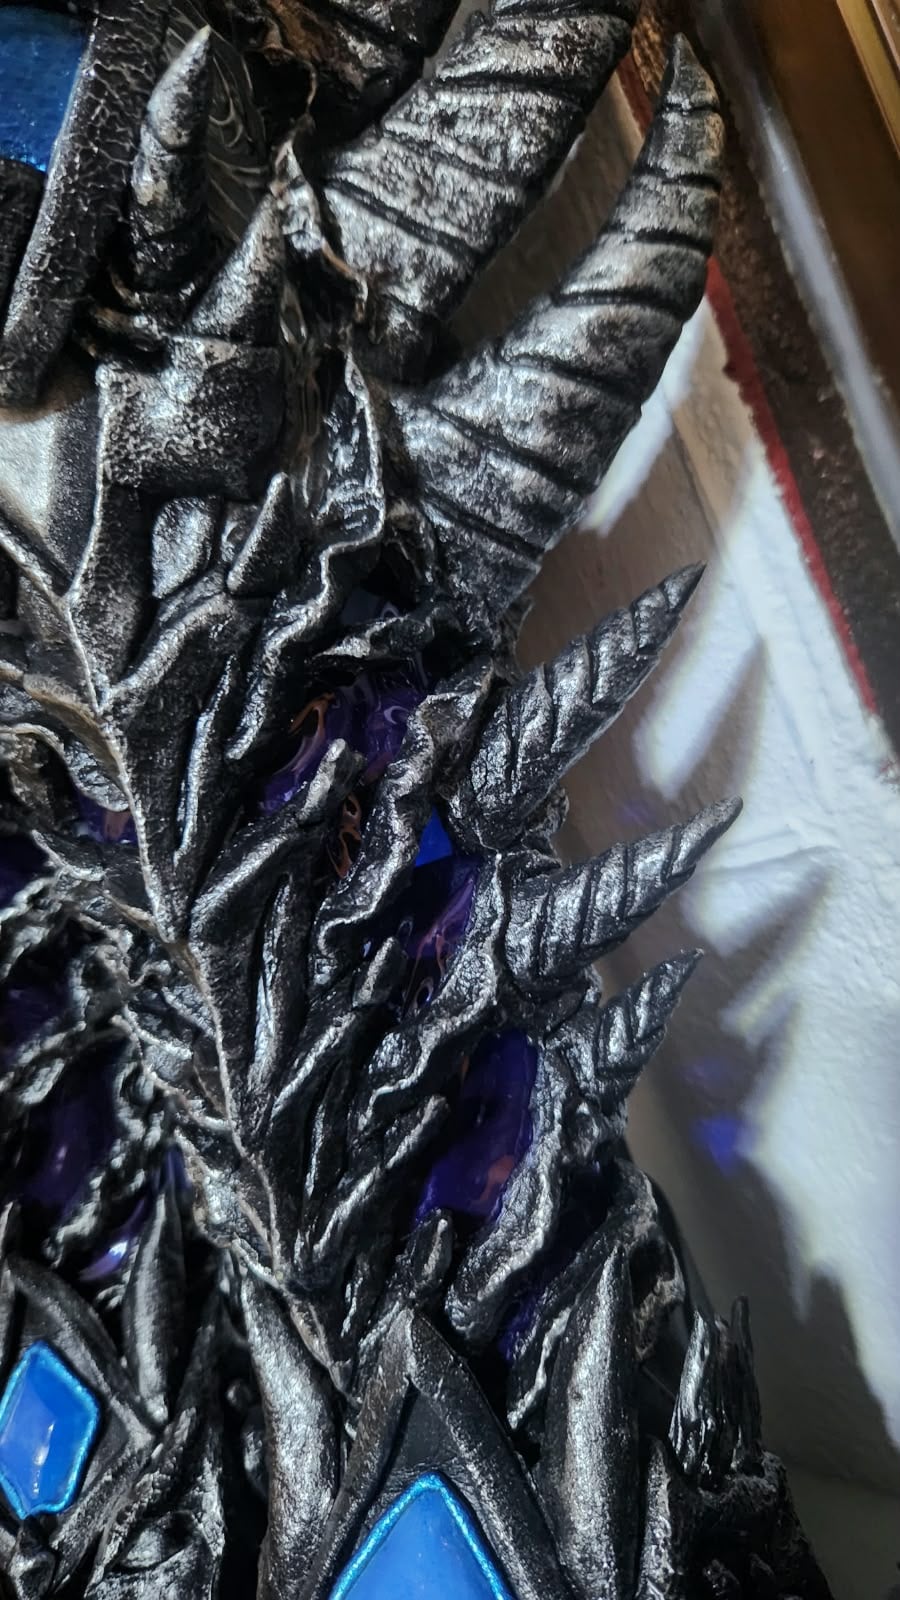
For the horns and some of the gems, I first sculpted the shapes in Monster Clay. Then I made molds using Rebound silicone and cast copies in Smooth-Cast 365. I tried a different approach for the gems on the arms: I cut a clear Christmas ornament in half and painted the pieces while keeping their translucent look. I also used Smooth-On’s Free Form AIR to create the skull in the center of the chest and the decorative lines.
I used moldable foam for the arms and Worbla for the legs. Worbla helped give the legs more stability while keeping the shapes of the design. I also reinforced the head with Worbla so it would hold its structure.
Once the pieces were assembled, I added texture using a Milyn texturing tool and a sponge. I then prepared the surfaces with Truper primer and Plasti Dip before painting them black and silver. I added transparent blue plastic to some of the openings to give them more visual depth.
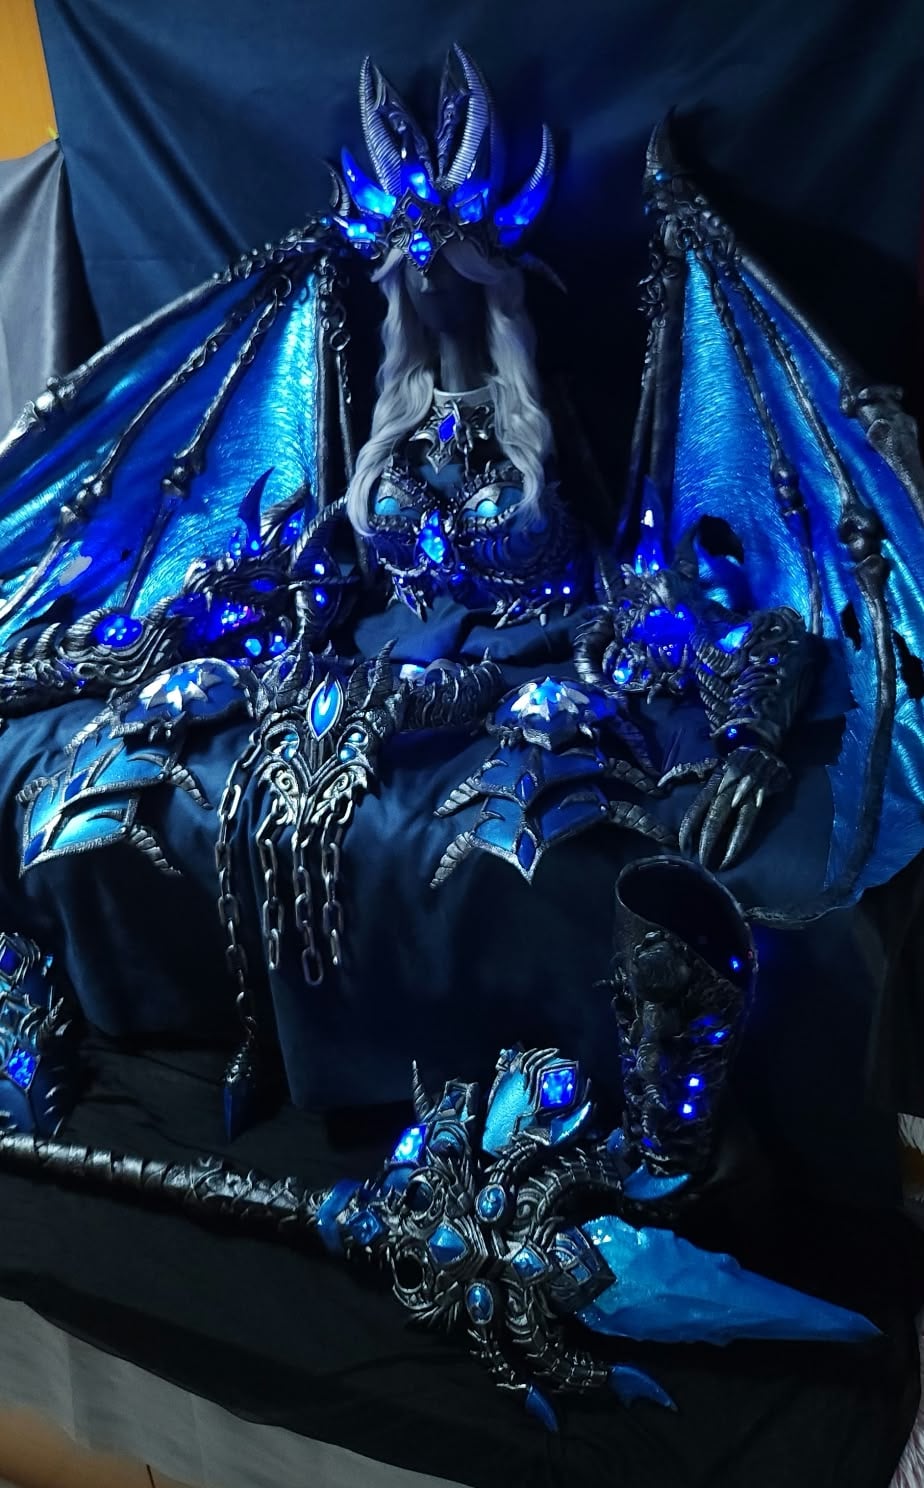
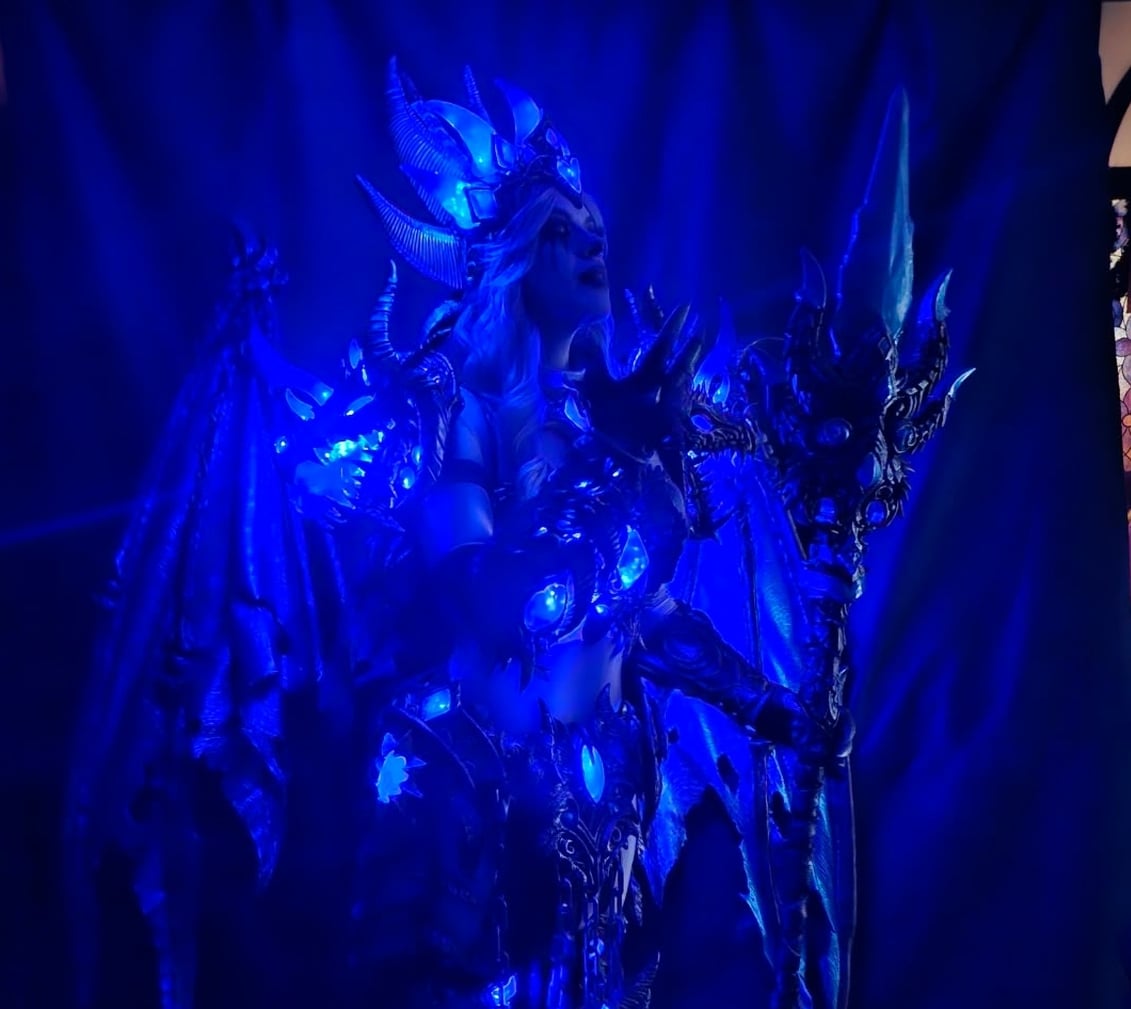
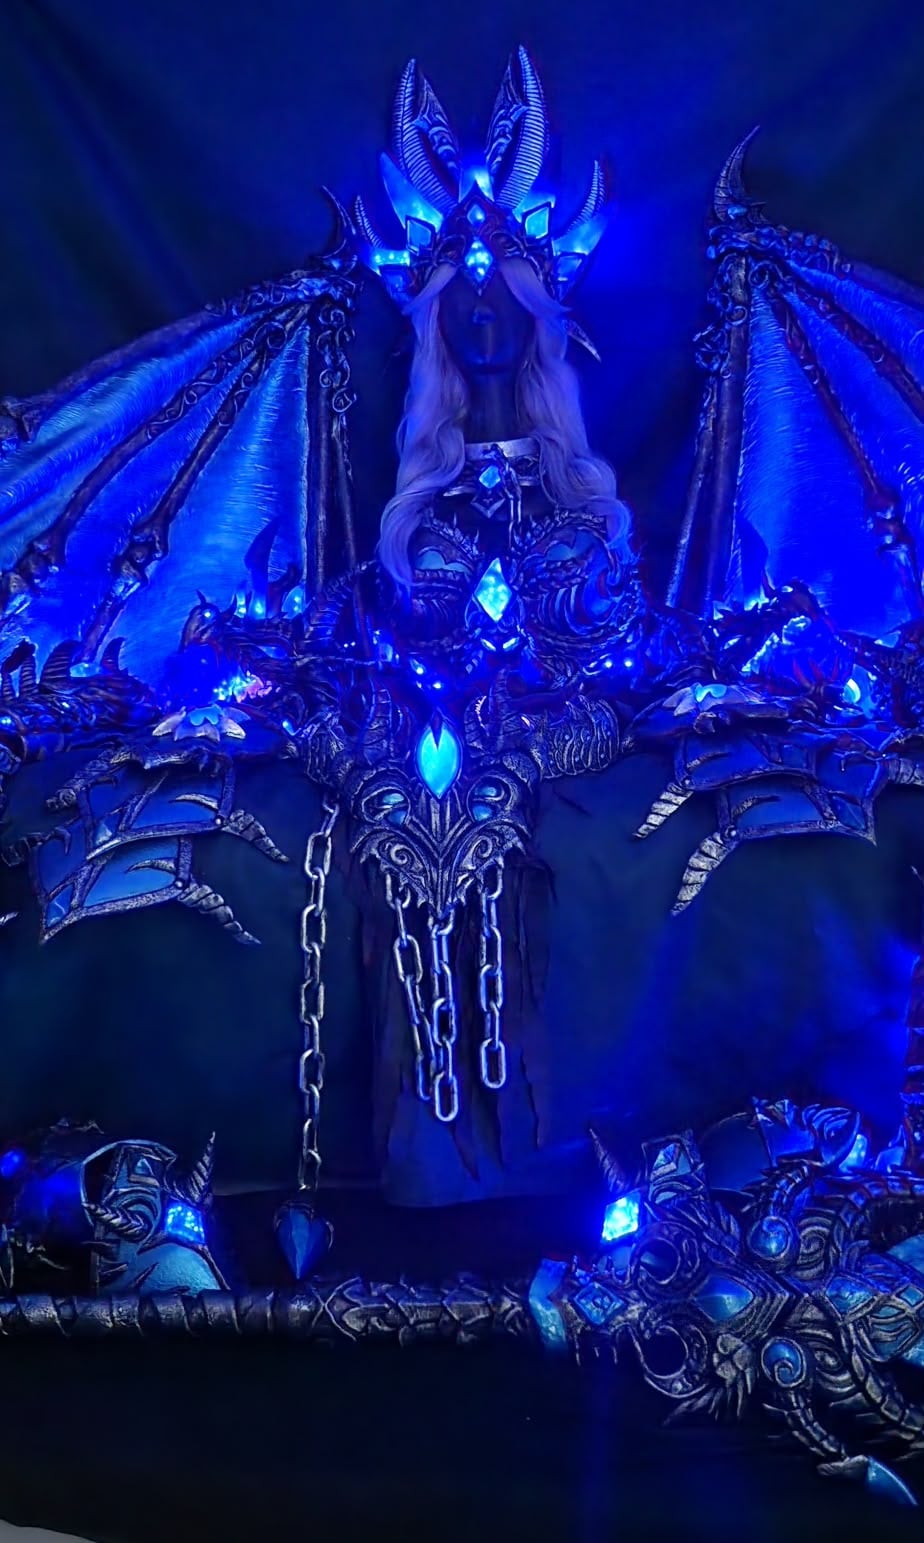
I also wanted the costume to light up, so I placed small decorative bottle lights throughout the cosplay. I chose them because they run on batteries and are small enough to fit into tight spaces.
Making the wings
For the wings, I drew the patterns on kraft paper and built the inner frame with PVC pipes. Then I added fabric to form the wing surfaces, secured it with zip ties, and worked on the texture to bring it closer to the reference design.
Once the surface had dried, I added volume and details with Free Form AIR and moldable foam. I also wanted to try a little 3D printing. I’m still learning about 3D modeling and printing, but I designed a small PLA detail for one of the horns at the tip of a wing. I placed it on only one side so the wings could fold without bumping into each other.
That adjustment mattered because I needed the wings to be easy to transport and store. I don’t have a lot of space at home.
To finish, I primed and painted the wings and protected the finish with True Film sealer. I also built a detachable support system using PVC pipes and straps, similar to a backpack, that sits underneath the bodysuit. This lets me wear the wings on my back and remove them whenever I need to.
Makeup
To complete the character, I did my makeup using water-based paint from Bonds Boutique.
Cape, Loincloth and Stockings
I made the cape using the same fabric as the wings. I added texture with an airbrush and carefully burned some areas with a soldering iron to give it a charred appearance.
For the loincloth, I cut several strips of fabric and joined them together to create an aged, worn texture. For the stockings, I sculpted a skull out of moldable foam to recreate the decorative detail on the character. I also used fabric with a texture like dragon scales to better match the character's design.
The final result and what I learned
It took me several months to finish this cosplay, but I had so much fun throughout the process. I got to experiment with different materials and combine sculpting, mold-making, EVA foam construction, and painting, while also adding lighting and 3D-printed details.
Most of all, this project reminded me that I can always keep learning, improve my techniques, and create more and more elaborate characters.
Video https://www.youtube.com/watch?v=9bCysFY2ywM
Instagram https://www.instagram.com/kurai_fx/