Animatronic Major Chip Hazard

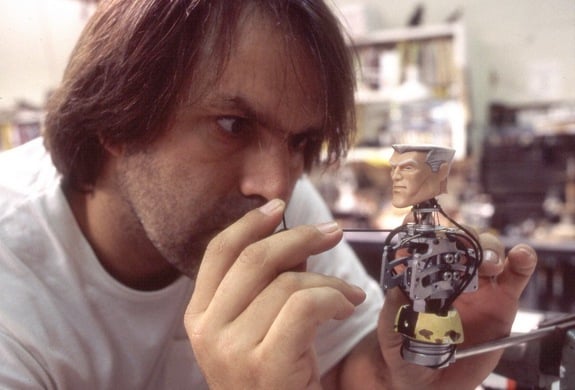
I’m looking to build a 12” 3D printed Chip Hazard animatronic from Small Soldiers, and would love some advice on how to approach the mechanics.
I’ve successfully built a version in the past using servo motors housed in the torso to control the arms, head, and mouth. Now I’d now like to create a much more movie accurate version with way more articulation, including the shoulders, elbows, wrists, torso/waist, and neck/head.
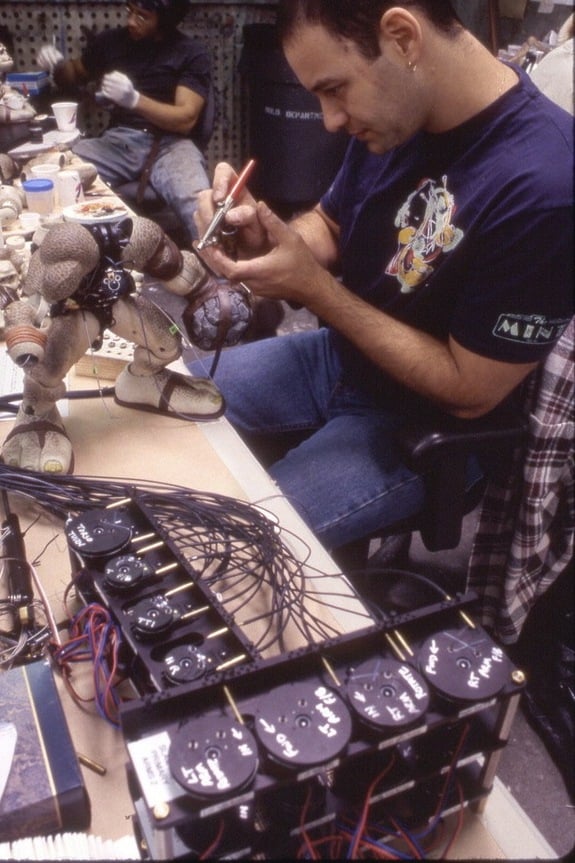
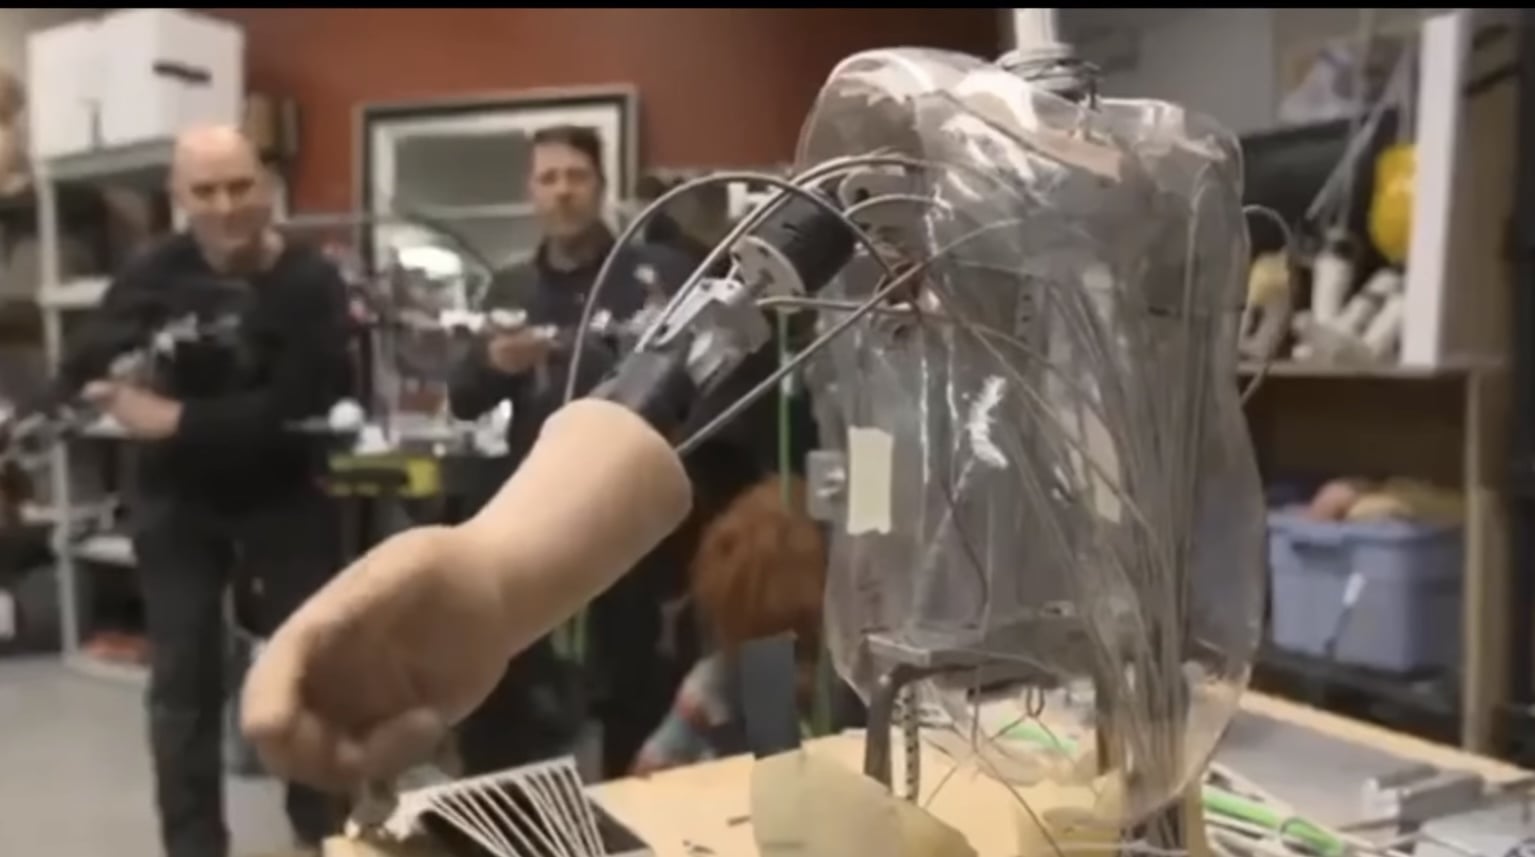
My main challenge is figuring out how to mechanically achieve these movements using cable controls, similar to how it was done movie.
I’ve watched the Stan Winston School cable mechanism and rod puppet course, but I’m struggling to understand how to fit the concepts into a small, functional animatronic. Specifically, I’m not sure how to:
- Attach cables to the individual joints to produce controlled movement.
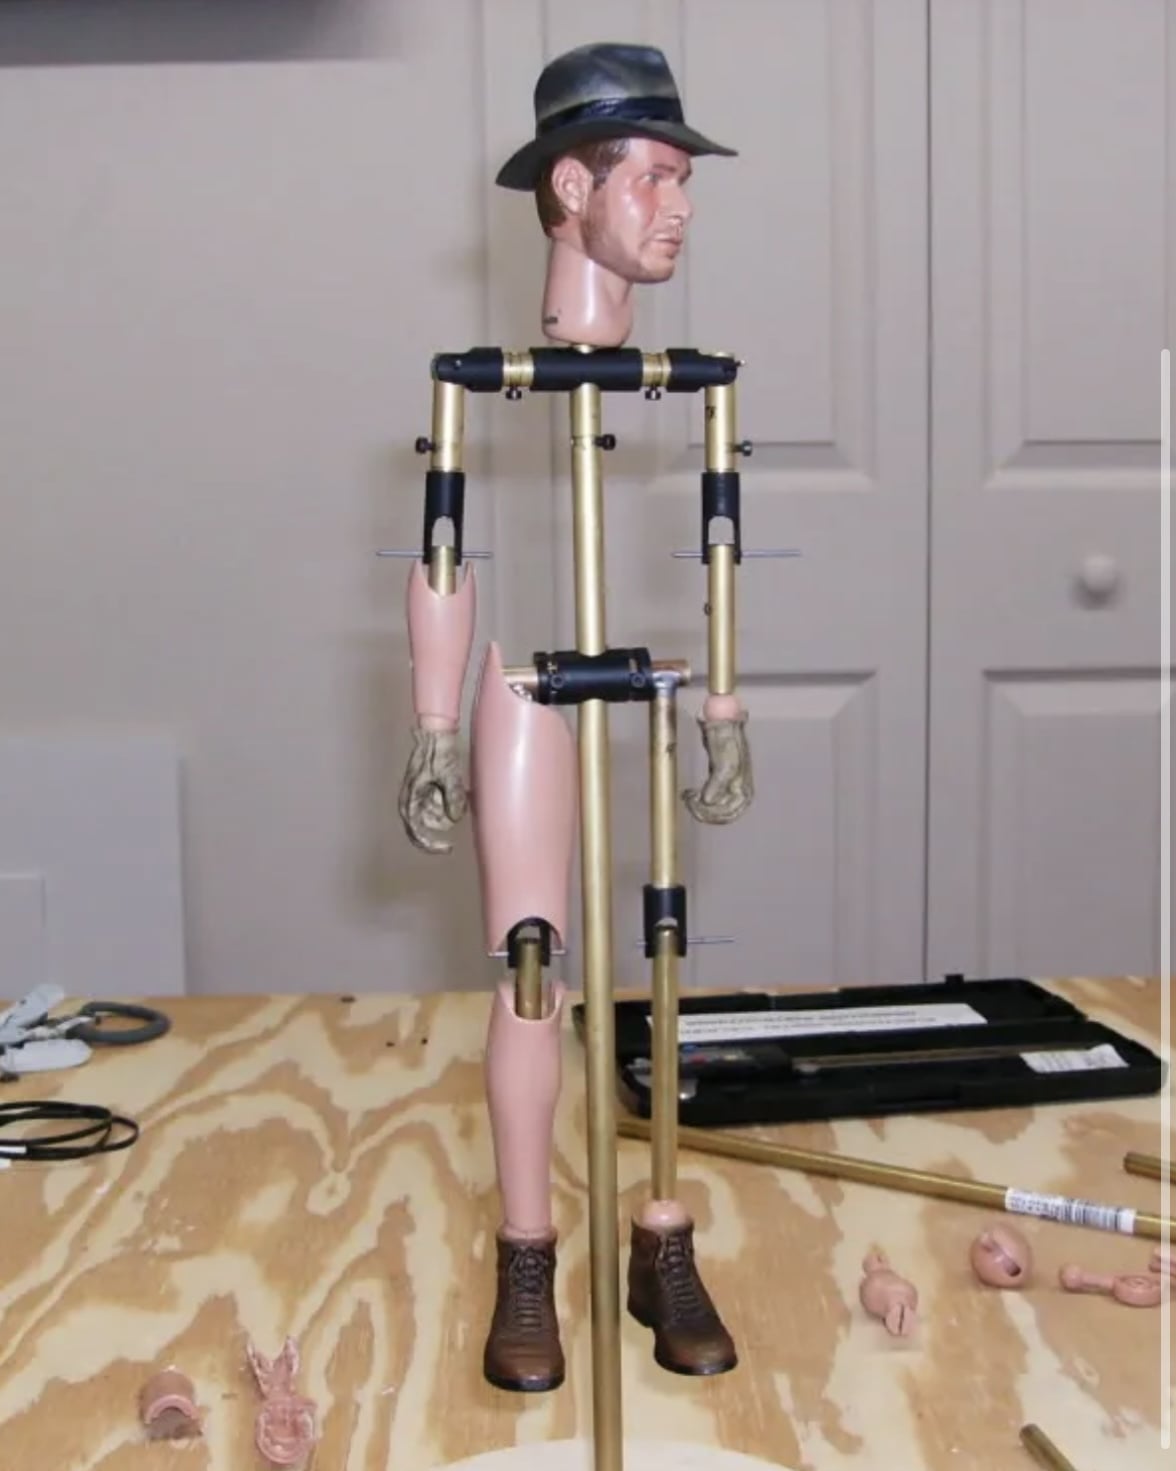
- Design joints that allow the arms, elbows, and torso to rotate or move vertically.
- Route and tension the cables within a 12” figure without creating too much friction or limiting articulation.
- Connect the cables to a control mechanism that allows for precise, repeatable movements.
I’ve searched online for tutorials on cable controlled mechanisms at this scale, but haven’t found much that explains the actual joint connections and mechanics in detail.
For anyone experienced with animatronics, cable puppetry, or mechanical puppet design, where would you recommend starting? Are there any resources, diagrams, or examples of small scale cable controlled figures that shows how the cables connect to and actuate the joints?
I’m comfortable with 3D modeling and printing the parts, so I’m more interested in understanding the underlying mechanical design before committing to a full build.
Any advice would be greatly appreciated. Thanks!