
How to make a cast of the *core itself* when sculpting and casting a full head silicone mask

Hello all, I hope this question is useful for many people!
I have watched all three parts of the silicone mask making tutorial with Mike Cooke as well as other mask sculpting tutorials and one key missing piece is the actual process of casting a custom core for yourself. I know how to take a life cast of a head and build a clay sculpt out of that on a base with a flange at the bottom, I have no questions about that part. However, we see in the three part tutorial that the bottom of the core is hollow, and this is integral to the design of the final mold, since the core is bolted to the two halves of the mold:
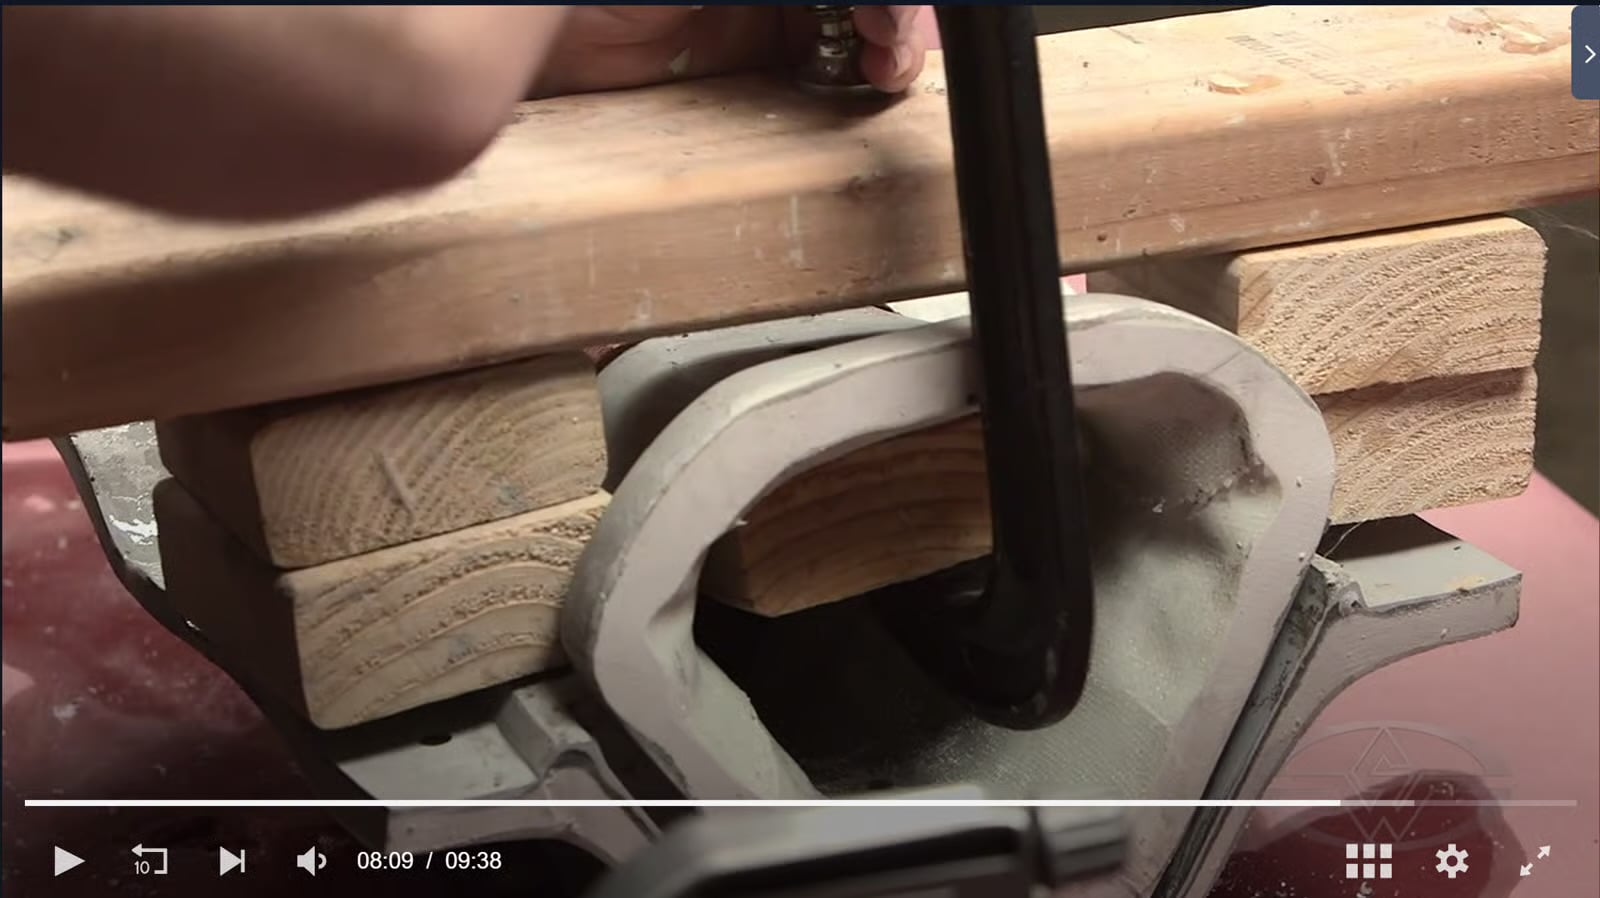
I cannot for the life of me find any instructions on how to actually take a mold of the custom core in a way that creates that hollow base. To me, it seems that the custom core would need its *own* core to create the cavity in the bottom, and that creates a repeating loop of a problem.
I have watched all three parts of the silicone mask making tutorial with Mike Cooke as well as other mask sculpting tutorials and one key missing piece is the actual process of casting a custom core for yourself. I know how to take a life cast of a head and build a clay sculpt out of that on a base with a flange at the bottom, I have no questions about that part. However, we see in the three part tutorial that the bottom of the core is hollow, and this is integral to the design of the final mold, since the core is bolted to the two halves of the mold:
I cannot for the life of me find any instructions on how to actually take a mold of the custom core in a way that creates that hollow base. To me, it seems that the custom core would need its *own* core to create the cavity in the bottom, and that creates a repeating loop of a problem.
What am I missing here? Is the flanged base with the hollow cavity just directly sculpted to have that shape rather than cast in epoxy? I have basic two part mold making experience but this really has me feeling insane, because I can't find any information anywhere on the internet about this. Someone asked a similar question in the SW threads five years ago and the answers were essentially "no, we don't have a tutorial for that, but you'll figure it out!"
I'm hoping someone can offer some nugget of information that can help me here. Thank you!
I'm hoping someone can offer some nugget of information that can help me here. Thank you!
0
Comments
I would start with a life-cast, sculpt the flange, and then make any modifications that will impact the fit of the final mask, like shaving off the ears, removing material anywhere I want the mask to fit more snugly, adjusting the eyes/mouth, etc.
Then, to create the final hollow core, I would make a mold (most likely 2 parts) of the modified life-cast, and then lay fiberglass and epoxy inside it. If I felt like it needed more thickness, I would either hand rotocast some extra epoxy inside it, or build it up with syntactic epoxy dough.
It's also possible to do a similar process digitally, starting with an accurate scan of the performer, making the modifications in ZBrush/Blender/etc., and then printing the core on a large-volume 3D printer in a durable and dimensionally stable material.
Those are just quick examples. Obviously, many details and steps in the process have been skipped or simplified here.
Hope that helps!
/Chris