Best Of
Goonies Sixth Scale Sloth - 2nd Entry
Another favorite film of mine I set out to create a sixth scale Sloth from The Goonies. For this figure I sculpted the head, hat, bandana, babyruth, dagger, and shoes. I also painted the later half of those items. Clothes were done by hegemony77 and I've honestly forgotten who painted the head. I'll update if I remember.


KILL MORE KRITES
Hey everybody, just wanted to post the Krite i made. This guy is based off the look of the krites from Critters 2 with a little bit of my own style thrown in. He is about 18 inches tall and the eyes also illuminate.


Halo Reach Skirmisher Head Sculpt
This is an oil-based clay sculpt of the Skirmisher from the video game, Halo Reach.

I made a base form out of EVA foam, foil, and painters tape, then added about half an inch of clay to the form before sculpting in forms and details.
I used mostly loop tools to achieve the textures of the scales and folds of skin.
The sculpt was used later in a mold that then produced a silicone cast for a creature costume of an entire Skirmisher character.
The muscle bands, tip of the lower jaw, and tongue were separate pieces for ease of molding.
The eyes and teeth were sculpted separately out of oven-bake clay for adding to the head after it had been cast in silicone.

Henry J. Waternoose III


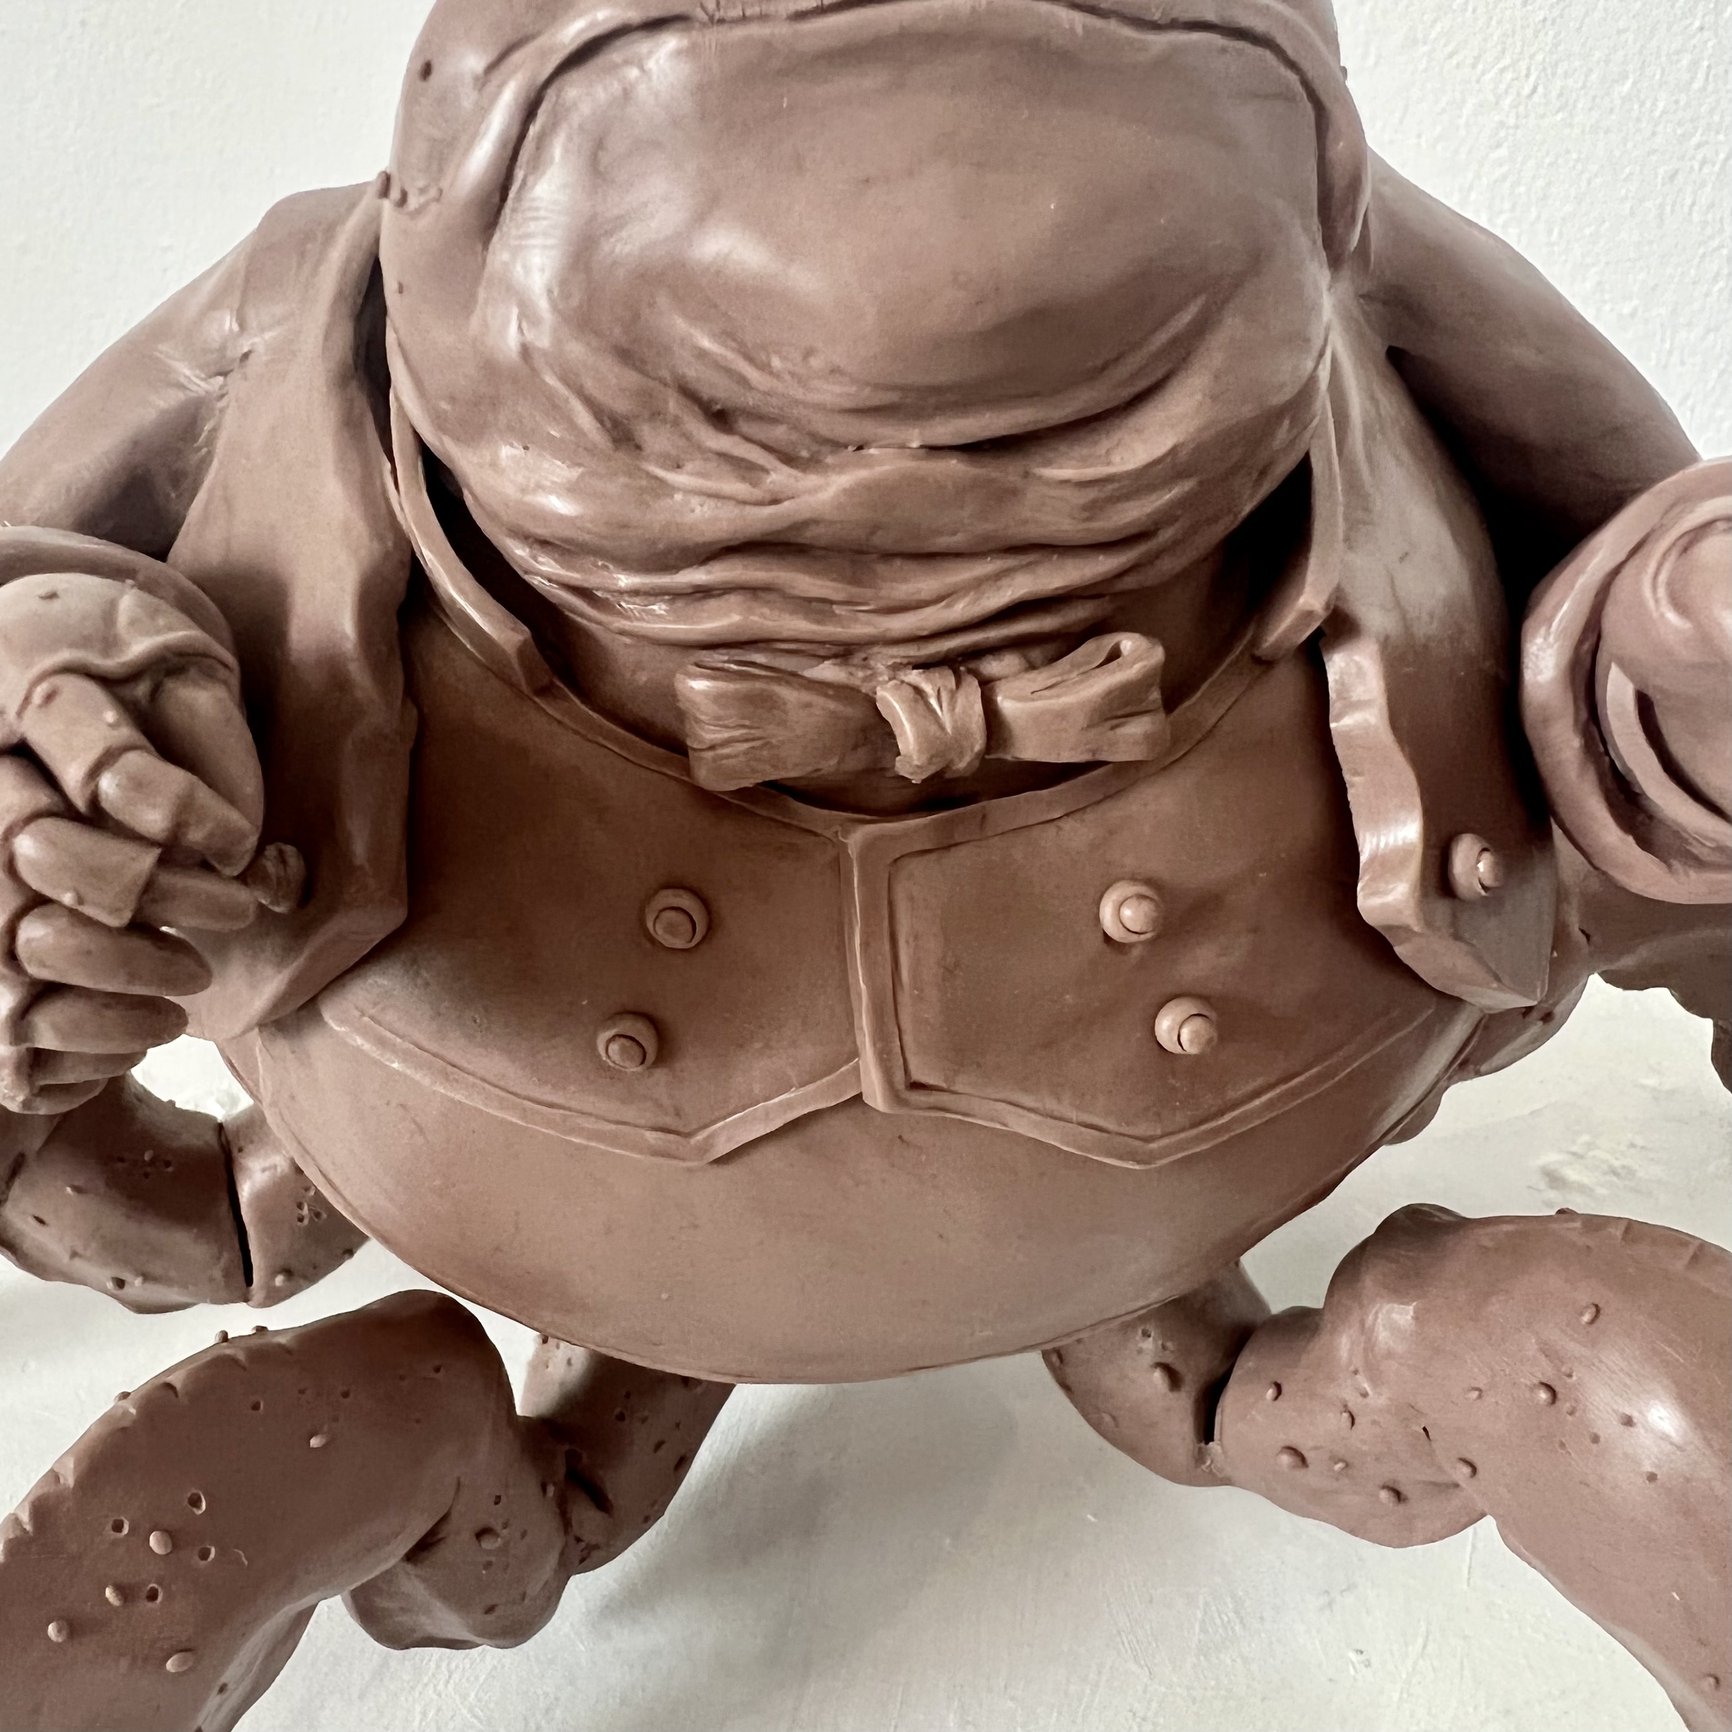
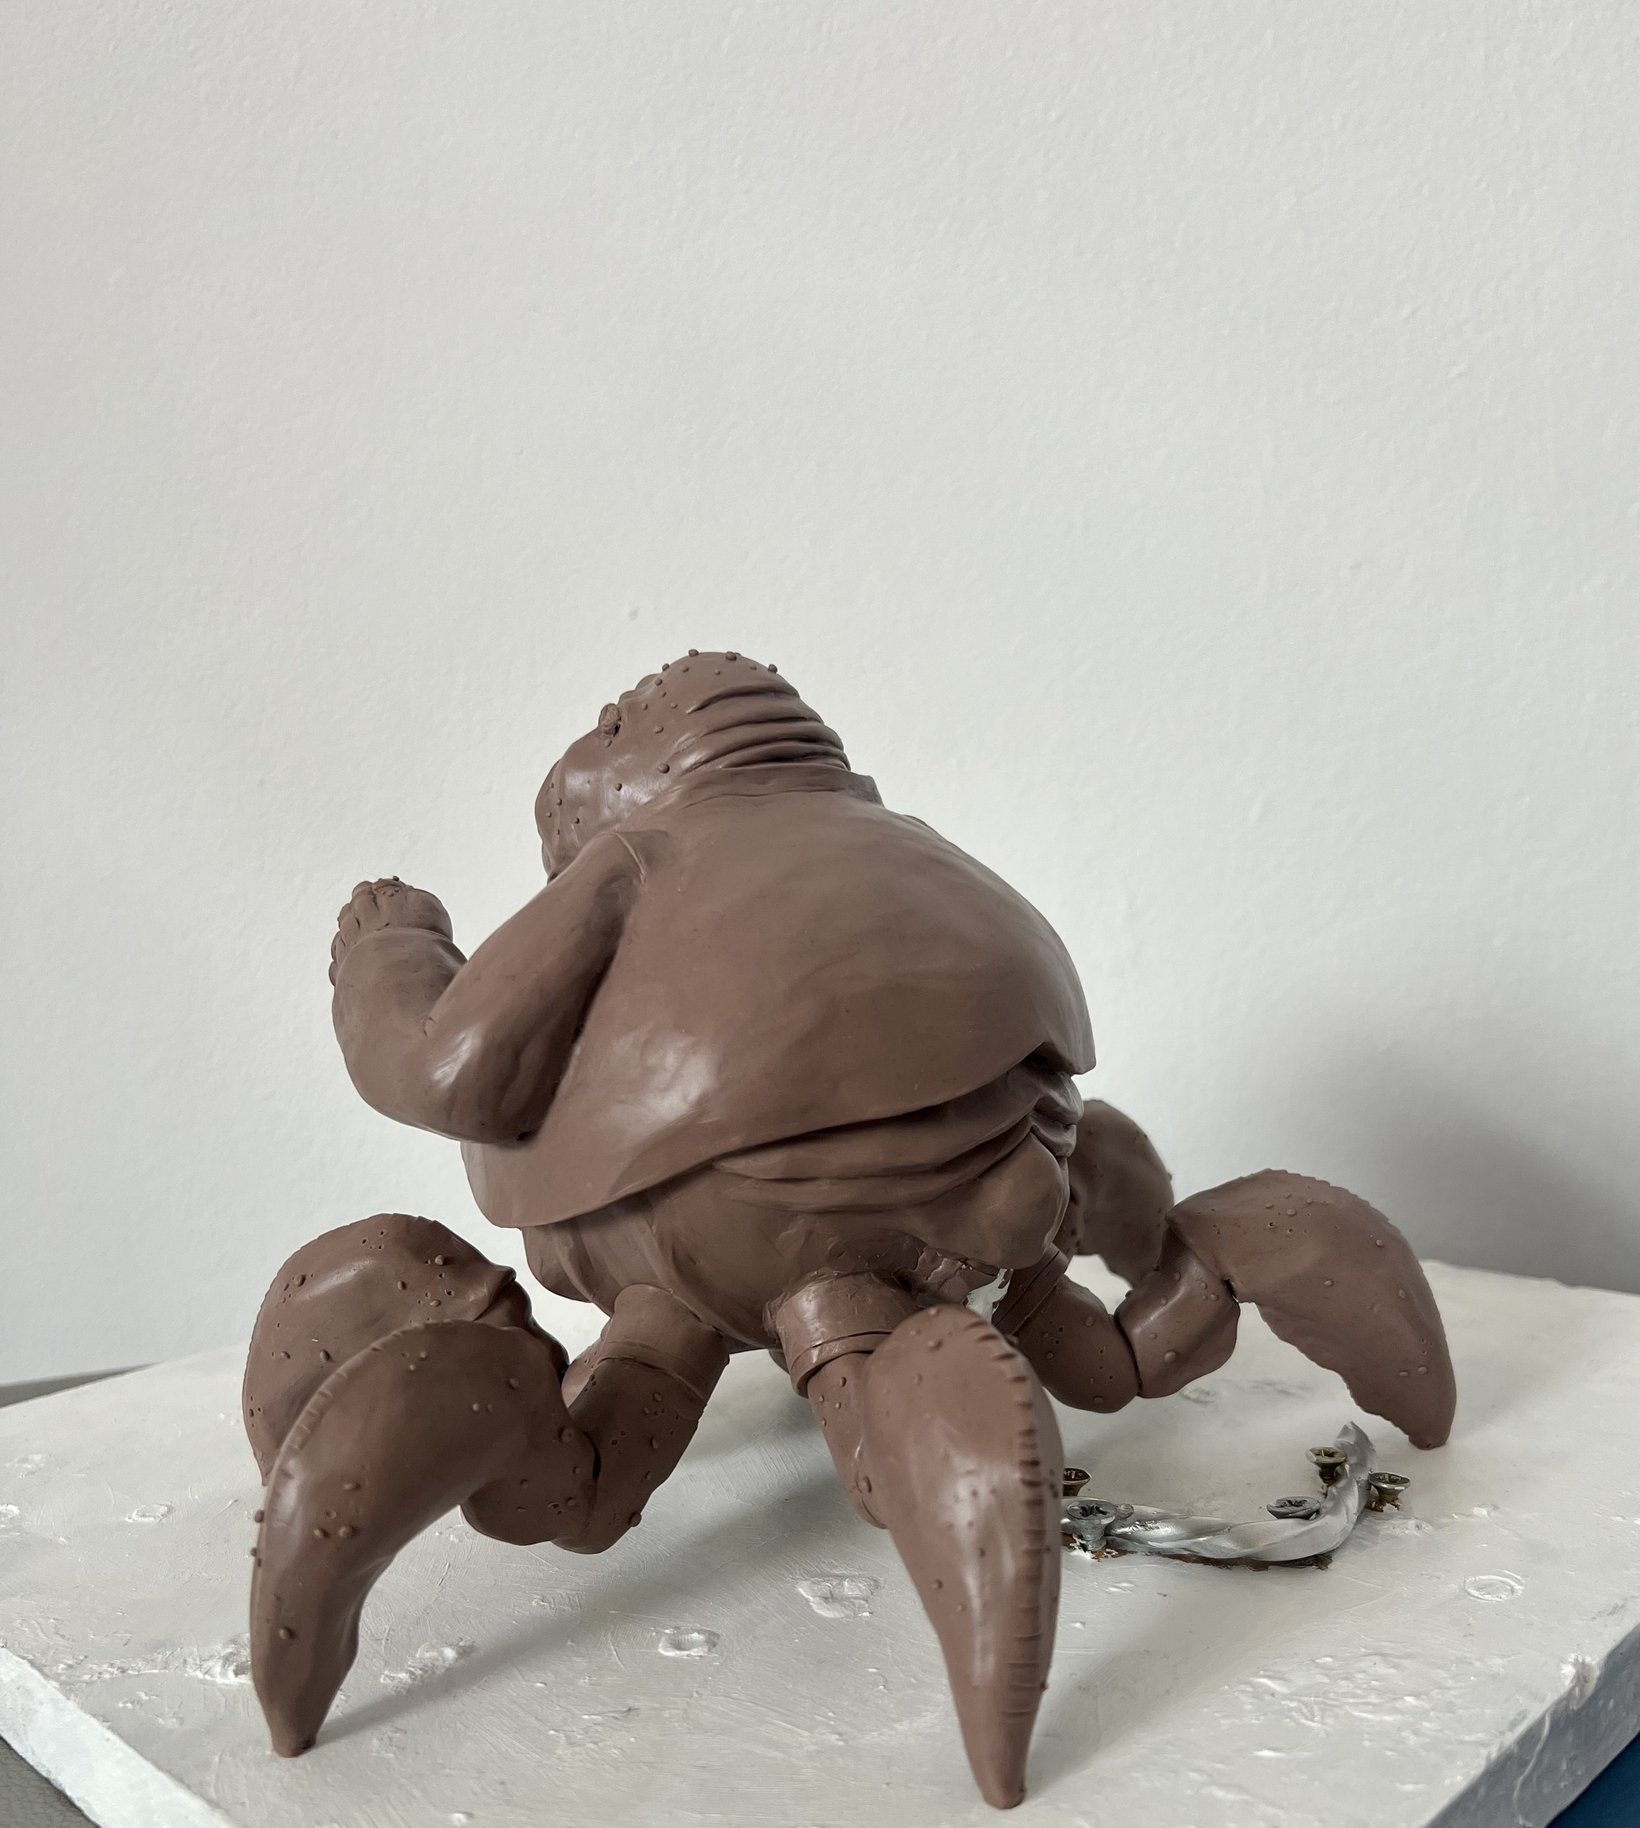

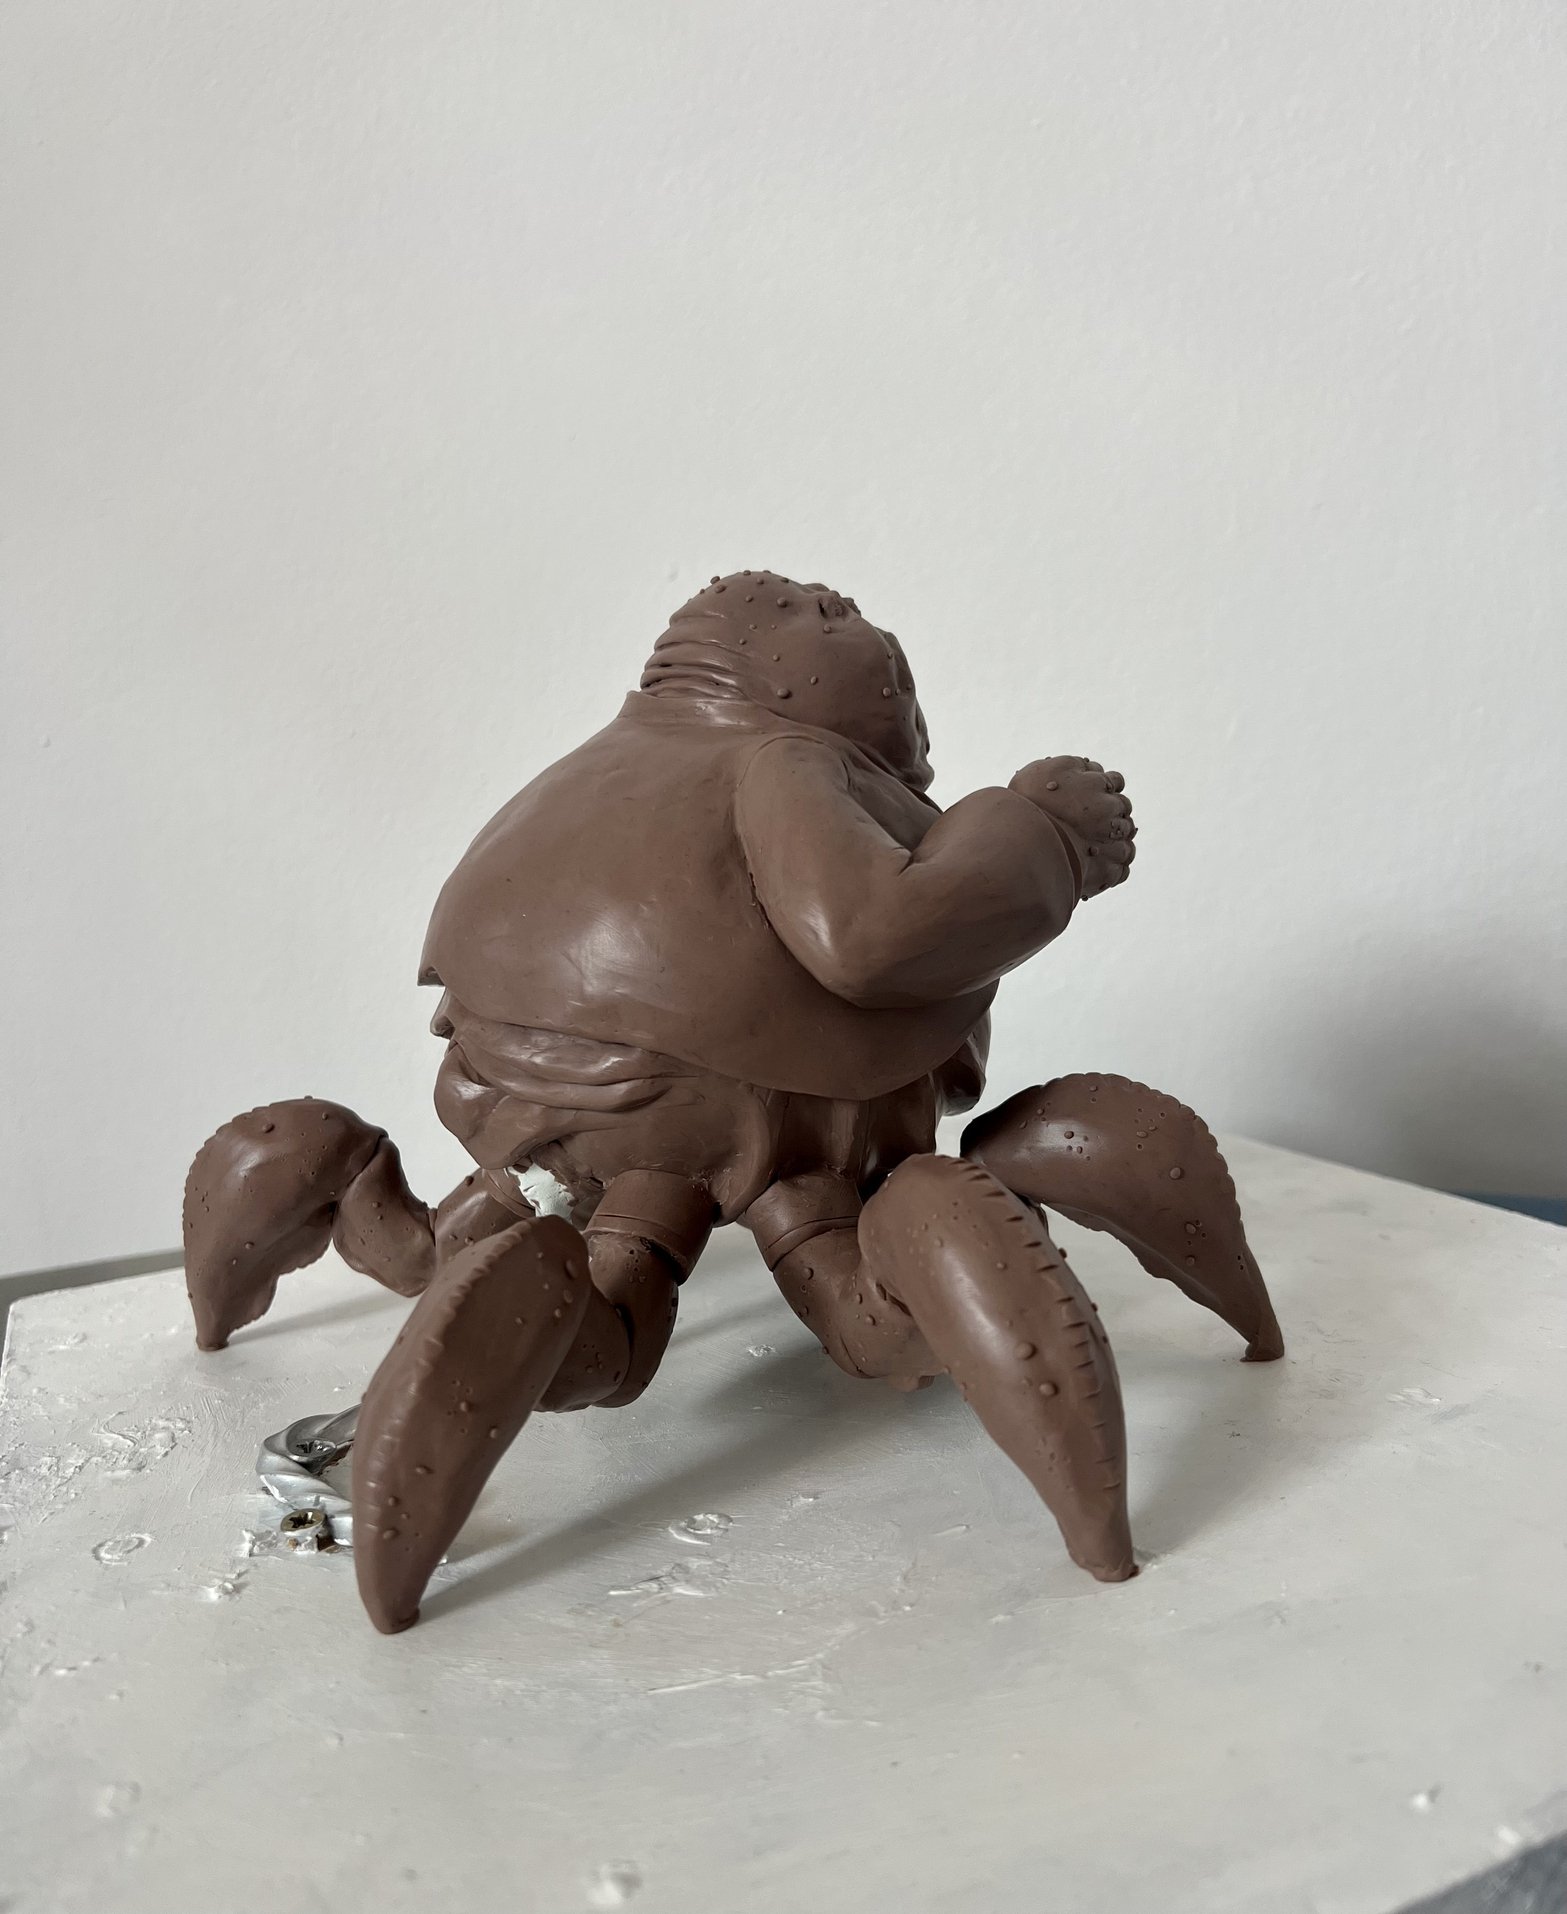


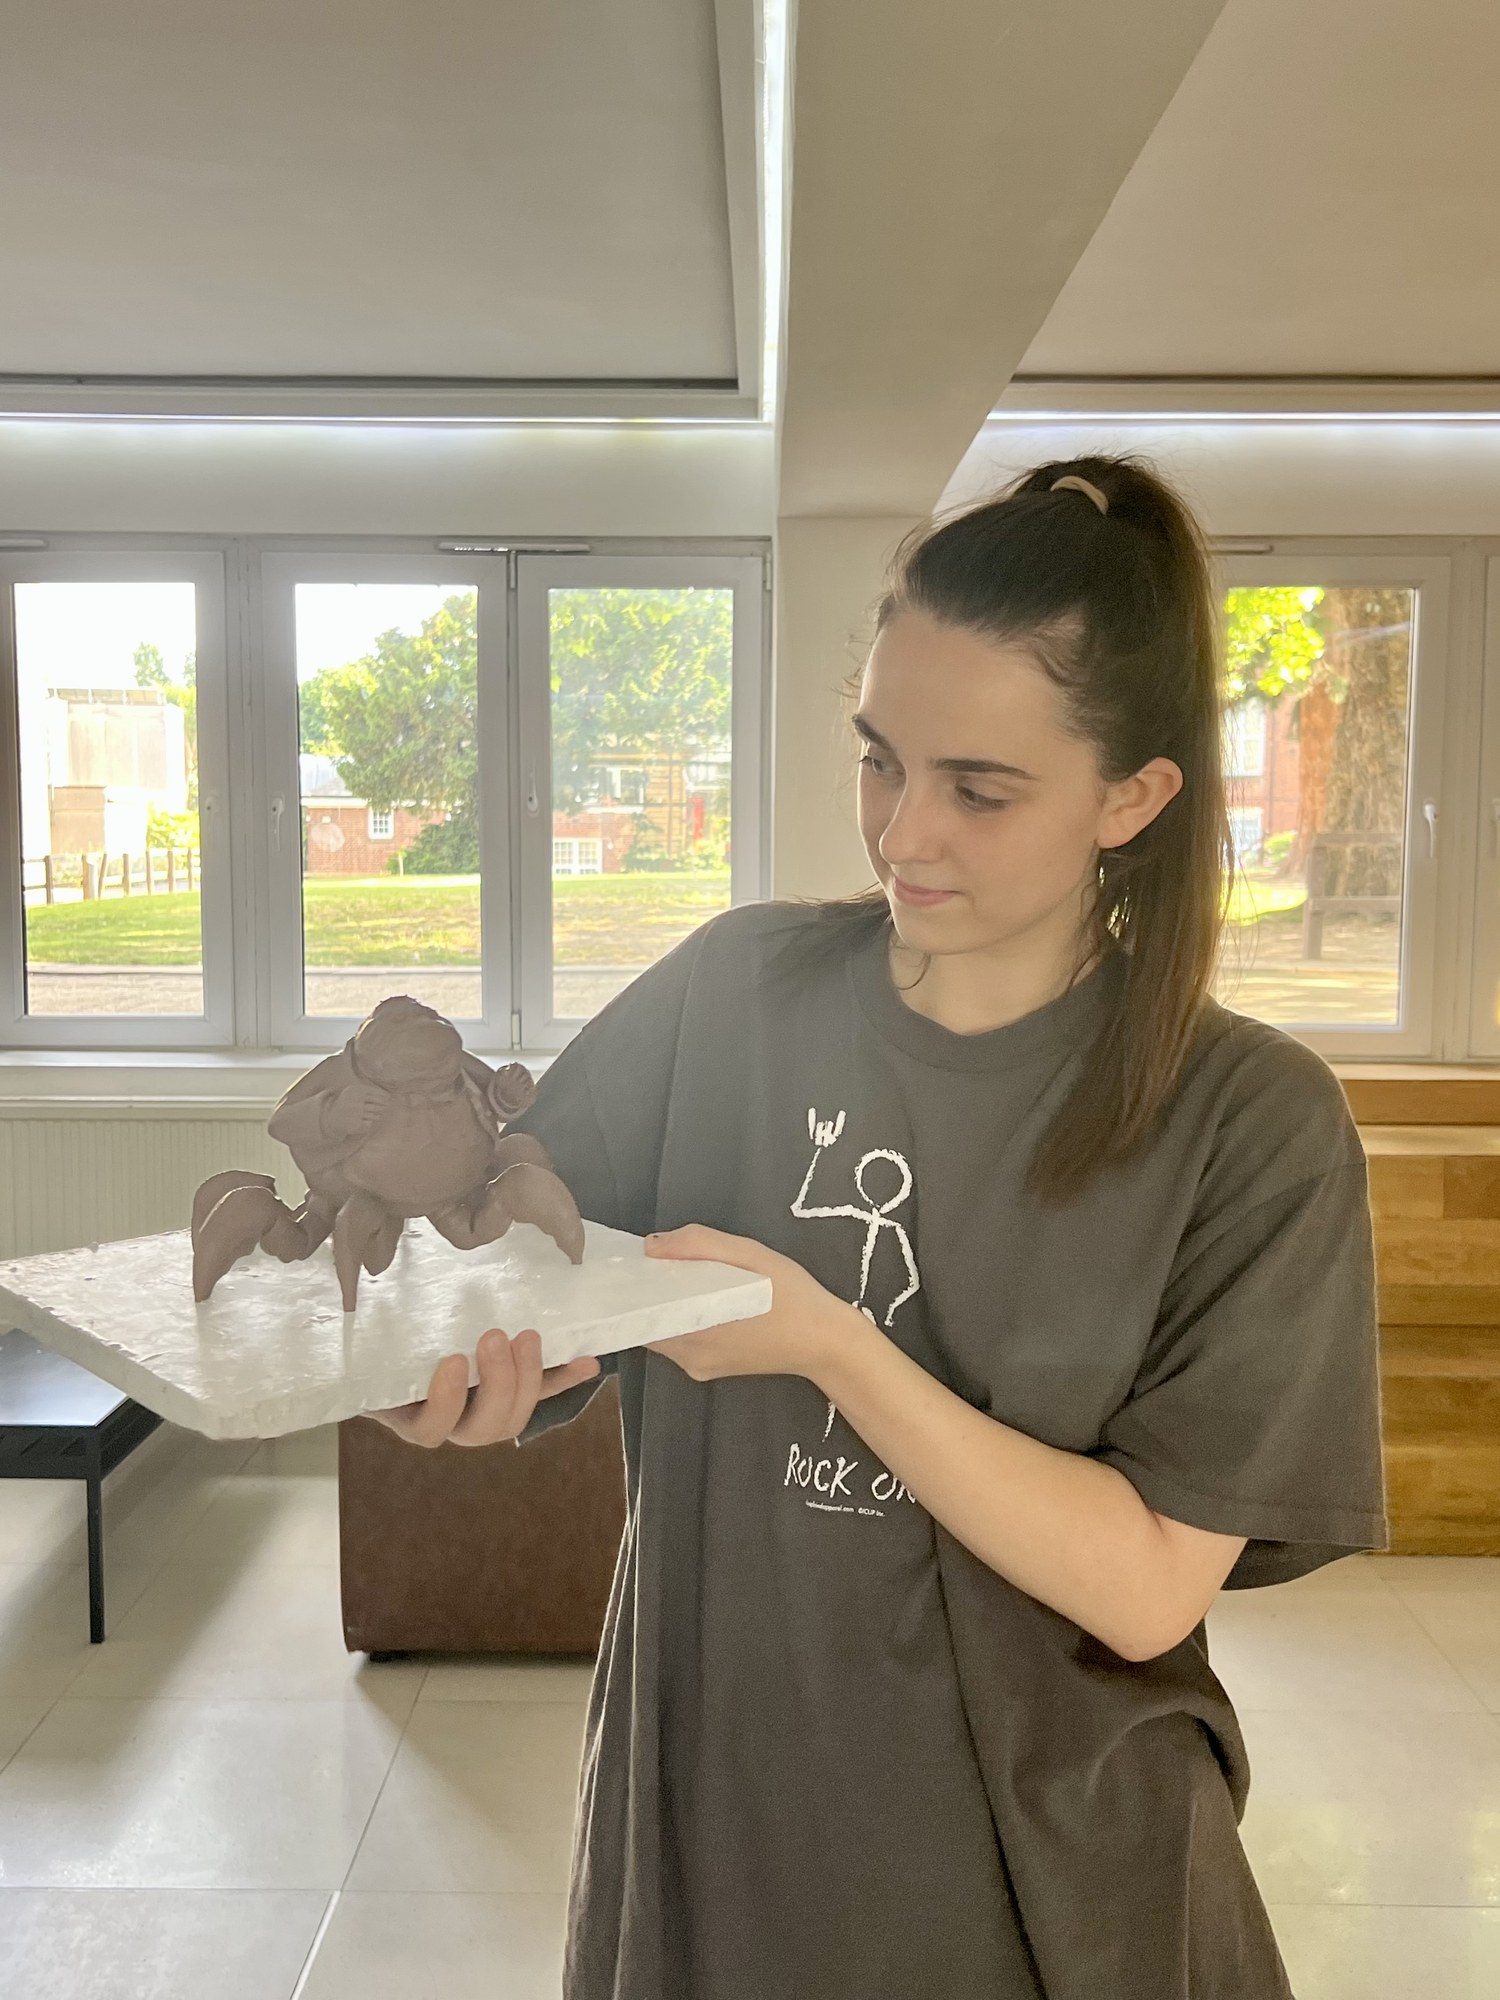
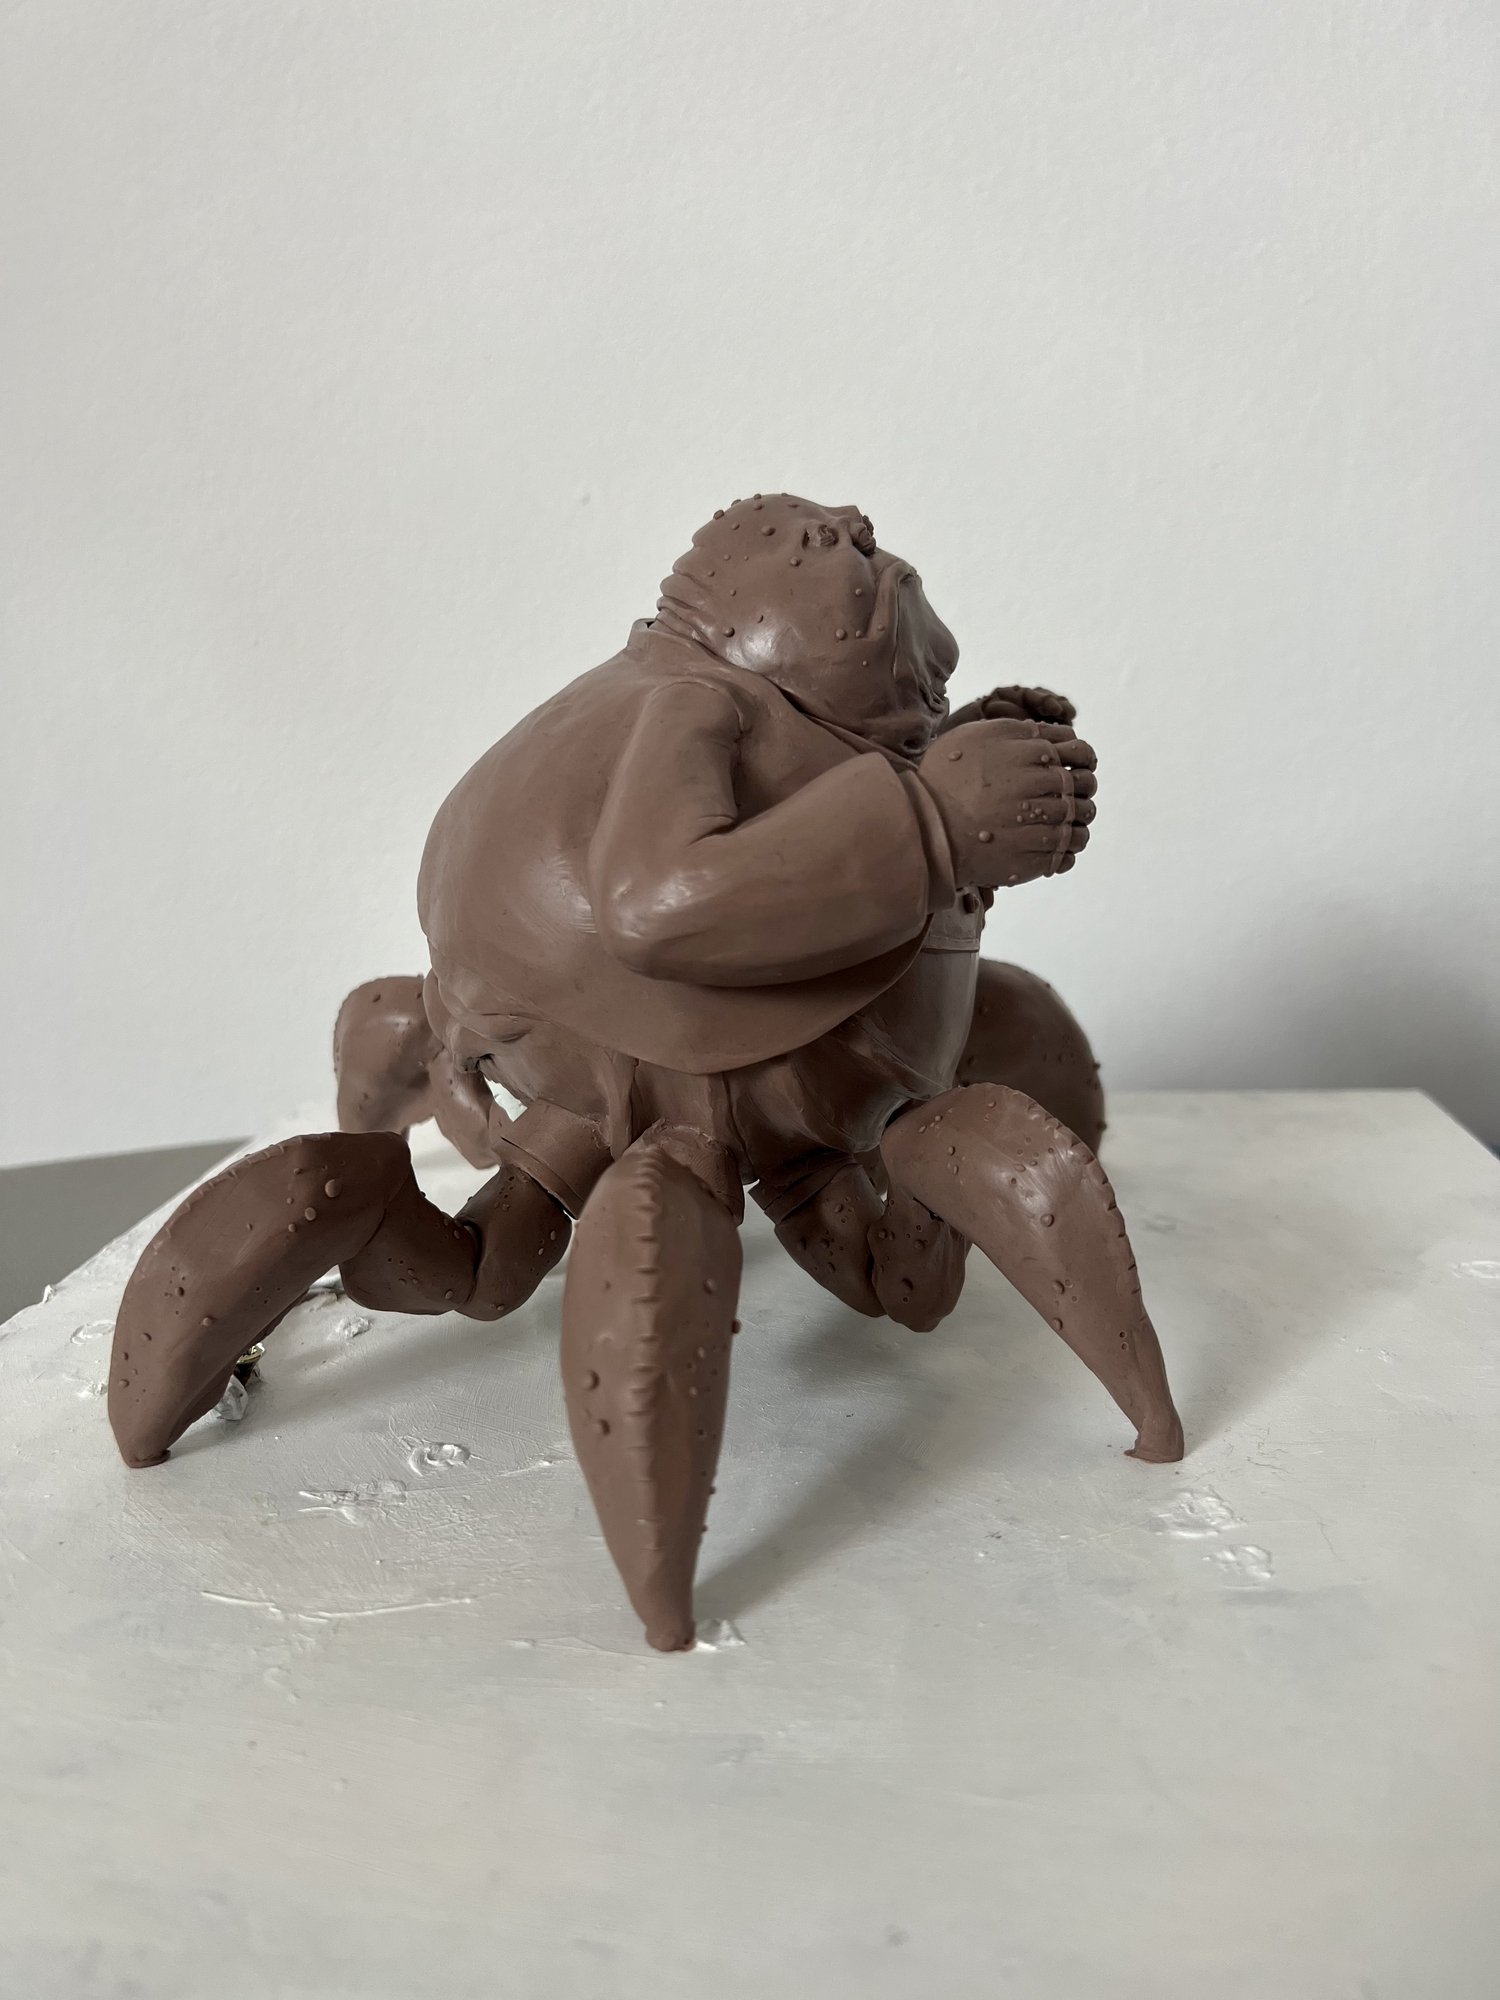 For my entry I’m proud to submit my sculpture of Mr Waternoose from the film Monsters, Inc.
 (all rights to this character belong to Walt Disney Pictures and Pixar Animation Studios).
My maquette of Mr Waternoose will eventually be moulded and casted so I can paint him! I’m just waiting on the right materials.
He’s made with monster clay with a tin foil base for the stomach, and aluminium wire in the arms and legs. He was a joy to make and my first ever attempt at sculpting a maquette- so he’s close to my heart! I wanted to feel like how it would if this was my job in the film industry (as that type of career is my dream), so I aimed to make it as identical to the design as possible. To aid the process I drew turnaround drawings of the character and planned out exact measurements that I would later copy when sculpting using a calliper for accuracy.
I hope you guys like him!
Emily
Emily

BloodTroll
A few of my students have entered so I said "what the hell?". Since 2017, I have run character sculpting courses. For each course I run, I create a character to show the process. At the time I asked my 8-year-old son what should I sculpt. All excited he said "A Bloodtroll". It was a character from one of his books. This is the design for him and the final sculpt. I have been meaning to mould and cast him in silicone but other courses and characters have gotten in the way. Some day. He was sculpted using Chavant medium red and Ken's tools.


Wolf Predator
Here's my 1/3 scale Wolf Predator bust. Sculpted in monster clay with sculpey parts. And here you can see the finished and painted version after it was moulded and cast.


Will Turner Bandana for cosplay potc5 reunion scene
Will Turner, Pirates of the Caribbean 5, wears a bandana in the reunion scene at the end of the movie. I am in process of the Will Turner cosplay build and would like to share my progress on the bandana.
Test cuts, of bed sheets, show a working size of 11 by 60 inch with edges folded to a total coverage of under 8 inches on the head. His bandana is always open scalp, covering or holding his hair off his face.
The color screen matches (on average) to Pantone 5777 uncoated. Due to tremendous changes in digital color grading between scenes it is sometimes olive and sometimes grey. I opted for a mix of both, green and gray.
The diamonds on the scarf are two distinct patterns, one of circles with one bar removed and one of ovals with three bars removed. Below is a high def screen capture:

I redrew these in Illustrator and sized the diamonds to create a print and a stamp. My first print proved unusable due to the plastic transfer material. I did not have the option of print direct to the bandana, which would require a flatbed printer. The output was shiny and stiff...

I then print a cut template and attempted to cut a rubber stamp. It was far too small a pattern to get the detail in and was not up to the task...

Then I had a self inking stamp made at our local shipping store and figured out my jump distances while testing on scrap paper. After figuring out the offsets, I stamped 416 impressions at 2 diamonds each, with 9 dots per diamond.


Even my own camera changes the color between shots.
Test cuts, of bed sheets, show a working size of 11 by 60 inch with edges folded to a total coverage of under 8 inches on the head. His bandana is always open scalp, covering or holding his hair off his face.
The color screen matches (on average) to Pantone 5777 uncoated. Due to tremendous changes in digital color grading between scenes it is sometimes olive and sometimes grey. I opted for a mix of both, green and gray.
The diamonds on the scarf are two distinct patterns, one of circles with one bar removed and one of ovals with three bars removed. Below is a high def screen capture:
I redrew these in Illustrator and sized the diamonds to create a print and a stamp. My first print proved unusable due to the plastic transfer material. I did not have the option of print direct to the bandana, which would require a flatbed printer. The output was shiny and stiff...
I then print a cut template and attempted to cut a rubber stamp. It was far too small a pattern to get the detail in and was not up to the task...
Then I had a self inking stamp made at our local shipping store and figured out my jump distances while testing on scrap paper. After figuring out the offsets, I stamped 416 impressions at 2 diamonds each, with 9 dots per diamond.
Even my own camera changes the color between shots.