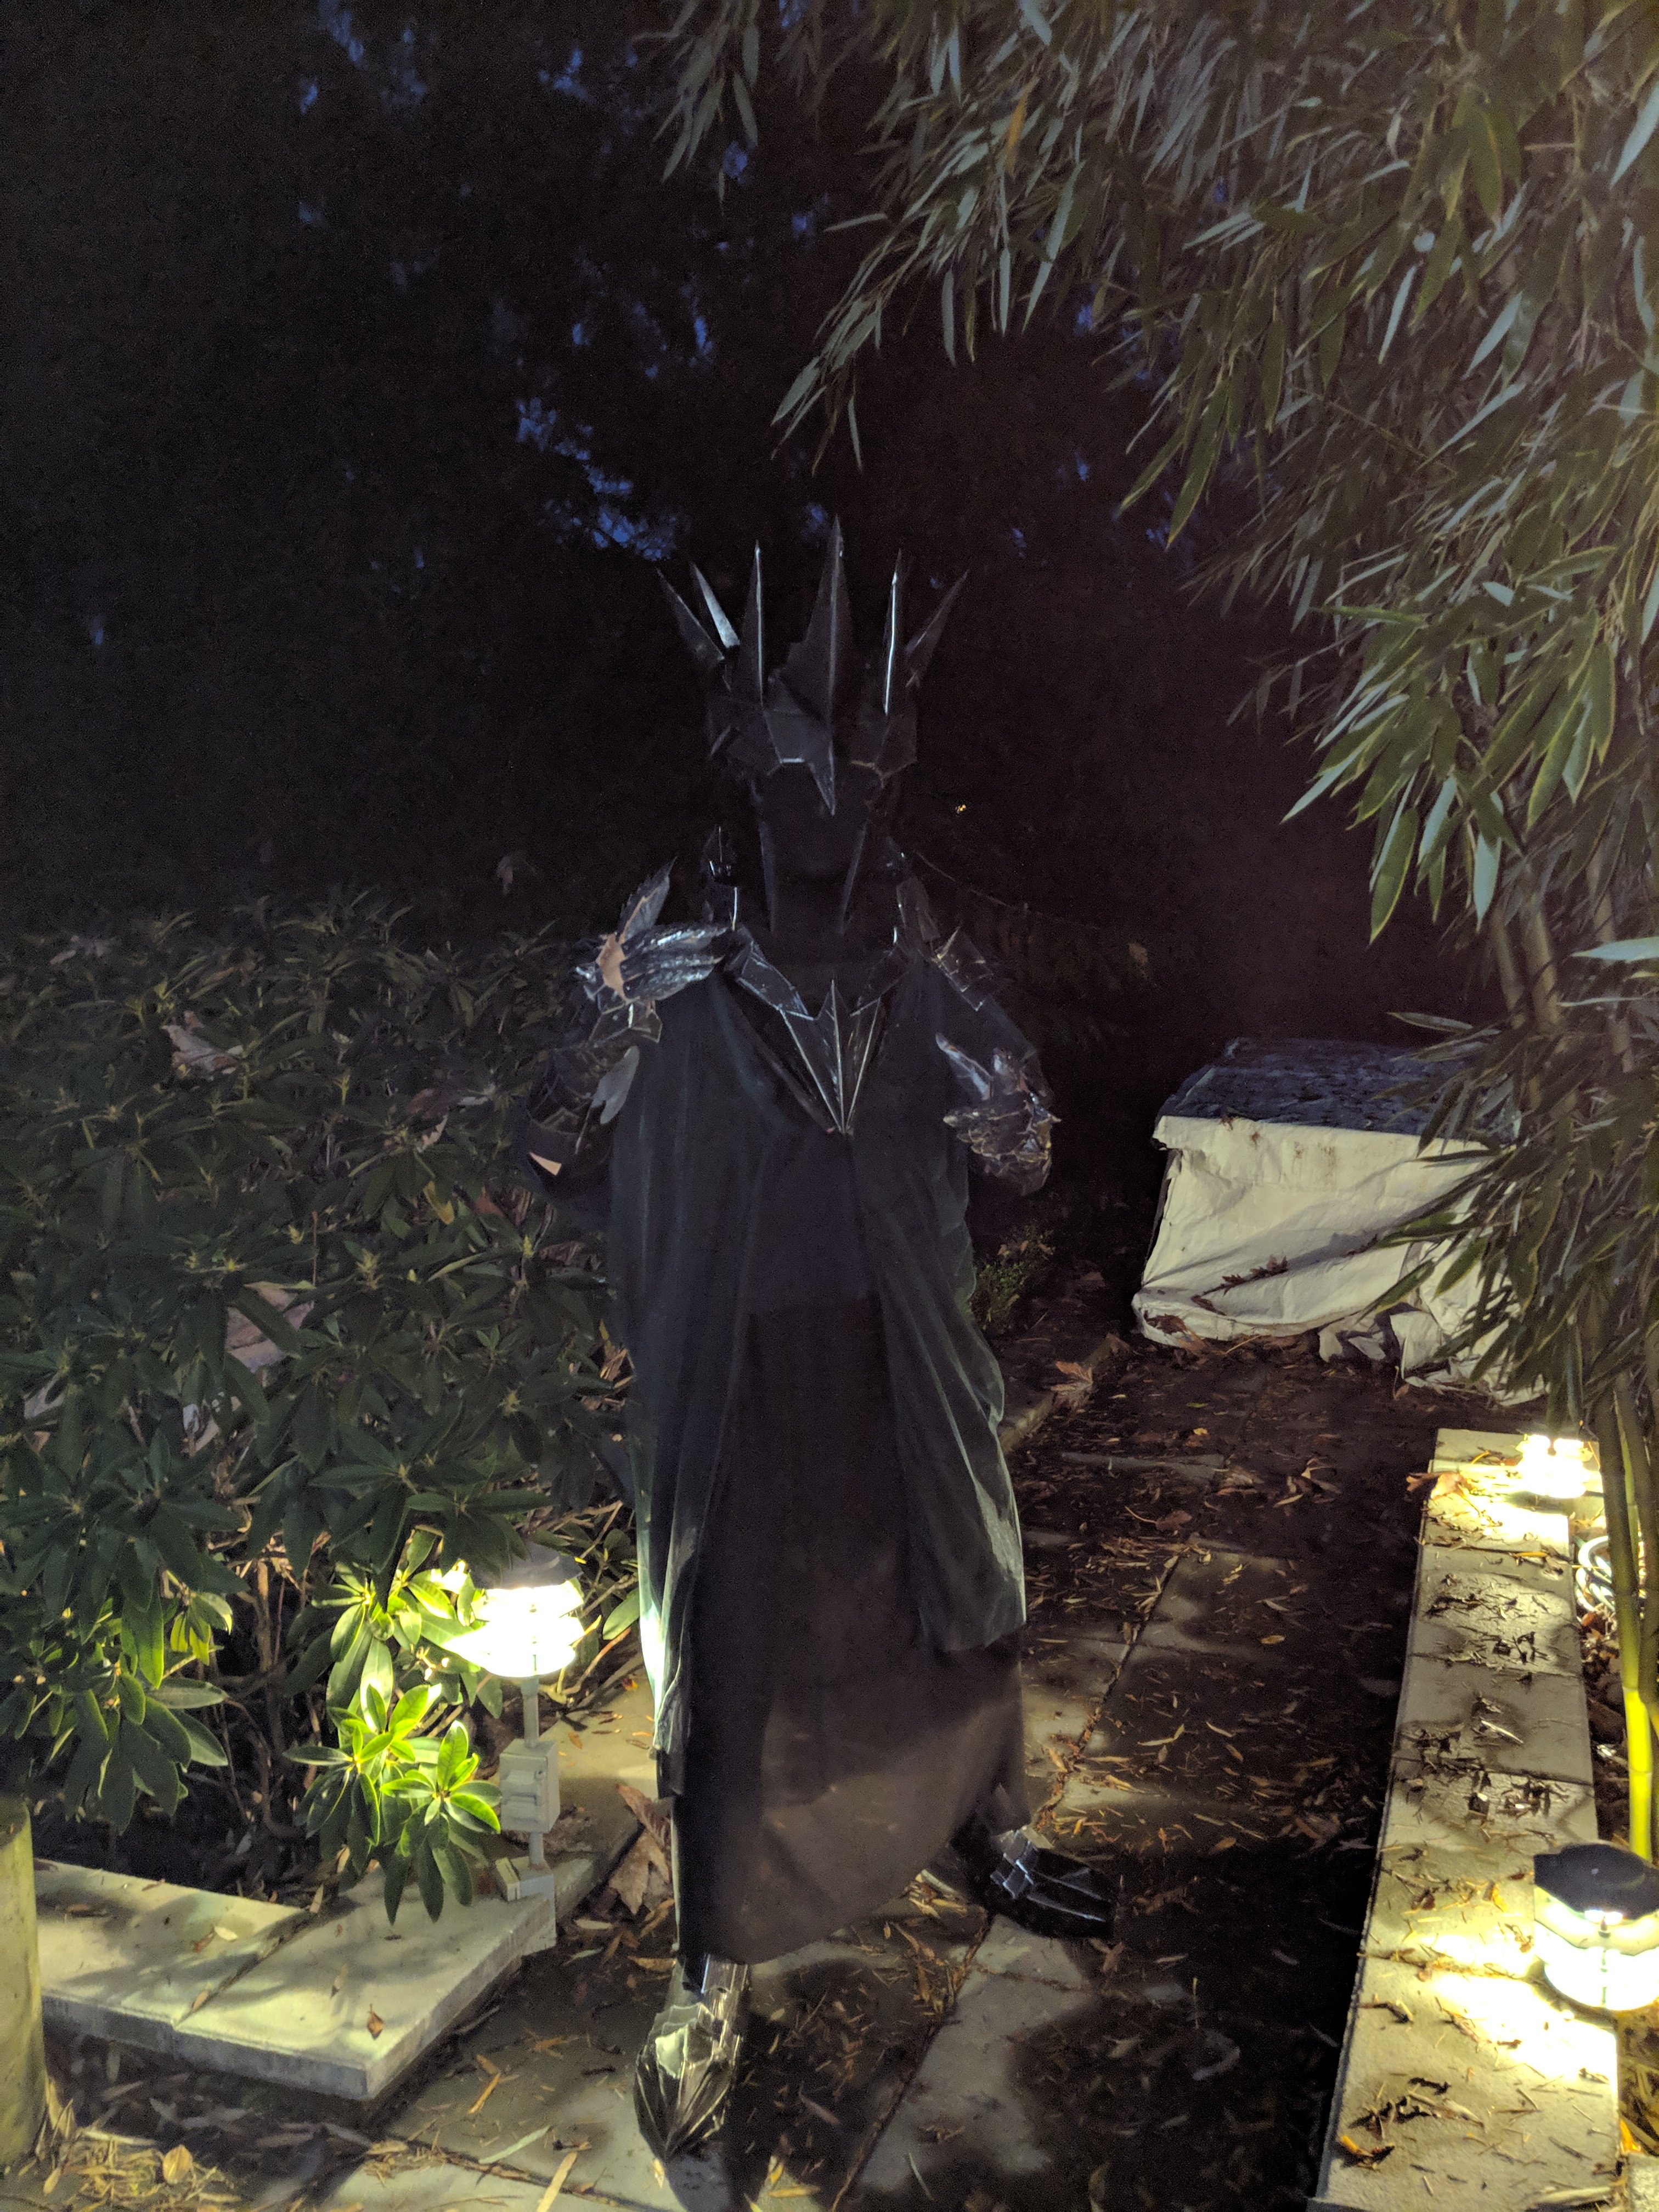
Witch King from Shadow of War
This was one of the most stressful projects I’ve ever worked on. I know in real life there are deadlines. I gave myself 2 months to work on this with Oct 31st being the deadline. My previous project the windigo creature took about 8 months to work on. I wasn’t working on it constantly, but I wasn’t happy with how long it took me to complete. I am very happy that I was able to complete everything I wanted to complete within the deadline. I wouldn’t have been able to finish it without the help of my dad. I probably spent 200+ hours working on this and my dad spent 100+ hours. Working on it right after work until late into the night and all day during the weekends.
All together this project took 300+ hours and with all materials/tools it cost around 450$.
I learned a variety of fabrication techniques while working on this costume; which will help me greatly in future projects. I failed a lot during the process of creating this armor. There were many times where I had to make a decision to go with the mistake and adapt it to the armor. I love to be able to problem solve on the spot and find clever fixes.
My first decision was to either to make this out of foam or metal. I have more experience working with foam, but I wanted a challenge (maybe bit off more than I can chew haha)! I used 26-gauge galvanized steel for the majority of the armor and 24-gauge cold steel for the crown. If you have never worked with metal, let me tell you it is extremely difficult to work with haha (also very painful. I pricked myself about 58 times).
There are 16 pieces:
- 2nd Skin
- Inner black robe
- Shoulder piece harness
- Crest piece with shirt
- Glove armor x2
- Gauntlet x2
- Helmet + Crown
- Outer black/green robe
- Shoulder armor x2
- Foot armor x2
- Greaves x2 (not included in picture)
There is a certain order that I had to put on this armor too. Not only did I have to make the pieces but I had to think how will they fit within the costume.
Here is a summary of how I worked on this project. First, I looked up as much reference material as I could. I found a number of good sources. Adam Savage on Tested had a good video on how to design the gauntlets which included templates that I downloaded and used to create my own. There was another fellow called Kropserkel who has the most amazing Nazgul armor. My most useful reference was from the ripped character model of the Witch King from Shadow of War (I just finished beating the game which inspired me to make this armor). I used this ripped character model and used a program called Source Filmmaker that allowed me to have a 3D view of this character to help me design the templates. I first designed all the templates out of stiff paperboard. I experimented a lot with the paper model. I basically made this costume twice! Once out of paper and another out of metal. I always like to say the first thing of anything is always going to have mistakes so might as well make two!
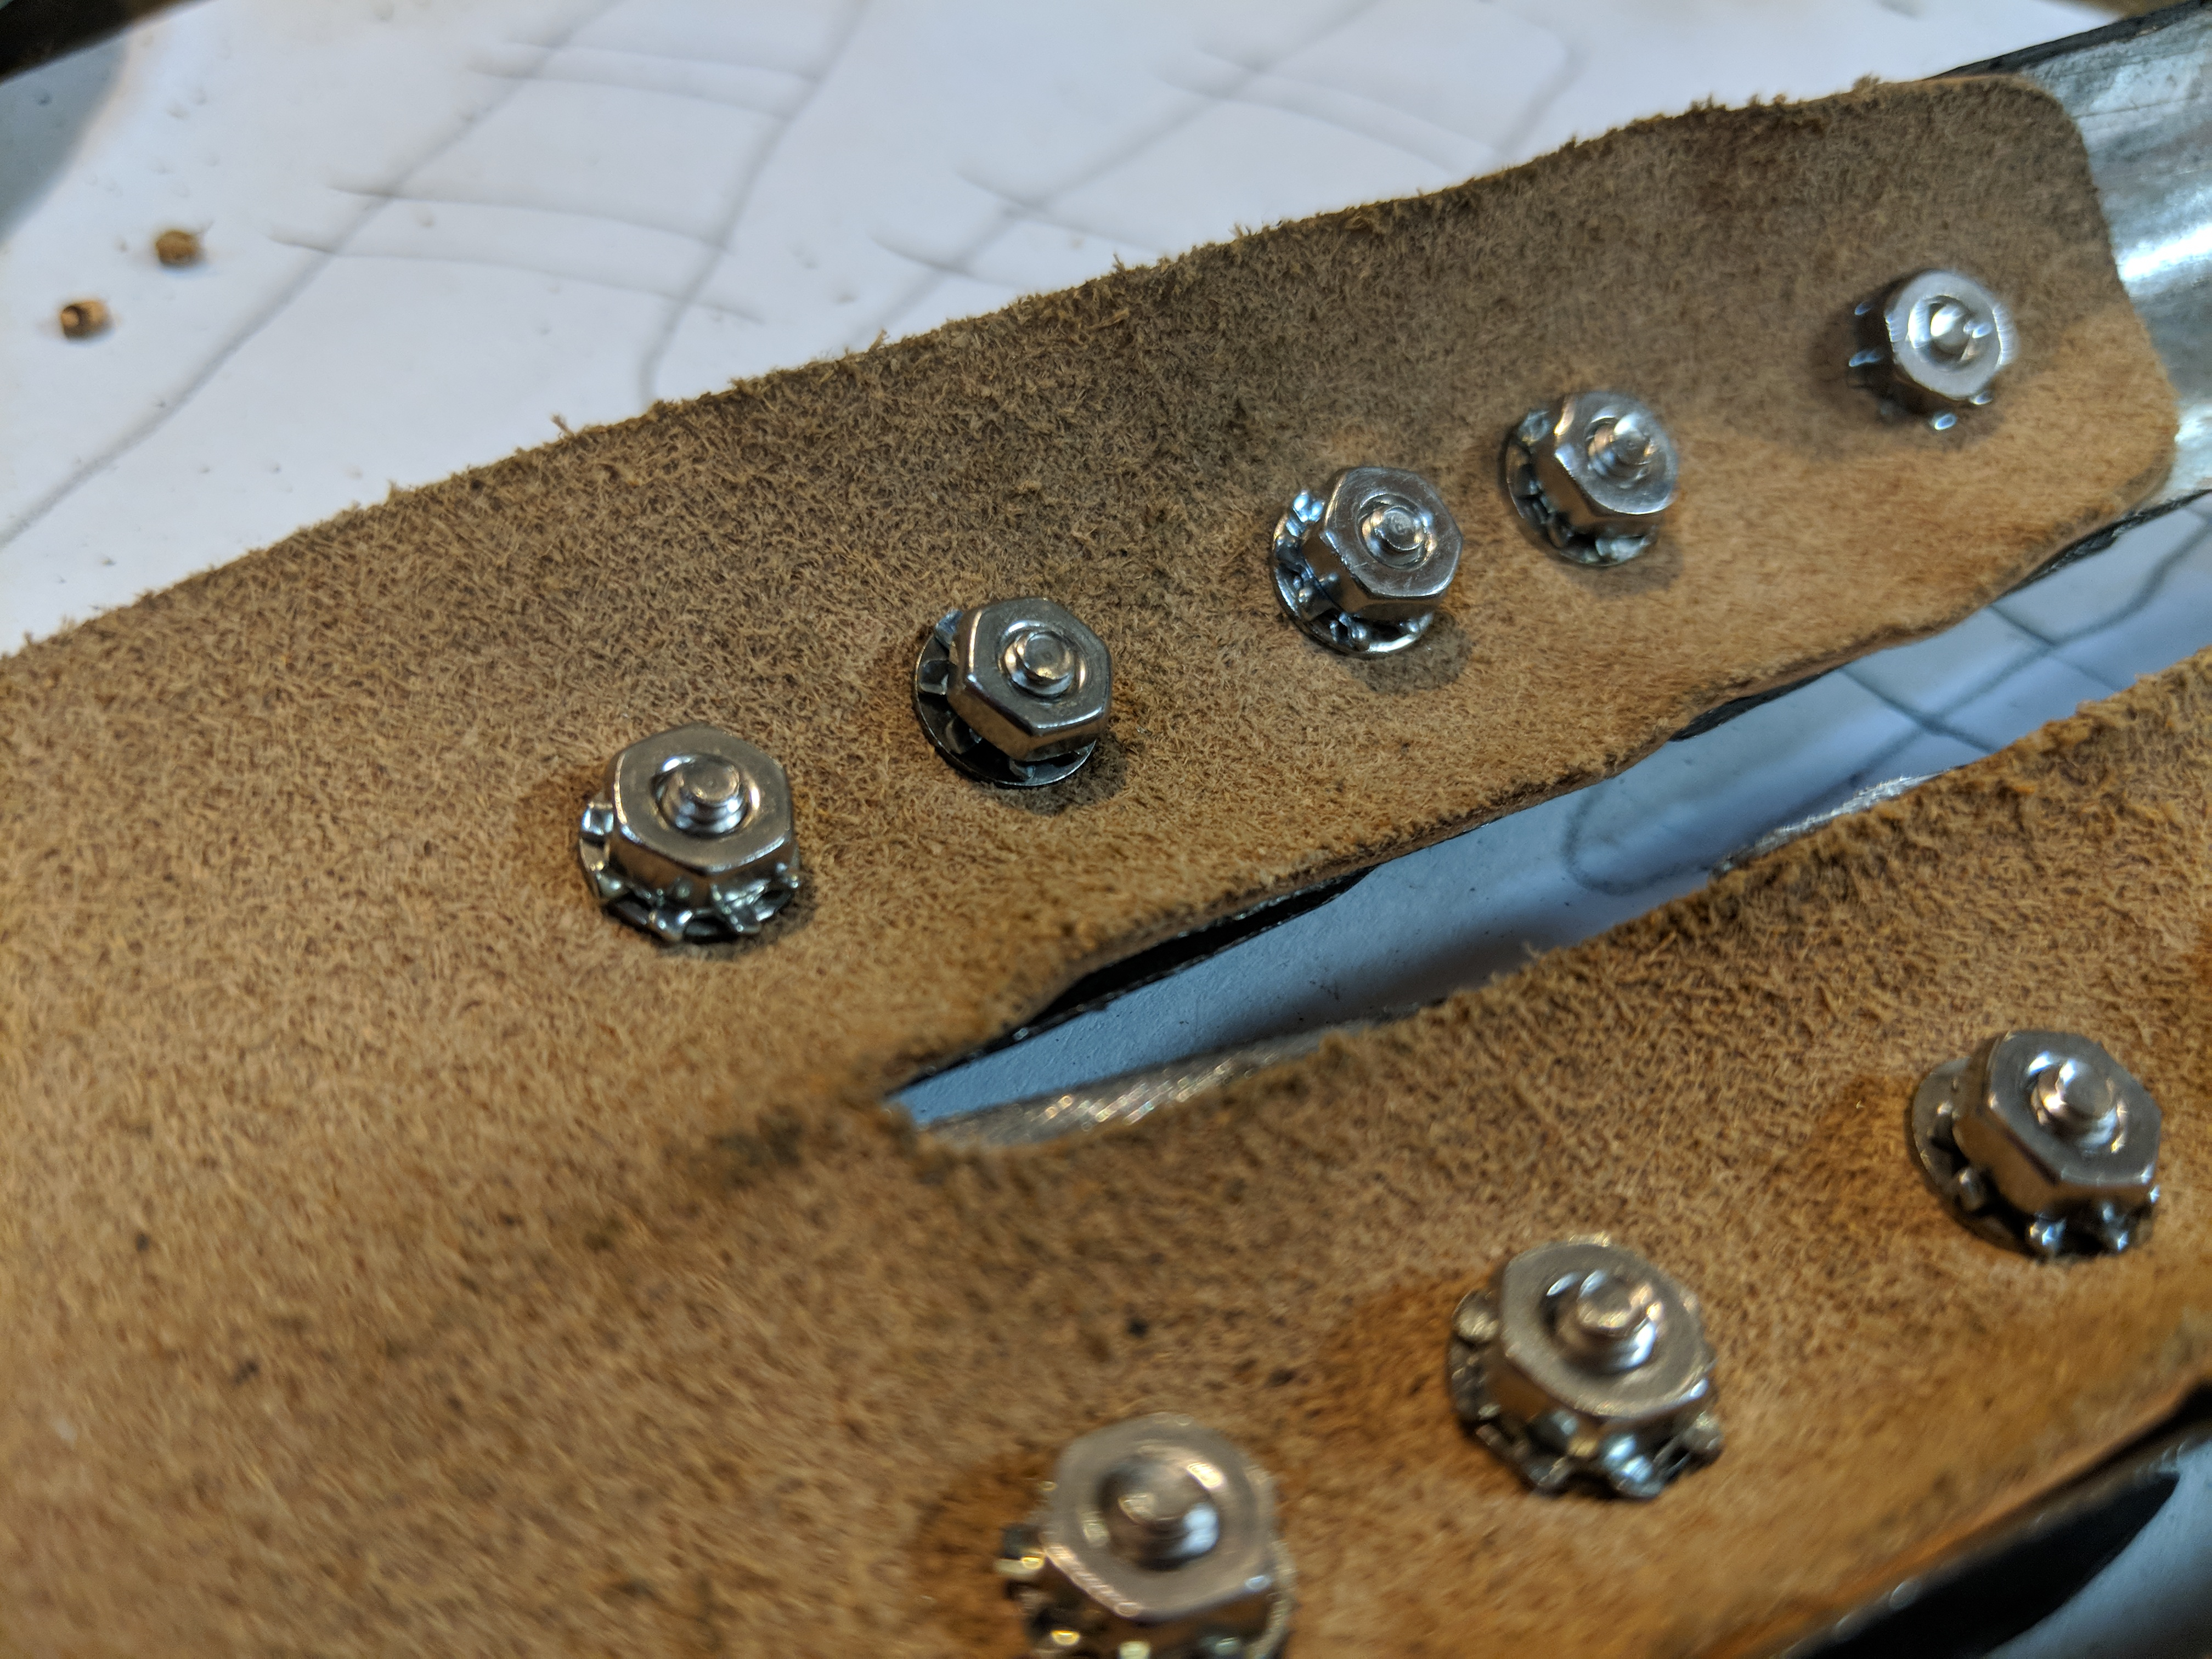
I also had never sewn before, and this was a good excuse for me to start. The two robes and the harness were all sewn. To get the fluid movement in the armor I used Chicago screws and it allowed flexibility.
I am baffled with how I was able to complete this all-in time. There are certain points when working on a project where you tell yourself you are never going to be able to complete this on time, but when you are persistent and you start to reach a point where you can visualize the finished product, you find this energy which gets you in the flow and you start believing you will get it done. I am very happy with this and I hope you can appreciate the work that I put into it. I’d say it’s 90% complete. There are lots of small touch ups that I will complete soon in the future that will enhance the armor (already added fabric fringes, greaves, painted inner helm and inner gloves black, fixing inner shirt). I will complete a mace, ring with LED, install LEDS under the crest piece to make the fabric look ghostlier.
Thanks for taking the time to read this! I do plan on documenting this and making videos soon! I’ll edit this post when I have an update. Below are some pictures of my creation.
I'll post more photo's if you wish to see more progression pictures.


 Finger pieces


